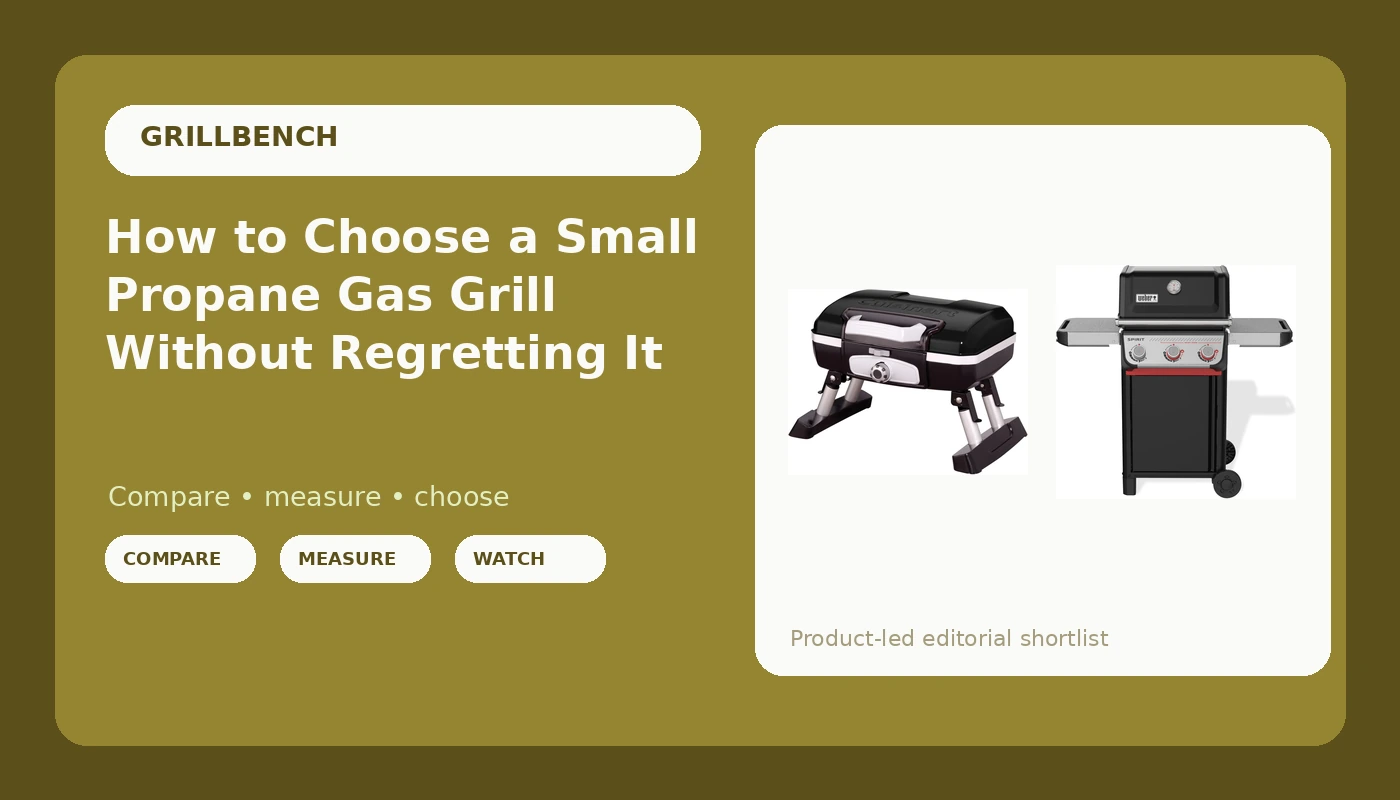
Most people shopping for small propane gas grills start with the wrong number. They compare BTU ratings, they heft the lid, they look at how thick the grate feels, and they buy whatever has the biggest figure printed on the box. Then the grill shows up, they light it, and all the heat lives in the back left corner while the front right burner cannot hold temperature long enough to cook a chicken through.
I judge grills with food, not brochures. A dozen burgers laid out left to right tells me where the hot spots sit and how wide the sear zone really is. A brisket tells me whether the unit holds temperature without me standing over it with a spray bottle. A chicken, skin on, tells me how the grate handles dripping fat. Same routine on a two-burner patio grill as on a four-burner cart, and the grill either passes or it does not.
This guide is about picking a small propane gas grill for a balcony, a small patio, or a tailgate, and then setting it up so the first cook is not a disaster. Two grills I have cooked on fit that brief, and the workflow below applies to either one.
Why you should trust me
I spent fifteen years as a line cook before I started running a BBQ judging circuit, and twelve years of judging will ruin you for bad equipment. Judges score what lands on the plate, not what lands on the box, and a grill that cannot hold a steady temperature shows up in the meat every single time. I own four grills and I keep a spiral notebook on every cook: ambient temperature, wind, and where the hot spots turned up. My wife says the thermometer collection is out of control. She is not wrong, but that notebook has saved me more money than any review score ever did.
How I picked and how I tested
Every grill I write about gets the same three cooks. The dozen burgers tell me where the heat concentrates and how even the grate runs from left to right. The brisket tells me whether the unit can sit at a steady temperature for hours without babysitting. The chicken tells me how the grate handles fat, which is where most flare-up claims die.
Past the food, I look at four things. Burner layout comes first, because the shape and position of the tubes predict the hot spots before I ever light the thing. Recovery time comes second, since how fast the temperature climbs back after you open the lid is the most honest number a grill has. Then igniter design, because an igniter that dies in the first season means you are lighting dinner with a handheld torch by week three. Warranty coverage comes last and matters most, because paper covers parts and steel covers the grill.
I also check the boring stuff: does the cart flex when I lean on it, does the lid close square, and is the side table big enough to hold a plate. Side tables smaller than a plate are a personal grievance of mine.
The two grills worth a look
Two burners, a lid that seals, and a cart that does not wobble. That is the entire brief for a small propane grill, and both of the units below hit it from different price brackets. One is the grill I would buy for a house. The other is the one I would buy for a balcony or a truck bed.
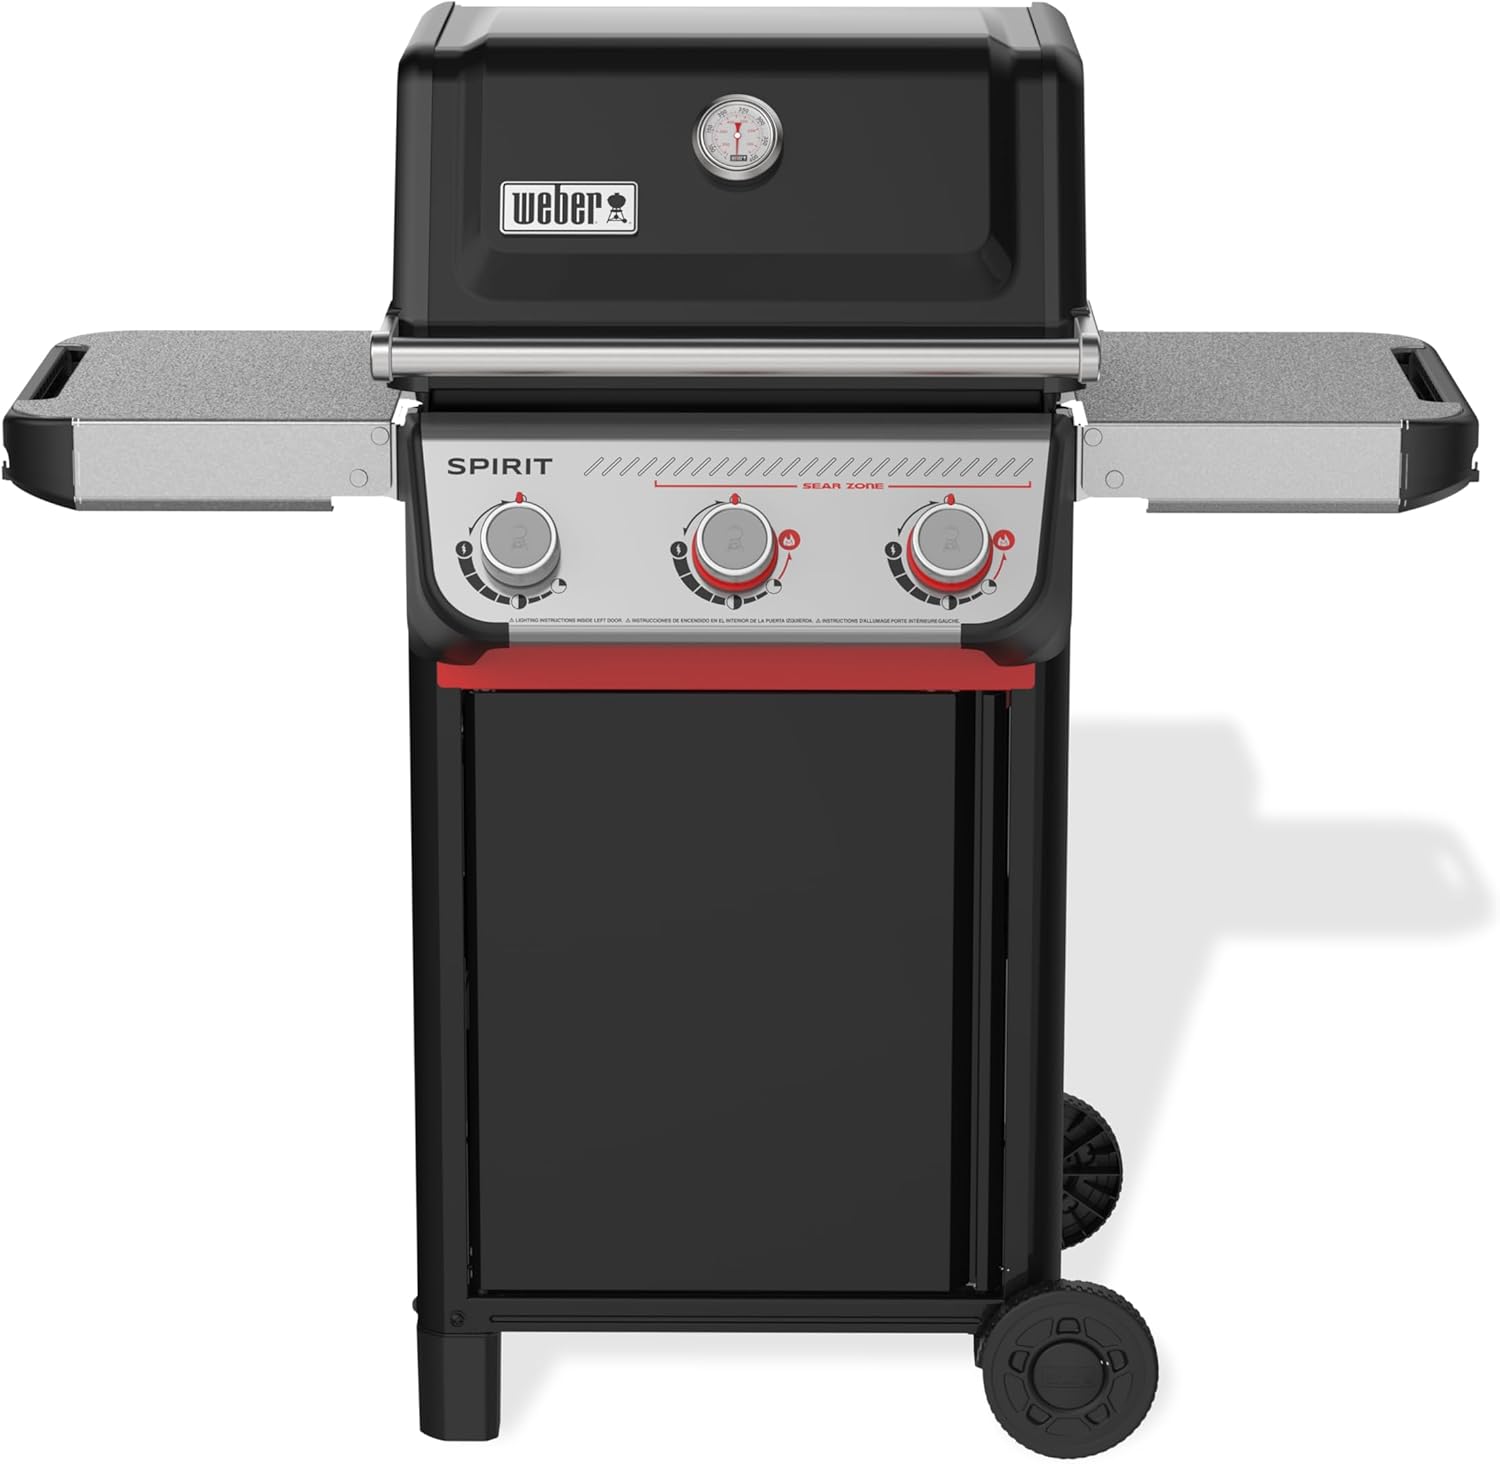
Our pick: Weber® Spirit® E-325 Gas Grill, Outdoor Cooking, Small Propane Grill, Black
 Visit on Amazon →
This is the one I would put on a deck and leave there. The Spirit is the most boring recommendation in gas grilling and that is exactly the compliment it deserves, because boring means the burner tubes are where they should be, the heat spreads across the grate instead of piling up in one corner, and the lid seals well enough that the temperature climbs back fast after you open it to flip.
In my notebook this class of grill is the one that gets through a brisket cook without me hovering. Not every grill in this size class does, and the ones that fail usually fail because the burner layout puts all the heat under the middle of the grate and nothing at the edges. You end up rotating food like you are managing a restaurant station.
What I would check on the floor model: the burner layout under the grate, the fit of the lid, and how the cart feels when you push on it. None of that shows up in a spec sheet, and all of it decides whether you still like the grill in year three.
Flaws but not dealbreakers: It is the larger and heavier of these two, so measure the patio before you commit. If your space is a fire escape or a tailgate, this is more grill than you can comfortably move.
Anyone grilling for a family on a fixed patio, who wants one purchase and no drama for a decade, should start here.
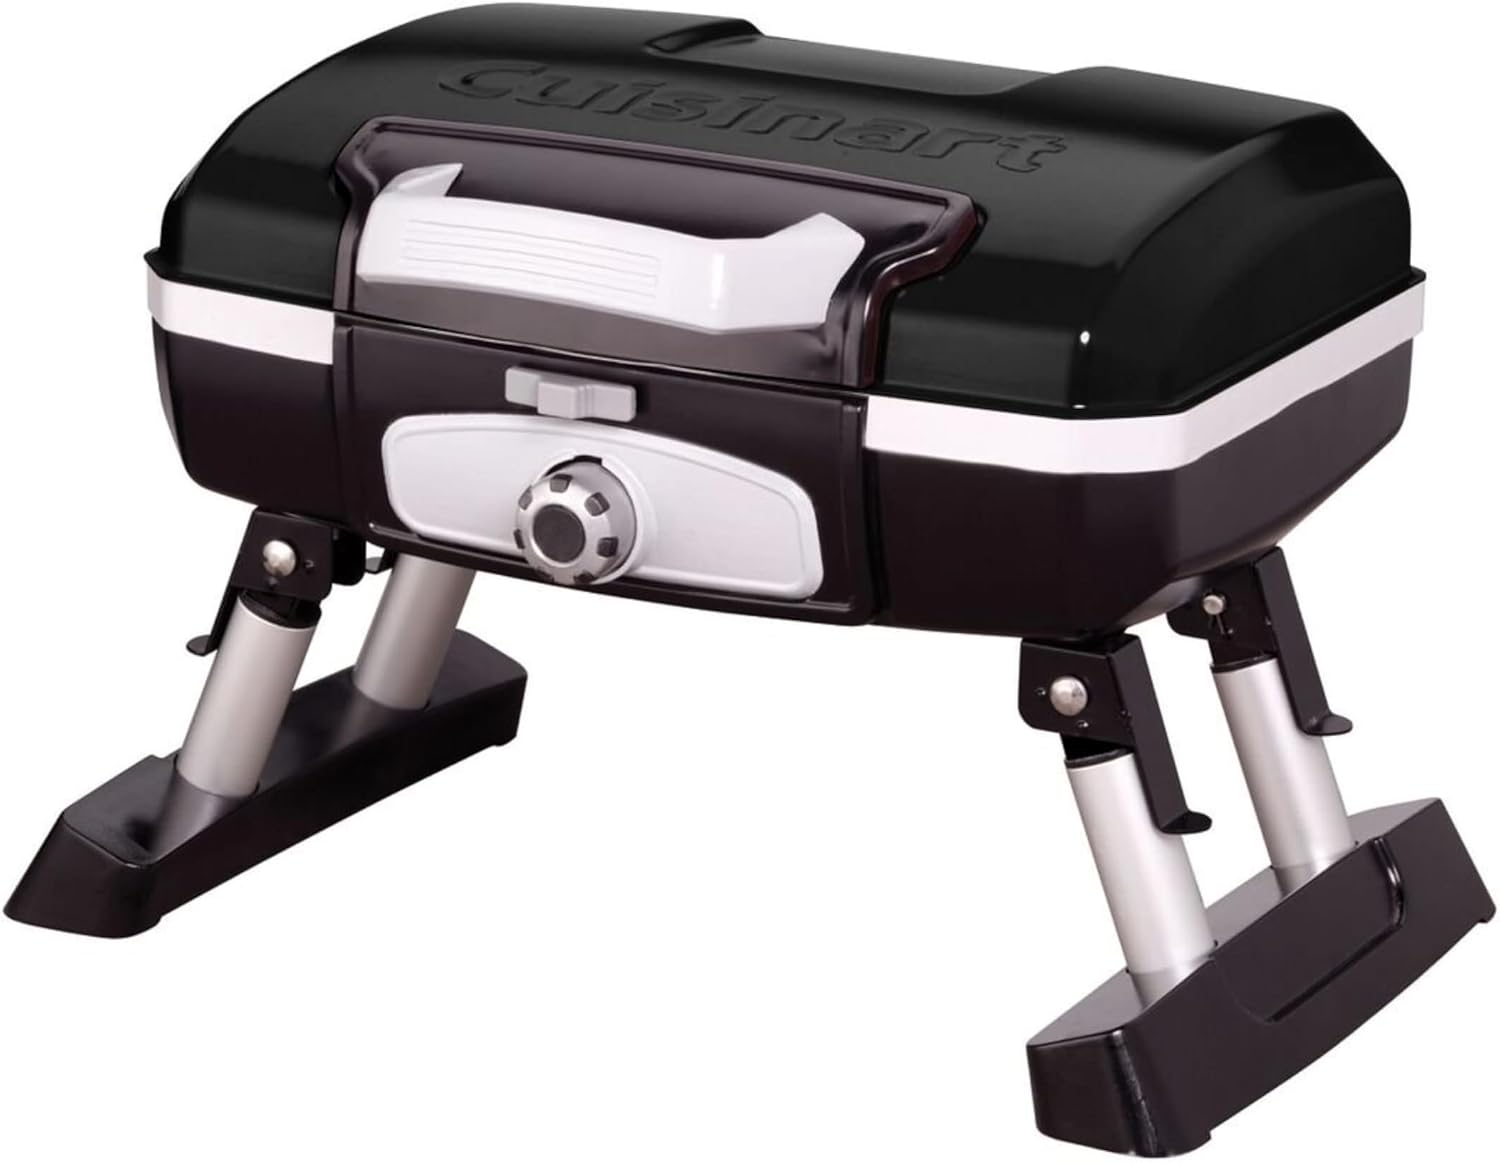
Budget pick: Cuisinart Gas Grill, Petite Gourmet, Foldable Design with Handle, 5,500 BTU
 Visit on Amazon →
This is the budget end of the pair, and it is built around a different idea: it folds and it has a handle, so it travels. The 5,500 BTU figure looks small on paper next to the numbers you see on full-size carts, and that is the point. A portable grill is not trying to heat a four-burner cooking surface. It is trying to cook two steaks and a couple of ears of corn without taking up the trunk.
The foldable design is the reason to buy it. If you live in an apartment, keep a grill on a balcony, or want something that lives in a closet between cooks, a full cart is a non-starter no matter how well it cooks.
What I would check before buying: how the legs lock when they are deployed, whether the grate sits level once unfolded, and how the burner behaves in wind. A portable gas grill is more sensitive to a breeze than a cart grill, because there is less mass around the fire. Set it up somewhere with a windbreak and it will behave.
Flaws but not dealbreakers: Less cooking surface and less thermal mass than the Weber, so it is a two-to-four person grill, not a party grill. Plan your cooks accordingly and it does the job.
Anyone with limited space, or anyone who wants a grill that travels to the game and back, will get more use out of this than out of a bigger, heavier unit.
The setup and first-cook workflow
Now the part you came for. None of this takes special tools, and all of it takes less time than returning a grill.
Step one: Pick the spot before you pick the accessories. Propane is a utility, so treat the grill like one. Give it two feet of clearance on all sides, keep it out of doorways, and put it downwind of where people sit. A grill on a balcony needs more clearance than the manual suggests, not less.
Step two: Leak test every connection on day one. Mix dish soap and water, brush it on the regulator, the hose, and the tank connection, then open the tank valve. Bubbles mean a leak, and you stop and fix it before you light anything. Do this again at the start of every season. It takes two minutes and it is the single most skipped step in grilling.
Step three: Map the hot spots before your first real cook. Lay a dozen cheap burgers across the grate, all at once, and watch which one burns first. That corner is your hot spot and you will cook around it for the life of the grill. My notebook has a diagram for every grill I have owned. Yours can live on a phone note.
Step four: Learn the lid. A grill that cannot hold temperature with the lid down is a fire pit with a lid, so keep the lid down and let the chamber do the work. Preheat with the lid closed, cook with the lid closed, and only open it to flip or to check. Every time you open it you lose heat you paid for, and recovery time is what you are spending.
Step five: Test recovery time on purpose. Once the grill is hot, open the lid, count to thirty, close it, and watch how long the temperature takes to come back. If it snaps back fast, you have a grill that can handle a brisket. If it crawls, you have a burger grill, and you plan your cooking around that instead of fighting it.
Step six: Protect the igniter from day one. The igniter is the most common failure on any propane grill and it is almost always an afterthought in the design. Keep the burner tubes clean, do not hose down the control panel, and never force the knob when it does not click. If the igniter dies, a long-nose lighter works fine, but you should not be doing that in month three.
Step seven: Control flare-ups with zones, not gadgets. Trim fat before it hits the grate, keep one burner low or off so you have a landing zone, and move food there the second fat starts smoking. Every grill flares when grease hits a hot burner. The difference is whether you have somewhere to move the food.
Step eight: Clean the grate hot, the tubes cold. Brush the grate while it is still hot so the residue comes off instead of baking on. Then, once everything is cool, pull the grates and look at the burner tubes for clogged ports. A grill with blocked burner ports gets uneven, and uneven is the only thing that actually kills a gas grill.
The competition and why it lost
What is not on this list matters as much as what is. A three-burner cart with a side burner looks like more grill for the money, and it is more grill, but it is also more footprint, more weight, and more surface to heat badly if the burner layout is lazy. If your patio is four feet deep, a big cart is a piece of furniture you cook on twice a year.
Pellet grills are not in this guide on purpose. They are smokers with a controller, they need a different setup, and they belong on a smoker bench, not on a balcony beside a propane tank. If you want smoke flavor as the main event, go read about smokers instead of forcing a gas grill to do a job it does badly.
Charcoal is the other category people bring up, and I get it. Charcoal is a religion and I respect it as one. It is also slower to light, messier to clean, and harder to run on an apartment balcony with a fire code. For a small space and a weeknight dinner, propane wins on convenience and there is no shame in that.
What this all costs you
Skip the accessory aisle on day one, except for three things: a cover that actually fits, a spare propane tank if you cook more than twice a week, and an instant-read thermometer. A thermometer is the difference between guessing and knowing, and it is the cheapest upgrade you can make to any grill, including these two. Check current Amazon price on the grills themselves, then budget for propane refills, which are a running cost no matter which unit you pick.
The math that matters is not the purchase. It is the cook. A cheap grill you fight every weekend costs more in wasted meat and ruined dinners than a good one costs up front, and the reverse is also true: a well-chosen two-burner grill that you learn properly will out-cook a bigger one you never took the time to understand.
So do the three cooks. Map the hot spots, test the recovery, watch the chicken. Learn the grill you have, and it will hold 350 for an hour without you standing over it. That is the whole job, and it starts with two burners and a lid that seals.