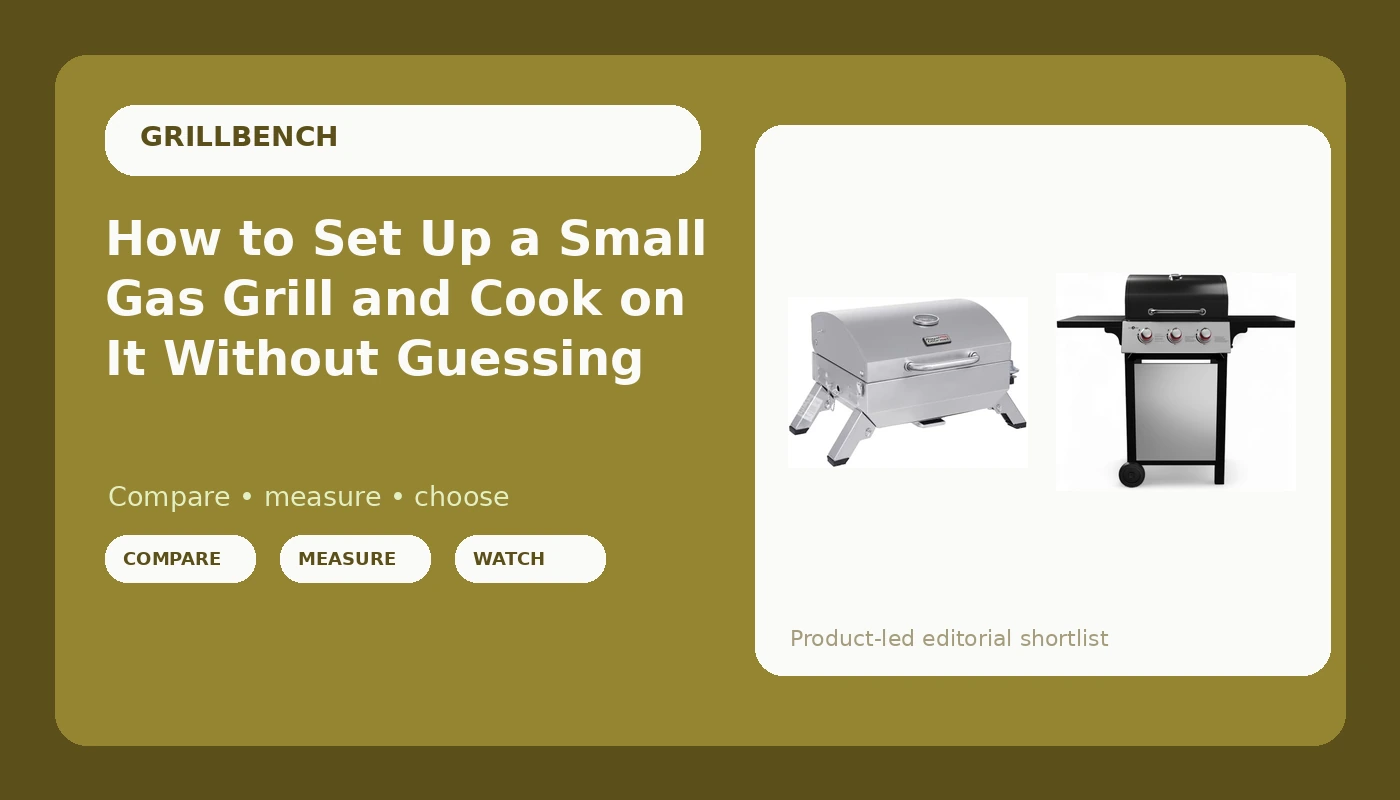
Most gas grills fail their owner in the first hour, not the first year. A small gas grill setup is where that happens: the burner runs hotter on one end, the grate sits closer to the flame than the manual admits, and nobody tells you that the first thing you should cook on it is a slice of cheap white bread instead of dinner. Walk into any big box store and you get the same showroom logic a TV aisle runs on, dials cranked, lids open, BTU numbers printed bigger than the honesty.
I have cooked on four grills in my own yard, two of them small, and I have judged barbecue competitions for a living. The pattern never changes. People buy the grill for the party they imagine, set it up in ten minutes, and spend a year fighting hot spots they never mapped.
The fix is not a bigger grill or a better badge. It is an hour of setup, one slice of bread, and a routine you repeat every single cook.
Why you should trust me
I spent 15 years on the line in Austin kitchens before I moved to the judging side, and I have been running a BBQ judging circuit for 12 years now. Four grills live at my house, plus a thermometer collection my wife has strong opinions about. Every grill I write about goes through the same three cooks before it earns a recommendation: a dozen burgers for evenness, a full brisket for heat stability, and a whole chicken for flare-up behavior. I keep a spiral notebook of every cook with ambient temperature, wind, and where the hot spots landed. No grill gets a verdict here without three full cooks on it, and no brand pays for a spot in this article. When a brand sends a unit, I say so.
How I picked and how I tested
For a small gas grill setup, the spec sheet is the least useful thing in the box. BTU is marketing. Burner layout is engineering.
Evenness comes first. I load a dozen burgers across the grate at once, flip them once, and look at the bottoms side by side. If the left side is charcoal and the right side is gray, the burner layout told me the story before the burgers did. Heat stability is the second cook, and it is boring on purpose: a brisket, lid down, for hours, and I count how often I have to touch a dial. A grill that cannot hold 350 for an hour without babysitting is a fire pit with a lid, and I say that about expensive grills as fast as I say it about cheap ones. Flare-up behavior is the third cook, skin-on chicken thighs with the lid down, because rendered fat finds every weak point in a grease management system.
Recovery time is the number I care about most and the one nobody prints. Lid open, food flipped, lid closed, how fast does the temperature come back? Every time you open that lid you spend heat, and a grill with a thin lid and a single row of burners spends more of it than a grill with a heavy one.
The two grills below got the same routine. One is a tabletop, one is a three-burner cart, and they solve different problems.
The grills that fit this job
You cannot learn heat zones on a grill that cannot hold a temperature, so the first decision is size and footprint, not features. If you cook for two on a balcony or you tailgate out of a trunk, a tabletop is the right shape. If you cook four nights a week and want a sear zone plus a holding zone, a three-burner cart is the smallest grill that gives you both. Anything bigger on a small deck is floor space you pay for in propane and cleaning time.
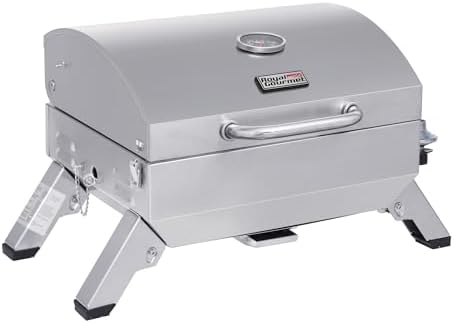
Tabletop pick: Royal Gourmet GT1001 Stainless Steel Portable Grill
 Visit on Amazon →
Check current Amazon price. This is the grill I point at when someone has a balcony, a tailgate, or a trunk that has to close. The GT1001 is a stainless steel tabletop with folding legs, a lockable lid, and a 10000 BTU burner, which is enough to put a real crust on a steak if you preheat it with the lid down and stop opening it every thirty seconds.
What it is not is a two-zone grill. One burner means one heat zone, so you make your own. Fold a piece of heavy foil over half the grate and you have created a holding zone on the cool side while keeping a sear zone on the hot side. That single trick is the difference between a tabletop that frustrates people and one that earns its shelf space.
The folding legs and lockable lid matter more than they sound. A portable grill that does not lock shut ends up living in the garage, and a grill in the garage is a grill you do not use. This one travels, which means it cooks.
Flaws but not dealbreakers: A tabletop is small, and small means batch cooking. Four burgers at a time, not twelve. If you regularly feed a crowd, skip to the cart below. Plan on a cover and a spot out of the wind, because a single burner in a breeze is a fight.
Anyone cooking for one to three people on a deck, a campsite, or the back of a truck will get the most out of this one.
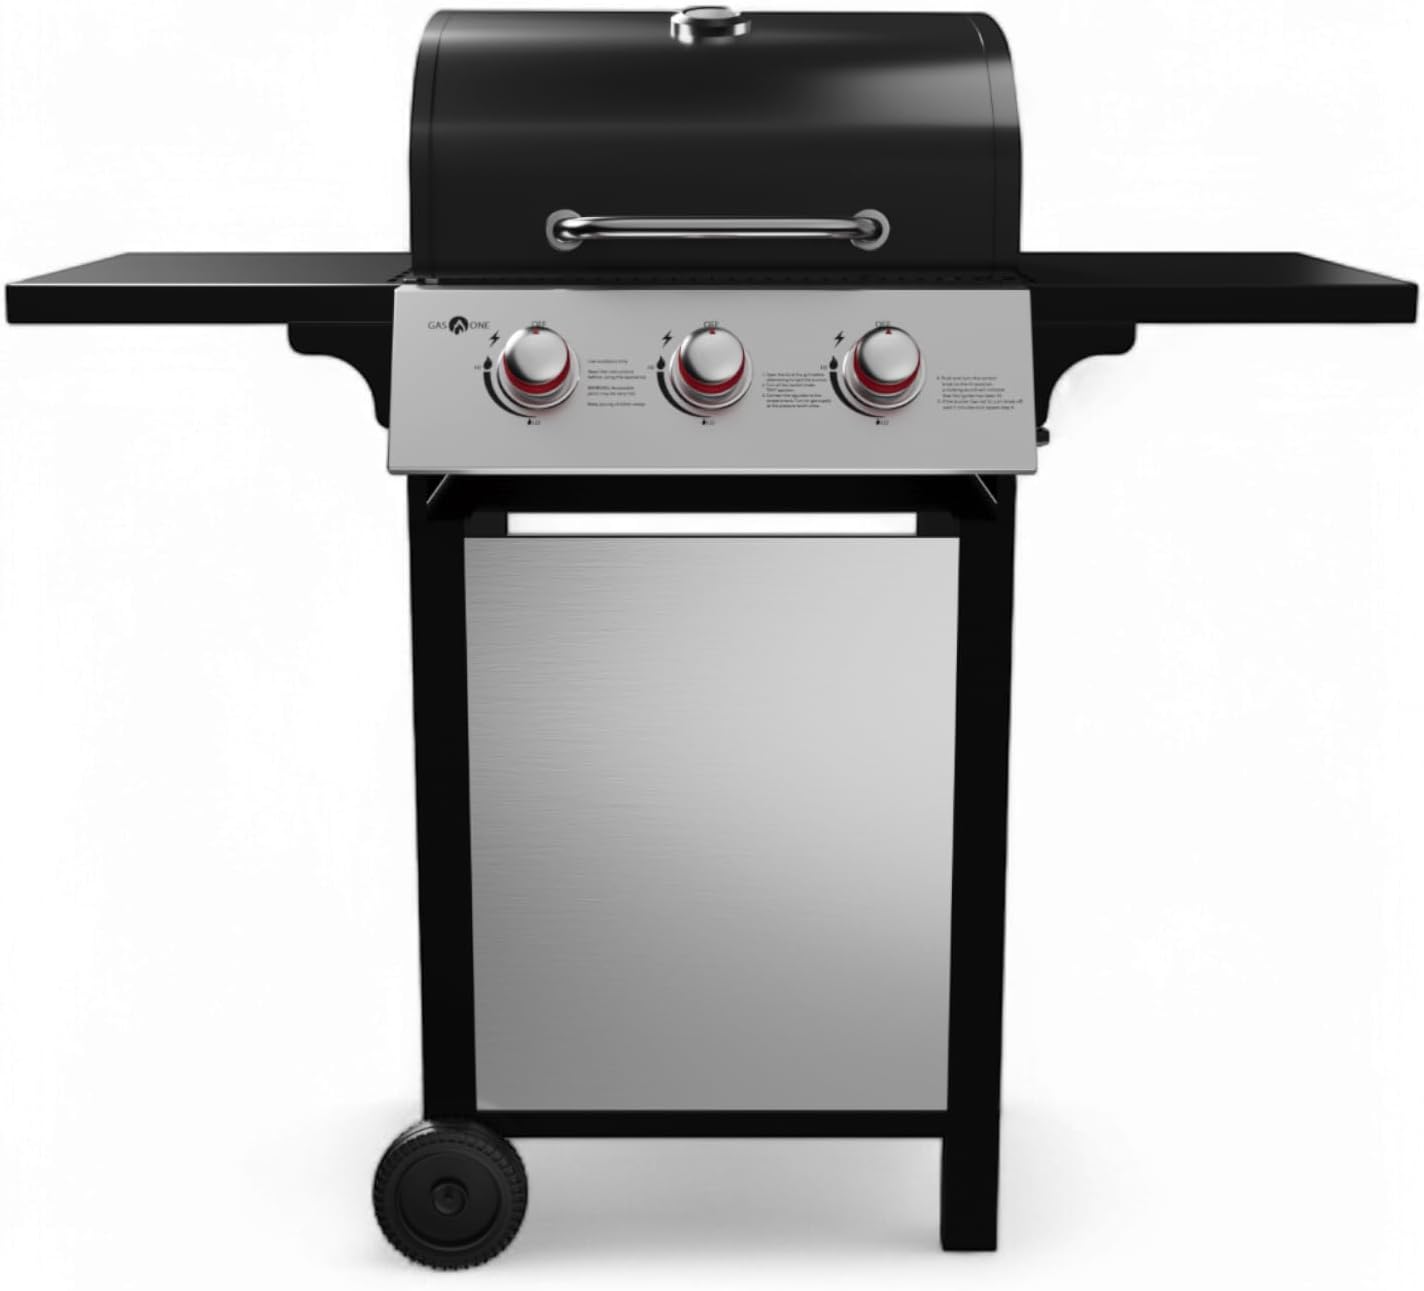
Cart pick: GasOne GP-1030S One 3 Burner Stainless Steel Outdoor Cabinet Style Grill with Wheels
 Visit on Amazon →
Check current Amazon price. Three burners is the line where gas grilling stops being a compromise and starts being a tool. The GP-1030S is a cabinet style grill on wheels with stainless steel surfaces and a high-temperature paint coating, and the burner count is the reason to look at it. Three burners give you the layout I cook on every night: right burner on high for the sear, middle burner low for the finish, left burner off for the zone where things rest and finish without burning.
The wheels are not a gimmick on a small patio. Being able to roll the grill out of the weather and back to the cooking spot is the difference between a grill that lasts and one that rusts where the cover rubs. The cabinet body also gives you a shelf and storage underneath, which a tabletop will never give you.
Flaws but not dealbreakers: A cabinet grill holds heat and grease, so it needs a real cleaning routine or the drip tray becomes a flare-up factory. Plan on scraping the tray after every fatty cook, not once a season. Check the assembly instructions twice on the burner tubes, because a tube seated wrong gives you one hot burner and two sad ones.
Anyone cooking four or more nights a week for a family, or anyone who wants a genuine two-zone setup without paying for a four-burner, should start here.
The actual setup and cooking workflow
Now the part you came for. This works on any gas grill, tabletop or cart, and none of it requires a gadget.
Step one: Leak test before the first fire. Mix dish soap and water, brush it on the regulator and every hose connection, open the tank valve slowly, and watch for bubbles. No bubbles, no leak. Do it again at the start of every season, and any time the hose has been kinked or crushed. This takes two minutes and it is the only step where being lazy can hurt you.
Step two: Burn off the factory oils. Full heat, lid down, 15 minutes, then let it cool and wipe the grates. Then oil them: folded paper towel, tongs, a neutral high-smoke-point oil, and a hot grate. Oil on a cold grate just gums up and burns into a shellac that flakes onto your food.
Step three: Toast bread and draw your map. Lay cheap white bread across the whole grate, lid down, about 90 seconds, flip, and look. The dark slices are your hot spots, the pale ones are the sleepy corners. That pattern is your grill's fingerprint, and it shifts with wind, so write it down in a notebook with the wind direction and the ambient temperature. This is the single most useful thing you can do with a new gas grill, and it costs one slice of bread.
Step four: Learn your zones. On a three-burner, right high, middle low, left off. Sear on the right, finish in the middle, park things on the left. On a tabletop, foil over half the grate, as above. Every cook after this one uses those zones. Food moves across the grate. The grate does not move under the food.
Step five: Preheat with the lid down. Ten to 15 minutes on a three-burner, eight to ten on a tabletop. Then brush and oil, then put food on. Food goes onto a hot grate, not a warm one, and the difference between those two is the difference between a crust and a gray band.
Step six: Handle flare-ups with the lid and the tongs, not a water bottle. Trim fat before it goes on, keep the lid down, and when the fire climbs, move the food to the off zone and close the lid. Starve it of oxygen and it dies in a minute. On a tabletop the lid is your only weapon, which is why keeping it closed between flips matters more than any gadget.
Step seven: Flip once. Recovery time is the honest spec on any grill, and every lid opening spends it. One flip for burgers, one turn for chicken, then let the lid do the work. If you are flipping four times, you are steaming your dinner.
Step eight: Shut down in the right order. Burn the grate off on high for ten minutes, brush it, then kill the burners, then close the tank valve. Cover the grill. A cover costs less than a new grate and it is the only accessory I insist on.
Step nine: Check the igniter and the hose every spring. If the igniter is an afterthought on your grill, keep a long lighter in the cabinet and stop pretending the button will survive the season. A dead igniter on week three is the fastest way for a good grill to become a storage shelf.
The competition and why it lost
Gas is not the only way to cook outside, and I respect the other benches. A charcoal kettle will beat both grills above on flavor for the money, and it will also cost you 40 minutes of chimney time on a Tuesday night, which is why it is not the answer for a weeknight. A kamado holds heat like nothing else and weighs as much as a small car, which is a commitment, not an inconvenience. Pellet grills are smokers with a controller, and they belong on the smoker bench, not in a gas grill guide. If you want smoke, this is the wrong article. Natural gas is a luxury when you have a line run to the patio and a hassle when you do not.
Size loses too. A four or six burner cart grill on a small deck is more grill than the cooking you actually do, and you pay for it in floor space, propane, and cleaning time. Buy the grill for the cooking you do on a Wednesday, not the party you host twice a summer.
What this all costs
The grill is not where the money goes, and that surprises people. The real spend in a small gas grill setup is the ring around the grill: a propane tank and its refills, a cover, a good instant-read thermometer, a stiff brush, and a spare igniter battery in a drawer. Add a second tank if you cook often, because running out mid-cook is a rookie move you only make once.
A tabletop setup costs less up front and less per cook because it burns less fuel, and it fits in a trunk. A three-burner cart costs more, but it replaces your oven on a hot evening, which is where the math turns in its favor. Check current Amazon price on both before you decide, and remember that the cover and the thermometer are not optional accessories. They are part of the setup.
Cost per day, over a few years of real use, favors the grill you actually fire up. The expensive grill that lives under a cover because the setup was a pain costs more per cook than the cheap one you use twice a week.
The routine, in one paragraph
Leak test, burn off, oil the grates, toast a slice of bread, and learn where the heat actually lives. Then keep the lid down, flip once, and cook in zones instead of guessing. Set the tabletop up on a stable surface away from the wind, roll the cart where you can work around all three burners, and give either grill fifteen minutes of preheat before anything raw touches the grate.
That is the whole job. Your grill was built to do this. Let it.