Most gas grills get unboxed on a Saturday, assembled by two in the afternoon, and fired up by six with no information about where the heat actually lives. That is how a family ends up with blackened burgers on the left half of the grate and pink chicken on the right, and how perfectly decent hardware gets blamed for a cook's mistakes. A real 4-burner propane grill setup takes one evening, a dozen cheap burgers, and a spiral notebook. Not a new grill, not an infrared sear station, not a set of aftermarket grates.
I cooked the line for 15 years and I have judged barbecue competitions for 12. Every grill that lands on my patio gets the same first night: burgers for evenness, a brisket for heat stability, a chicken for flare-ups. The notebook records ambient temperature, wind direction, which corner burned first, and how long the dome took to climb back after I opened the lid. That last number, recovery time, tells you more about a grill than any BTU figure printed on the box.
The two grills below are the ones I would run this drill on first. They sit at the two honest ends of the 4-burner market: a 50,000 BTU workhorse with a side burner, and a Broil King with the burner layout I trust most in the mid-range. Set either one up properly and you will cook better on it in week one than most people do in year three.
Why you should trust me
I ran the line for 15 years in Austin kitchens before I started judging, and I have spent the 12 years since scoring cooks on a competition card: appearance, texture, and whether the meat was cooked by the grill or by the cook. My patio currently holds four grills and a thermometer drawer my wife has opinions about. Every unit I write about gets at least three full cooks before I say a word, and the notes go into the same spiral notebook I have kept since 2011. Nobody pays for placement here. When a brand sends a unit, I say so in the first paragraph.
How I picked and how I tested
This is a setup article, not a shopping article, so the drill matters more than the badge. Every gas grill I bring home goes through the same seven checks in the same order: leak test, burn-off, level check, ignition walk, burger map, recovery test, and flare-up test. The tools are a spray bottle of soapy water, a bubble level, an instant-read thermometer, and a dozen identical quarter-pound patties.
Three measurements earn a place in the notebook. First, where the first burger browns. Second, how far the dome temperature drops when you open the lid for 60 seconds and how long it takes to come back. Third, whether a skin-on chicken thigh sets off a grease fire on a grate you just cleaned.
Everything else is marketing. A BTU number is a claim about gas going in, not about heat landing on your food. Burner count and burner shape predict hot spots better than any spec sheet. Warranty coverage predicts whether you are still cooking on it in year eight. Those are the things I score.
The two grills in this drill
Both of these are 4-burner propane carts, and both will teach you the same lesson. The difference is how much babysitting you want to do while you learn it.
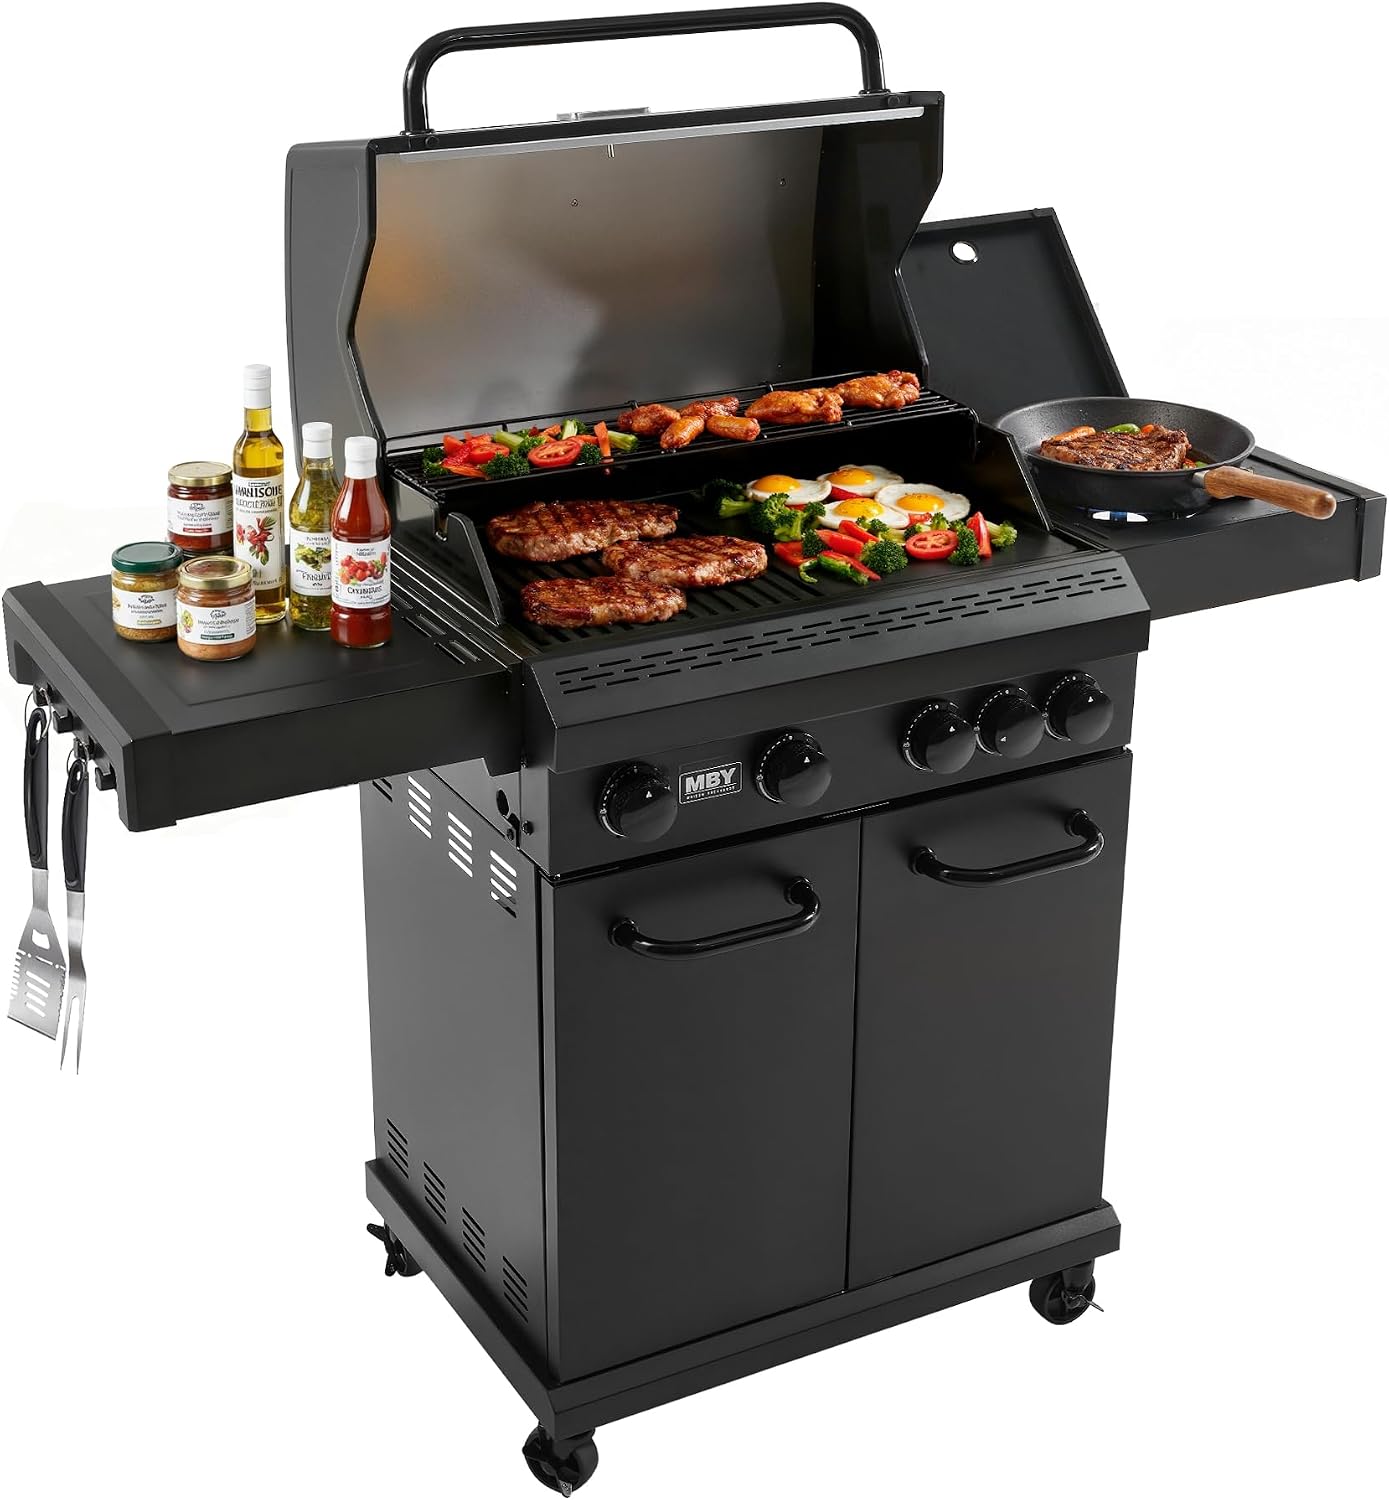
Budget pick: 4-Burner Propane Grill with Side Burner, 50,000 BTU
 Visit on Amazon →
Four main burners, a side burner, and 50,000 BTU across the head. That is the entire spec sheet, and for this drill it is enough. Four burners in a row give you four separate zones, which means you can run the left pair on low and the right pair on high and read the burger map at a glance. The side burner is the part people underrate. It is where the sauce pot and the beans go so the main grate stays clear for meat, and it keeps a pot at a simmer while the lid stays shut on the main chamber.
As a first gas grill, this is the shape of machine I would put a beginner on. It is not trying to win a competition. It is trying to teach you where its heat lives, and four zones teach that lesson fast because you can compare them side by side on the same cook.
Flaws but not dealbreakers: A 50,000 BTU head spread across four burners is a moderate output, not a searing monster. If you want a hard crust on a thick steak, plan on a cast iron skillet or a set of aftermarket grates over one zone. The side burner also makes the cart wider than a plain 4-burner, so measure the patio pad before you commit.
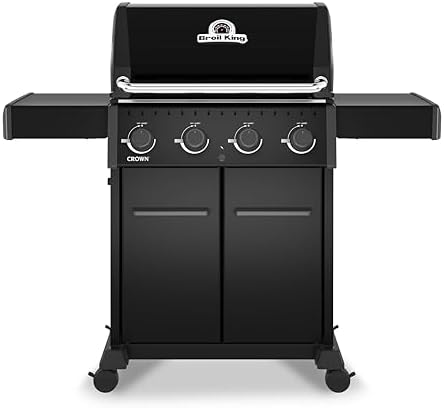
Upgrade pick: Broil King 865154 Crown 420 Shadow 4-Burner Propane Gas Grill in Black
 Visit on Amazon →
Broil King has the best burner layout in the mid-range, and nobody talks about them because they do not pay influencers. That is the whole reason the Crown 420 Shadow is here. It is a 4-burner propane cart in black, and it is the grill I would hand someone who is tired of replacing a cheap cart every third summer.
The practical difference in this drill is how boring the results are. A grill with a good burner layout gives you a burger map with gentle edges instead of a bright red corner, and a recovery time that does not force you to stand there with the lid shut for five minutes after every flip. When the hardware is right, the drill becomes a confirmation instead of a rescue mission.
Flaws but not dealbreakers: It is a heavier cart than the budget pick, so it is a two-person assembly and a permanent spot rather than something you wheel to the curb. Buy the cover on day one. A grill at this level left uncovered will still outlast a cheap one, but you will spend the savings on grates and burner tubes.
The actual setup workflow
Now the part you came for. This works on any 4-burner propane grill, new or used, and it takes one evening.
Step one: Leak test before anything else. Fill a spray bottle with water and a few drops of dish soap. Turn the tank on, leave the burners off, and spray every connection: the tank valve, the regulator, the hose, and the manifold where it enters the firebox. Watch for bubbles that grow. Bubbles that grow mean gas is escaping. Tighten the fitting and test again. Do this after every tank swap, not just the first one. A grill that smells like propane when it is off is a grill that does not get cooked on.
Step two: Burn off the manufacturing oil. Every new firebox ships with oil residue from the factory. Close the lid, run all burners on high for 15 minutes, then let it cool and brush the grates. Do not cook on a new grill before you do this, or your first meal will taste like a machine shop.
Step three: Level the cart. Put a bubble level on the cooking grate, front to back and side to side. A grill that leans toward the back pools grease in one corner of the firebox, and a grill that leans to one side sends every drip to the same spot. Adjust the casters or shim a leg. Two minutes here saves you a grease fire in August.
Step four: Learn the ignition sequence. Find out which burner lights the others. On most 4-burner carts you light the far burner first and the rest cross over from it. Light them one at a time and listen for the crossover. If the igniter clicks but nothing catches, check the electrode gap before you reach for a match. Igniters that fail in the first season almost always fail because of a bent electrode, not a dead battery.
Step five: Preheat with the lid down. Ten to fifteen minutes, all burners on high, lid closed. You are looking for 400 to 450 degrees at the dome thermometer. If it will not get there in 15 minutes with the lid shut, you have a regulator or a gas flow problem, not a grill problem. This is also where you learn how long your preheat actually takes, which is the number you will use every night for the next five years.
Step six: The burger map. Buy a dozen identical quarter-pound patties. Same thickness, same fat ratio. Put them on with the lid up, spread evenly across all four zones, one row per burner. Close the lid. At four minutes, open it and flip every burger with the same spatula. At eight minutes, pull them all and line them up on a sheet pan in the order they came off the grate. The one that is furthest along came from your hottest zone. The pale one came from your cold corner. Write both down.
Step seven: The recovery test. With the grill at 400 degrees, note the dome reading. Open the lid and hold it open for exactly 60 seconds. Close it and time how long the dome takes to climb back to where it started. Under three minutes is a grill that will hold up to a steak dinner. Over five minutes is a grill you will be babysitting all summer, and no amount of burner cleaning will fix a thin firebox.
Step eight: The flare-up test. Let the grill come back to temperature, then lay four skin-on chicken thighs over the hottest zone, skin side down, lid closed. Watch through the window or crack the lid. Note where the flames come from and whether they die down on their own. Flames that come from the grates are fat burning off. Flames that come from under the grates mean grease is reaching the burners, which means your drip tray or deflectors are not doing their job. That is the difference between a flare-up and a fire.
What the burger map tells you
The map is not a flaw report. Every gas grill has hot spots, including the expensive ones. The map is a tool. Once you know that the back left corner runs 60 degrees hotter than the front right, you stop fighting the grill and start using it. Chicken thighs go over the cool zone for the first 20 minutes and finish over the hot corner. Burgers go on the hot side, get flipped, and slide to the cool side to finish. A brisket goes over the middle with a water pan under it and the two outer burners lit.
The first time you cook a full meal without opening the lid to check, you have learned to read your grill. That usually happens around cook four.
Maintenance steps that keep the igniter alive
A grill that cooks well and starts badly is a grill you will hate by July. Five minutes a month keeps the drill repeatable.
Brush the grates while they are hot, right after the food comes off. A cold grate with baked-on residue takes ten times the scrubbing.
Empty the grease tray before it is full, not after. A tray that is 80% full is a tray that will overflow the first time you cook a pork butt.
Check the burner tubes for spider nests and rust flakes at the start of every season. A blocked burner port creates a cold spot that shows up on your map as a mystery.
Clean the igniter electrode with a dry cloth and check that the gap between the electrode and the burner is clean and even. Do not spray it with water.
Keep the grill covered. The single biggest killer of gas grills is water sitting in the firebox for six months.
What this drill is not
This is not a pellet grill guide. If you want smoke and set-and-forget, that is a smoker's job and a different bench.
This is not a charcoal argument. I judge charcoal-only competitions on weekends and I cook on propane on weeknights, and I am not going to pretend those are the same thing.
And this is not a review of the two grills above as competition rigs. They are both 4-burner propane carts built for weeknight cooking and weekend crowds, and the drill in this article is the fairest test you can run on either one.
What this all costs
The setup itself costs almost nothing. A dozen quarter-pound patties, a spray bottle, a few drops of dish soap, and a bubble level you probably already own. Add a cheap instant-read thermometer if you do not have one, because the dome gauge on any grill is a decoration, not an instrument.
The two grills sit at very different points in the market, and that gap buys you build quality more than it buys you cooking area. What you get for the money is a heavier firebox, a better burner layout, and a warranty you can actually use in year six. Check current Amazon price on both before you decide, and remember that the cheaper grill plus a good cover plus a monthly cleaning routine will outlast a neglected expensive one.
The math that matters is not the sticker. It is the difference between a grill you can read and a grill you fight. One evening with a dozen burgers is what closes that gap. Do the drill once, write down the map, and tape it inside the cabinet door.
That is the job. Your grill was built to cook evenly. Learn where it cheats, and it will.