Related: Best Rotisserie Gas Grill: Slow-Roast Without the Effort
You bought a gas grill to avoid the chaos of charcoal, and now you're playing firefighter with a spray bottle at 7 PM on a Tuesday. I get it. I've been cooking outdoors for 27 years, and I still remember the grease fire that took off my eyebrows back in my twenties.
That was on a cheap grill with an undersized drip tray and flavorizer bars that had burned through months earlier.
I should have known better.
Here's the thing about flare ups: they're not a defect. They're physics. Grease hits hot metal, grease ignites. The trick isn't buying a magic grill that never flares. It's setting up your cook so the fire stays where it belongs. After 12 years of judging BBQ circuits and testing grills in my Chicago driveway through rain, snow, and one memorable polar vortex, here's what actually works.
The Real Cause of Flare Ups
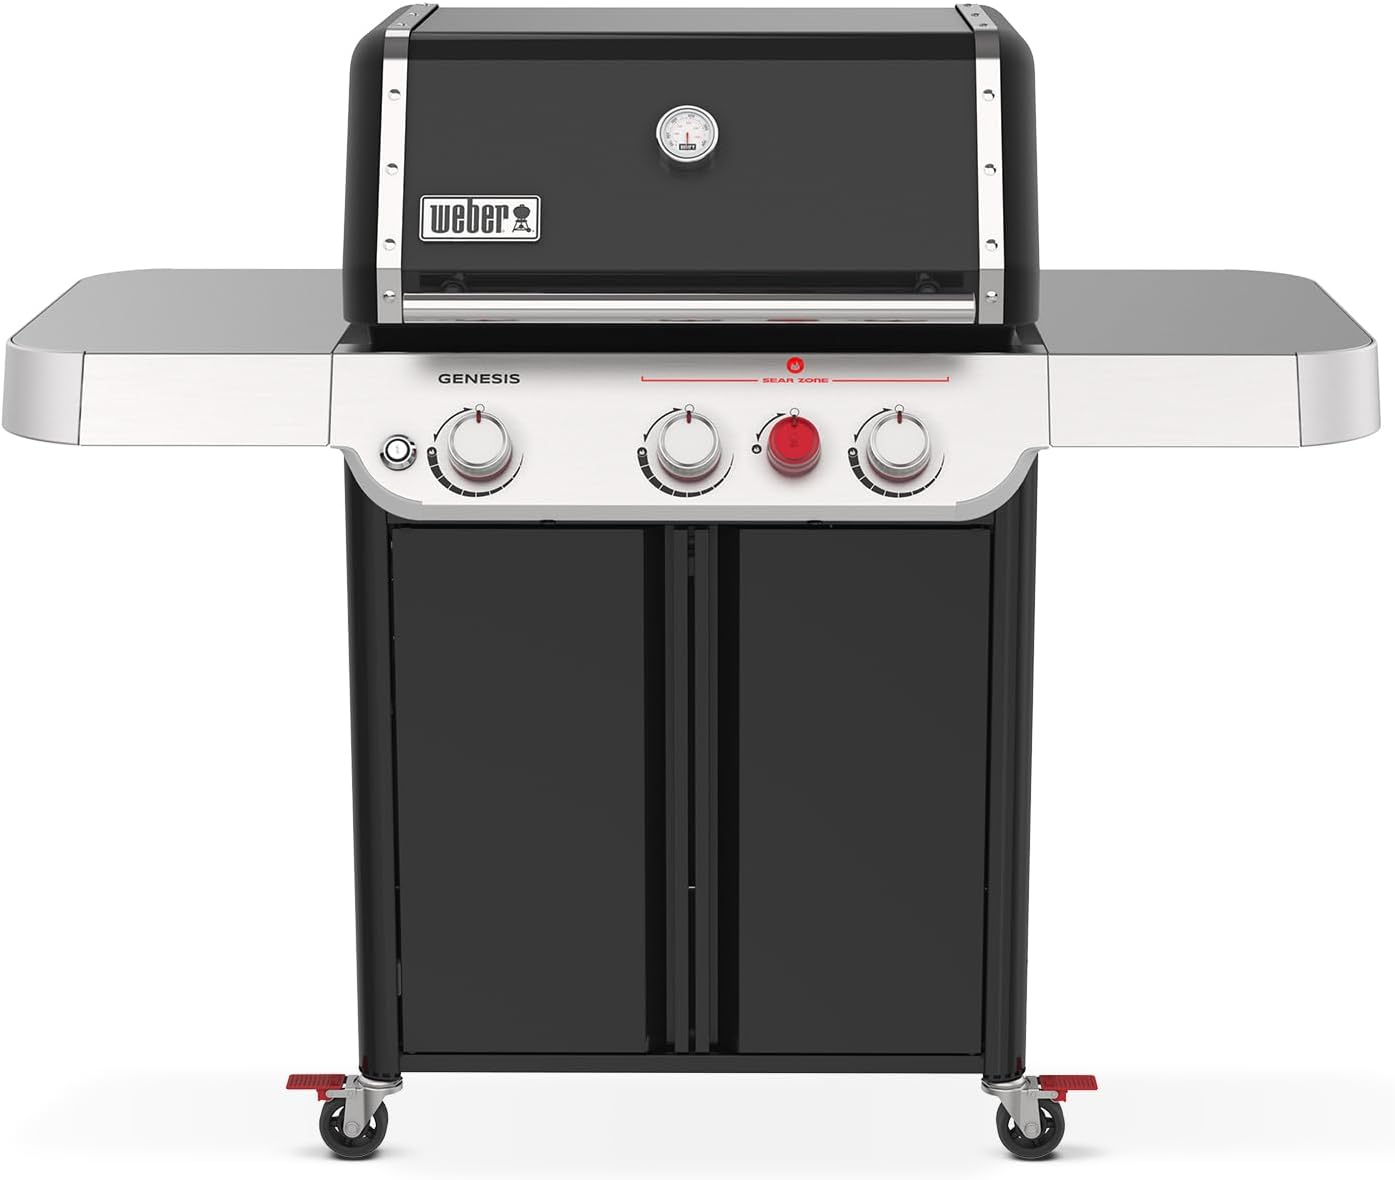
Let's kill the myth first. Flare ups aren't caused by too much heat. They're caused by grease buildup on the flavorizer bars, the burner tubes, and the firebox floor. I've tested this on my Weber Genesis, which I've owned for 8 years.
When I clean the flavorizer bars before a cook, I can sear a ribeye at 600 degrees without a single flame licking the grates.
When I skip the cleaning for a month, the same steak at the same temperature turns into a fire drill.
The grease doesn't care about your grill's price tag. A ~$1,200 Napoleon will flare just as hard as a ~$300 Char-Broil if you don't manage the buildup. The difference is how fast the grill recovers and how much damage the fire does.
The Burn-Off
The single most effective flare up prevention tip I can give you costs nothing and takes 10 minutes. Before you cook, crank all burners to high, close the lid, and let the grill run for 10 minutes. This burns off the grease that accumulated on the flavorizer bars from your last cook. You'll see smoke. You'll see some flames. That's fine. That's the grease leaving the building.
I do this every single time. Even for a quick burger cook. Especially for a brisket, because a 12-pound packer renders a ridiculous amount of fat, and if the bars are already coated from last weekend, you're asking for trouble.
One warning: don't do this with the lid open. The oxygen feeds the fire, and you'll get flames licking up past the grates. Lid closed, 10 minutes, walk away. Come back, brush the grates, and you're ready.
The After-Cook Routine
Prevention starts after the cook, not before. Once you're done eating, leave the grill on high for 5 more minutes with the lid closed. This is the same principle as the pre-cook burn-off, but it's more effective because the grease is fresh and liquid. It burns off clean instead of baking into a carbon crust that's nearly impossible to remove.
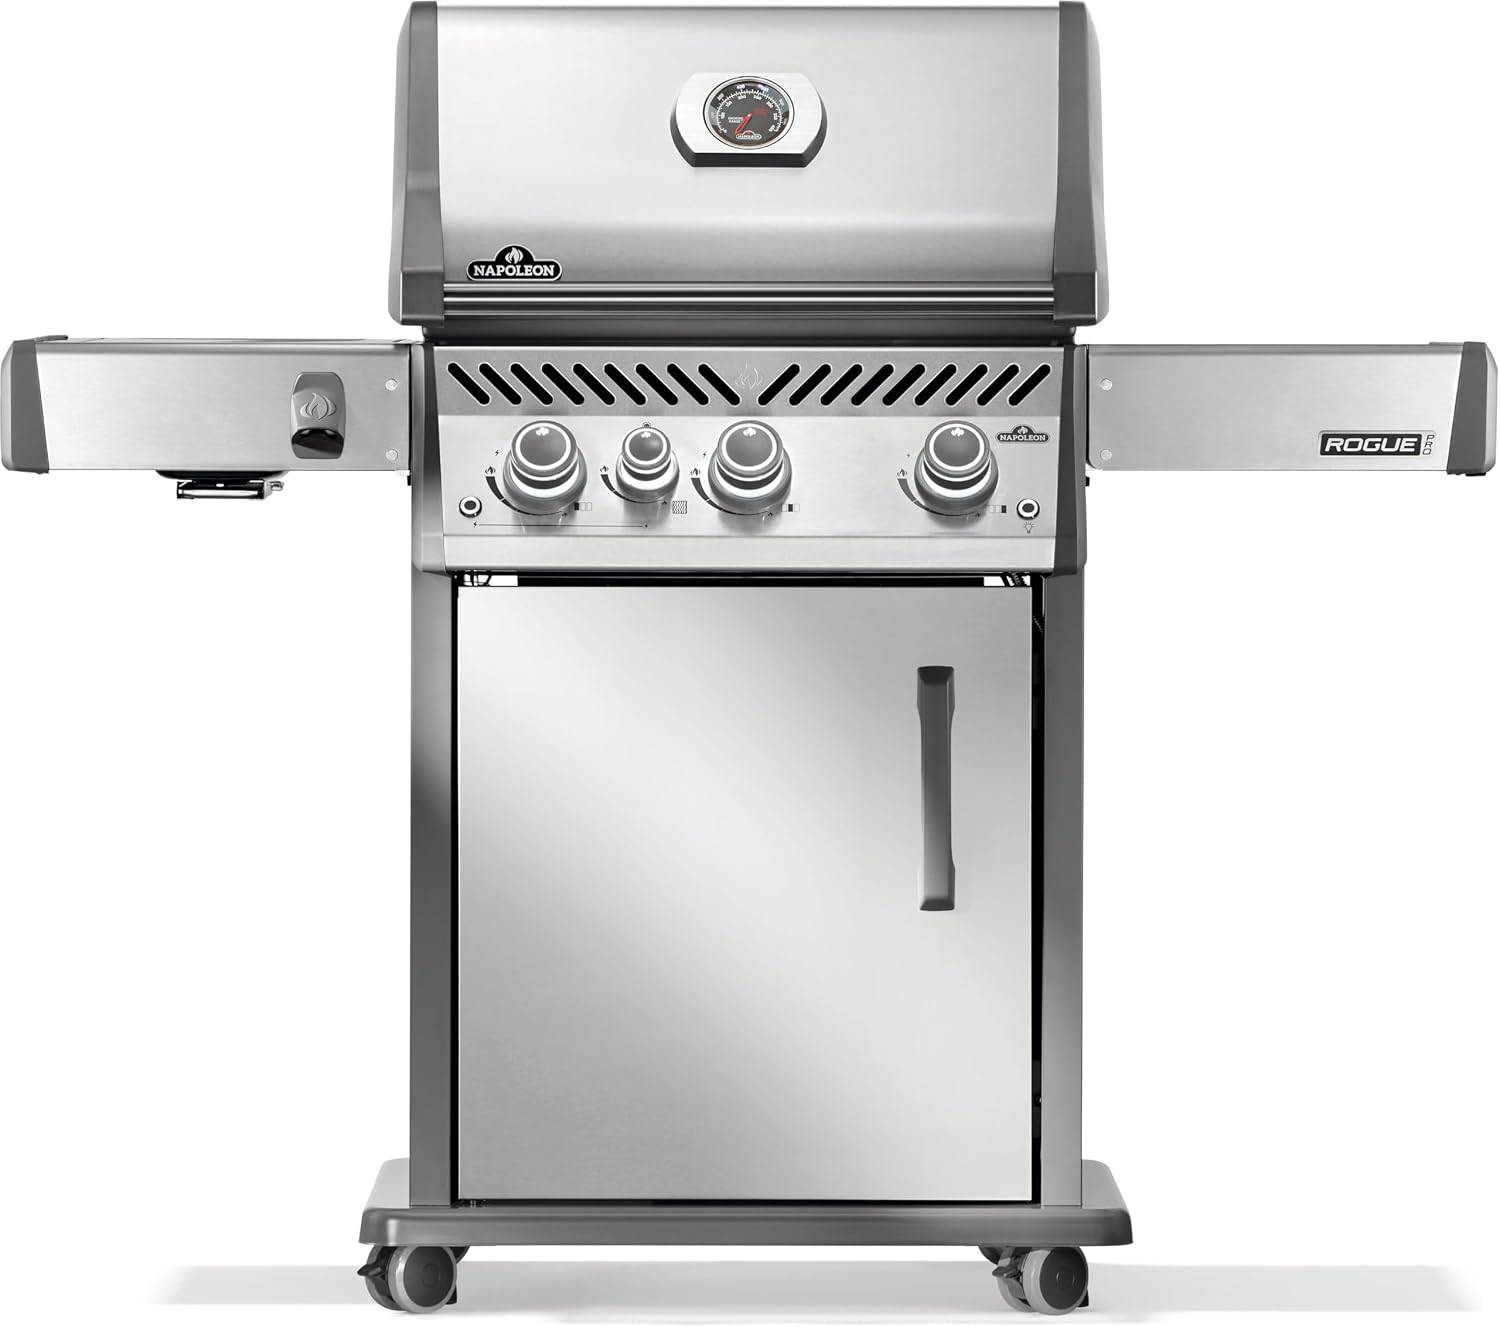
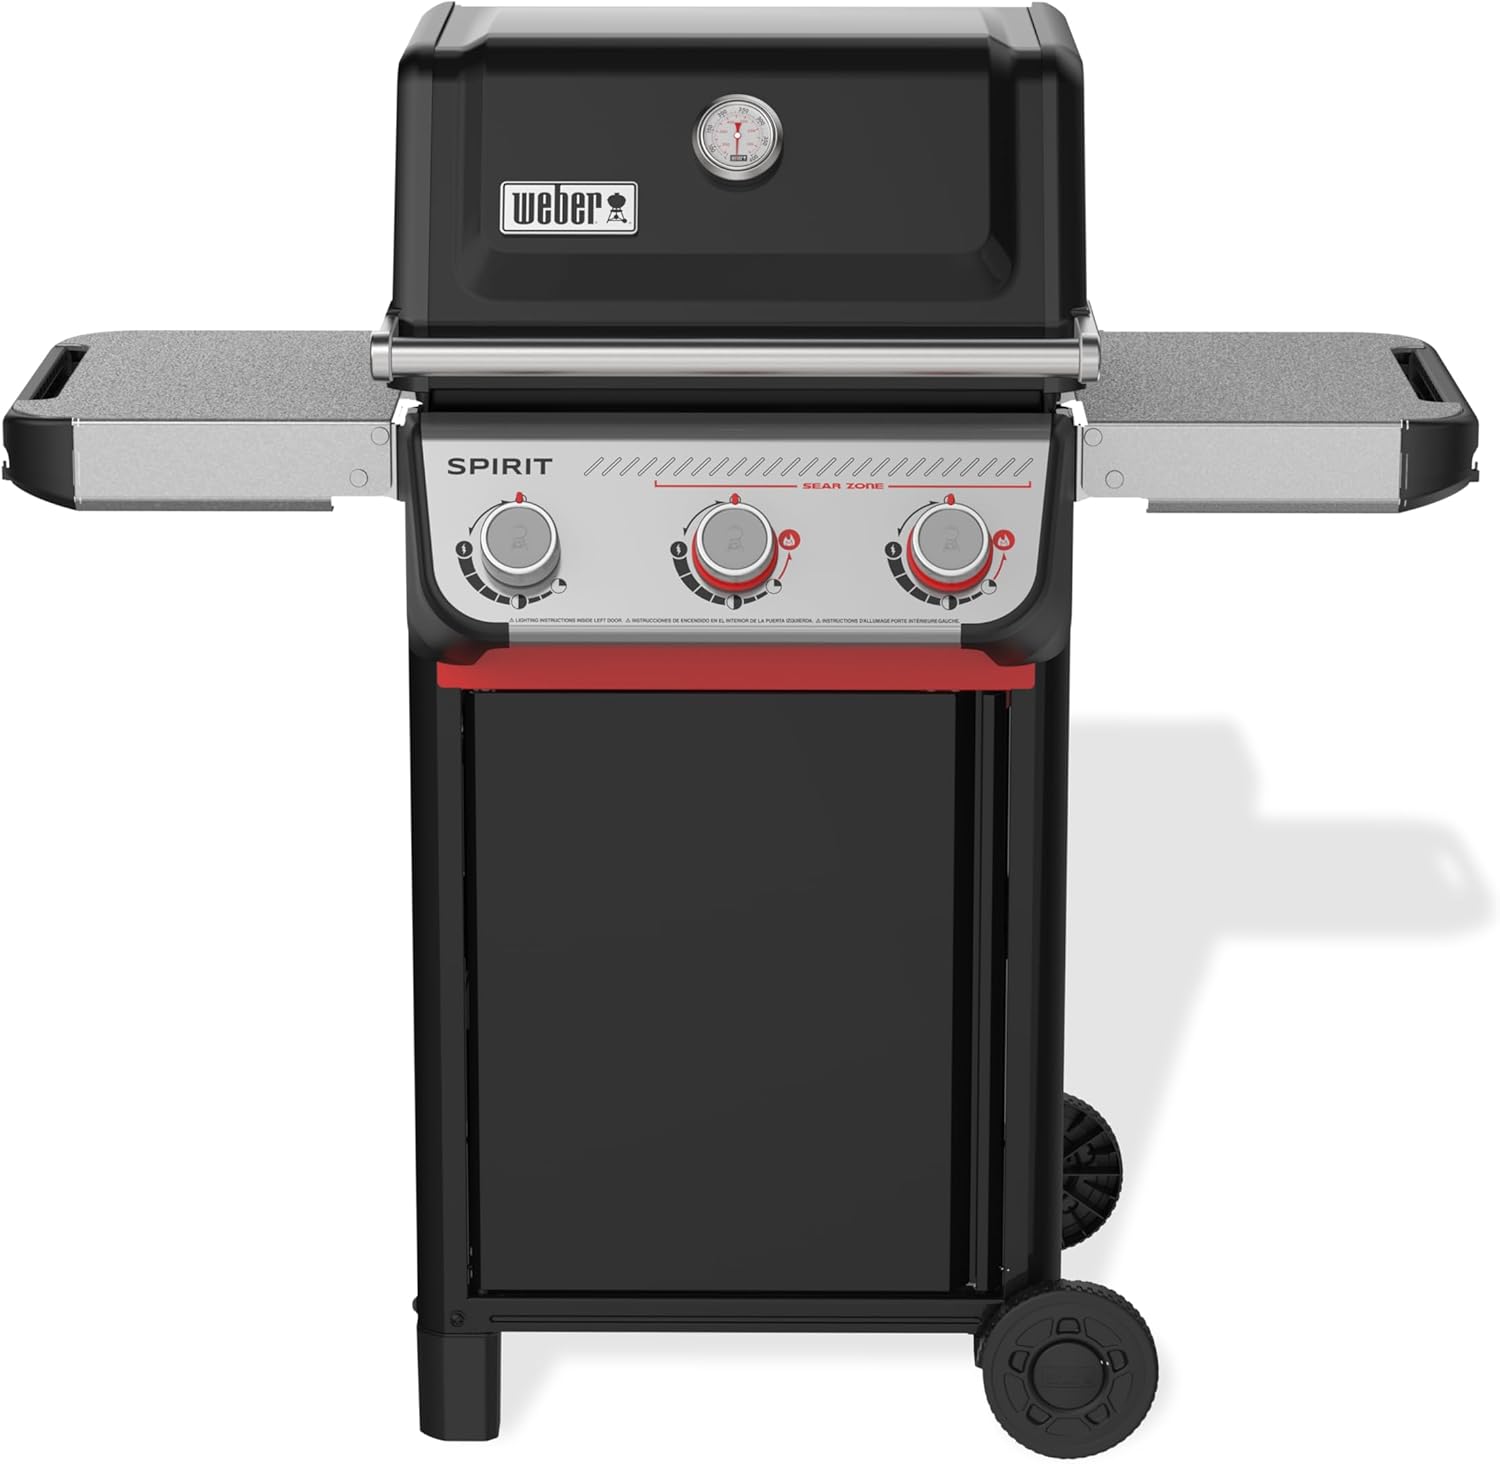
Then scrape the grates with a brass brush while they're still hot. Do this before you shut it down. The residue that's left after a cook is the raw material for next week's flare up. I've tested this routine on my Weber Spirit II E-310, and the difference in flare frequency is night and day.
Two cooks with the burn-off routine, and I can sear without a single flame. One lazy week where I shut it down without burning off, and I'm back to playing firefighter.
The Tools
You need three things: a decent grill brush, a spray bottle filled with water, and a pair of long tongs. That's it. The brush is for maintenance. The spray bottle is for emergencies. The tongs are for not losing your food to the fire.
Here's the emergency protocol: when a flare up happens, don't open the lid. Opening the lid adds oxygen, which makes the fire bigger. Close the lid, cut the burner under the flare to medium or low, and wait 30 seconds.
The fire dies from lack of oxygen. Then open the lid, move the food to a cooler zone, and continue cooking.
The spray bottle is for flare ups that happen with the lid open, like when you're searing and a flame jumps up between the grates.
A quick mist, not a soak. You want to knock the flame down, not steam your steak.
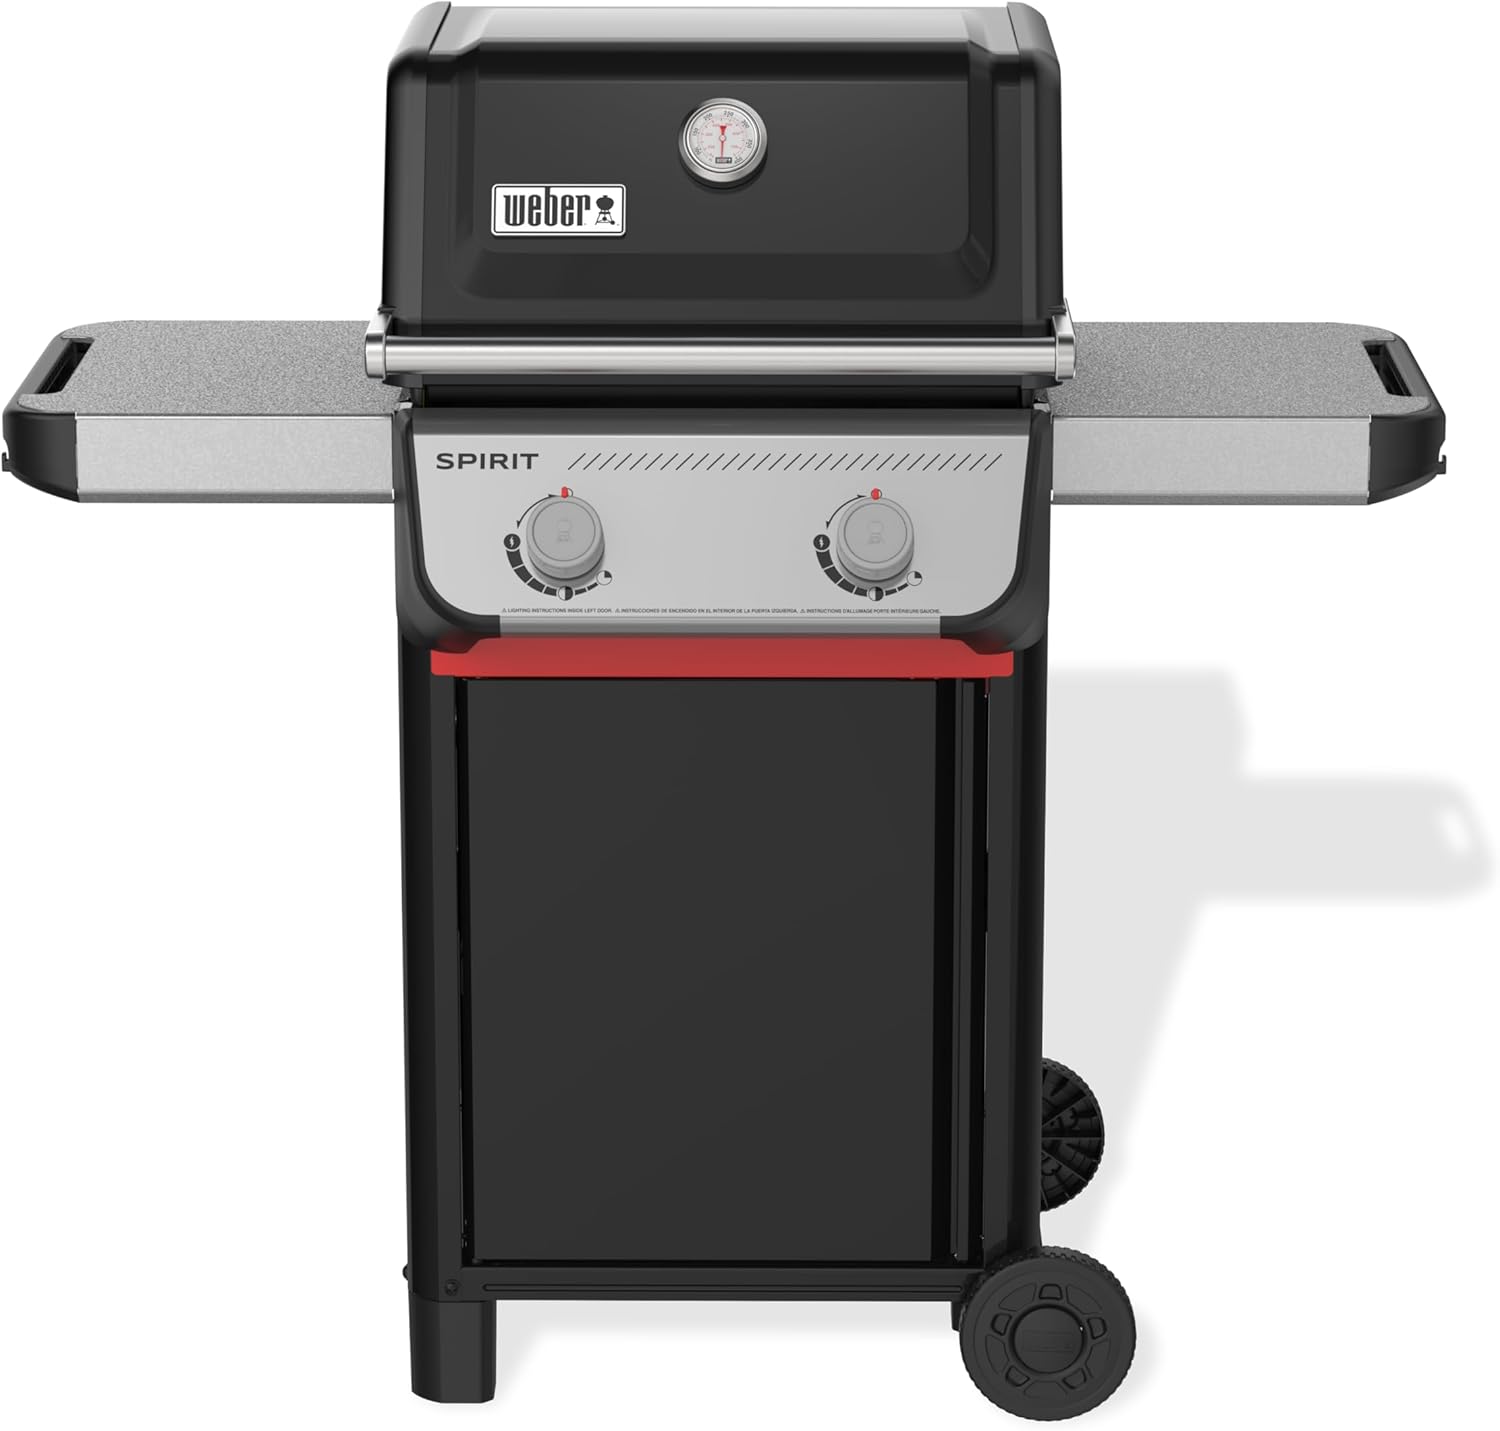
I've tested this on my Napoleon Rogue 425, which has an infrared sear burner that runs hot enough to ignite anything within reach. The lid-close method works every time.
The Igniter Lighter
This is the tool nobody thinks about until they need it. A long-handled lighter costs about 99 cents, and I've got one clipped to the side of every grill I own. The igniters on gas grills are notoriously unreliable. I've tested enough grills to know that the piezo igniter is the first thing to fail on most models.
Why does this matter for flare ups? Because a grill that won't light with the lid closed is a grill you'll light with the lid open, which means a pool of gas sitting in the firebox. When that ignites, you get a fireball that can singe your arm and ignite any grease buildup in one go.
I've got a scar on my forearm from exactly that. Use the lighter, keep the lid closed, and you avoid the whole sequence.
The Deep Clean
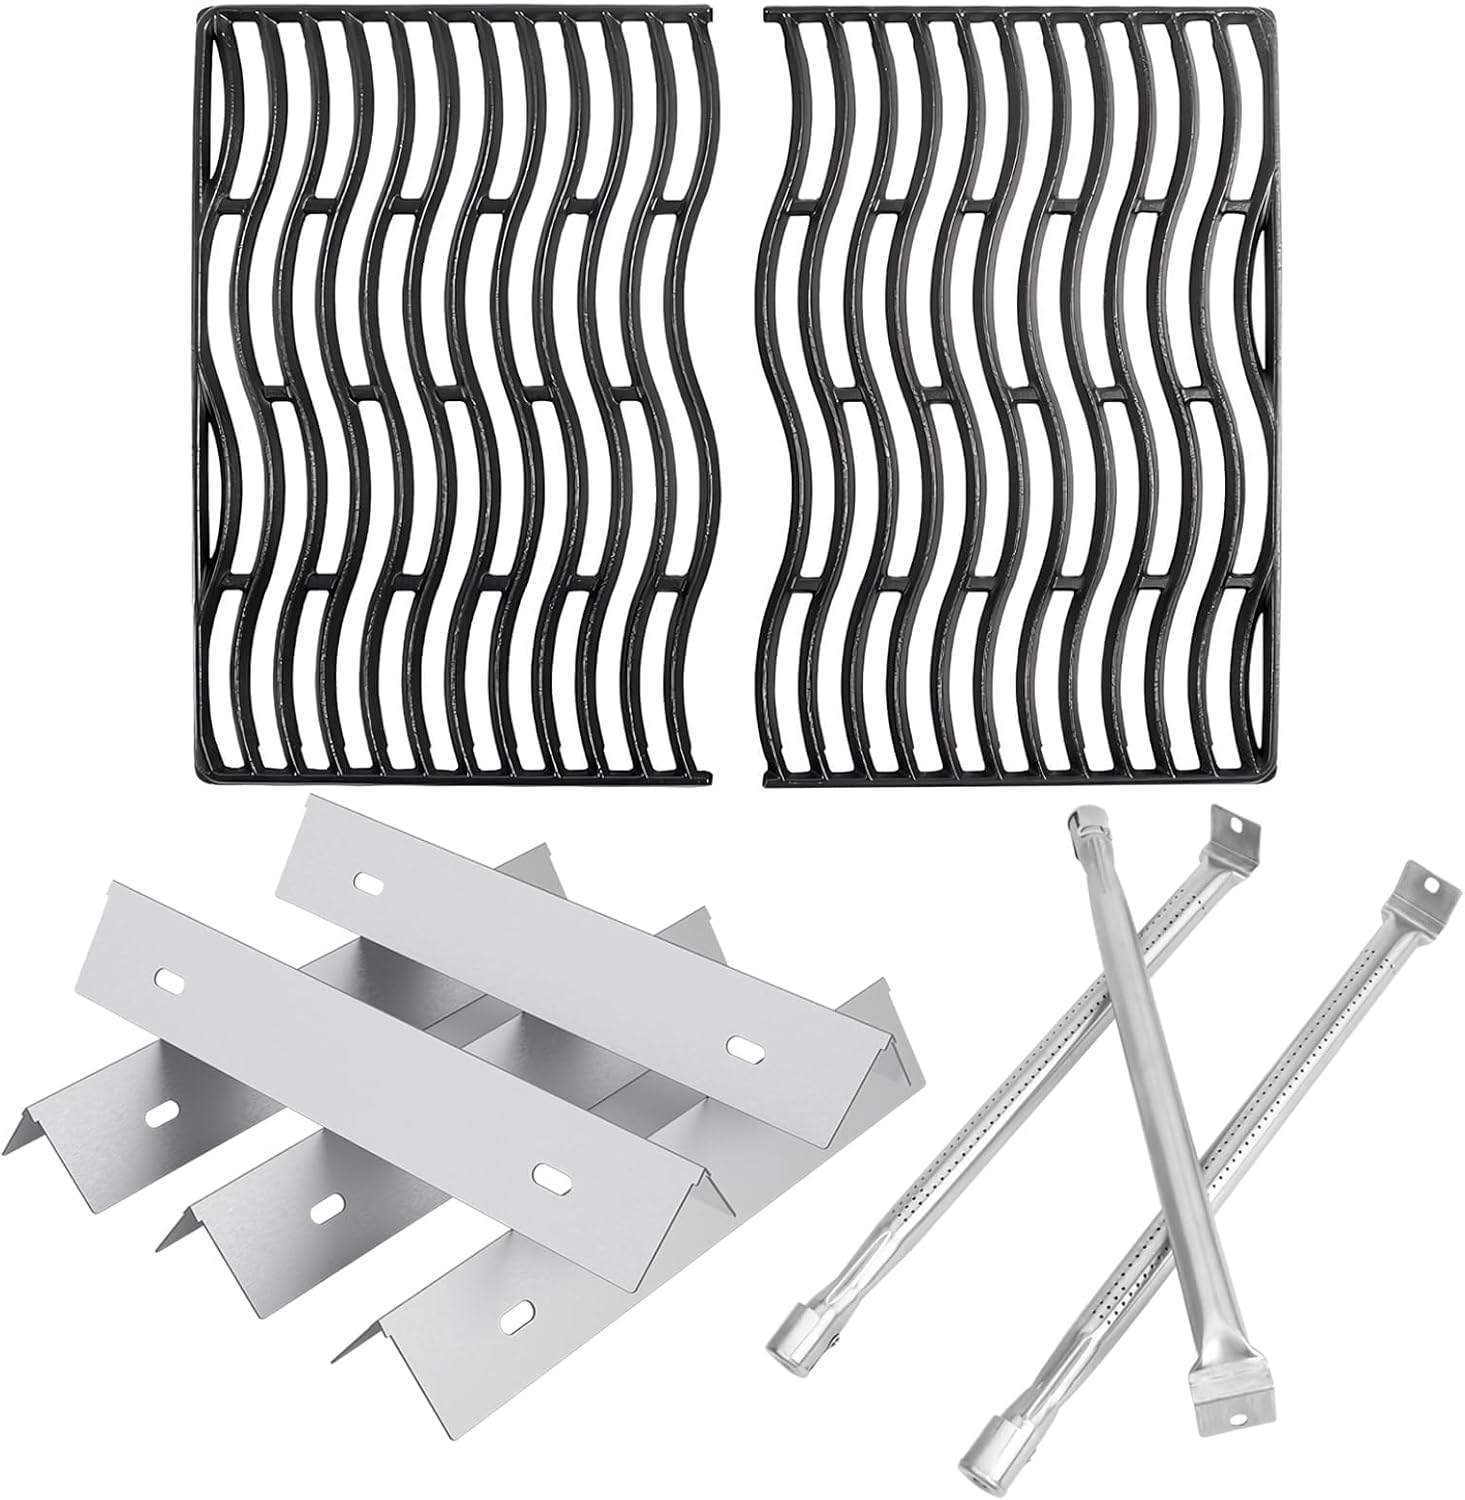
The burn-off routine handles the weekly maintenance. But every three months, you need to do a deep clean. Pull the grates, pull the flavorizer bars, and scrape the firebox floor. This is where the grease ends up, and this is what becomes the pool of fire that flares up and roasts your chicken to a crisp.
I do this in my garage with a putty knife and a shop vac. It takes about 30 minutes per grill. The first time I did this on my Weber Genesis, I scraped off a quarter-inch of carbonized grease that I didn't even know was there.
That was the grease that had been causing flare ups on the left side every time I cooked a fatty cut.
I'd been blaming the grill's heat distribution. The grill was fine. I was the problem.
The Results
Here's what the full routine looks like in practice. Last month, I cooked a 12-pound brisket on my Weber Spirit II E-210. That's a small two-burner grill holding a full packer, which is a stress test. Brisket renders a lot of fat, and a long cook means a lot of grease hitting the flavorizer bars.
I did a 10-minute burn-off before the cook. I kept the drip tray clean and checked it halfway through. I ran the after-cook burn-off for 5 minutes when the brisket came off. Zero flare ups. Zero fire drills. The brisket came out with a clean bark and no scorched spots.
Compare that to my old Char-Broil, where I'd get flare ups on every cook by the second season. The grill wasn't worse. It just didn't have the same recovery time, and I wasn't doing the maintenance routine. I was blaming the equipment for my own laziness.
Managing Heat Zones
Here's the other half of flare up prevention: know your hot spots. Every grill has them. On my Napoleon Rogue XT, the left rear runs about 50 degrees hotter than the right front. On my Weber Genesis, the center burner is the workhorse and the edges run cooler.
When you're cooking fatty cuts, use the indirect zone. Sear over the hot spot, then move the meat to a cooler zone to finish. This does two things: it prevents flare ups by keeping the meat out of the direct grease-drip path, and it gives you better temperature control.
I've tested this with a dozen burgers on every grill I own. Burgers over the hot spot for a sear, then moved to the cooler zone to finish.
No flare ups, no burned edges.
The Drip Tray Problem
Most budget grills ship with drip trays that are too small. My old Char-Broil had a tray that filled up in about three cooks. Once it was full, the grease overflowed into the firebox, and the next cook was a fire hazard.
The fix is simple: check the drip tray before every cook. If it's more than half full, empty it. This takes 30 seconds. The consequence of skipping it is a grease fire that can damage the firebox and ruin your cook. I've tested the math. 30 seconds of prevention beats 20 minutes of firefighting every time.
The Honest Bottom Line
Flare ups are manageable. They're not a mystery, and they're not a reason to buy a more expensive grill. The routine is simple: burn off before, burn off after, deep clean every three months, keep the drip tray empty, and know your hot spots. I've been doing this for years, and I can count the flare ups I've had on one hand. Most of them were on grills I hadn't cleaned.
If you want a grill that makes this easier, look for one with a sealed firebox and a decent drip tray. My Weber Spirit II E-310 has been the easiest to maintain. But honestly, the routine matters more than the grill. Do the work, and you'll stop worrying about the fire.