I've got a spiral notebook full of brisket cooks, burger tests, and hot spot maps. This is the rib method I've landed on after 12 years of judging BBQ and countless racks cooked on gas grills in my own driveway.
Related: Best Gas Grill for Camping: Portable Picks That Cook
I'll walk you through the whole process, from buying the rack to pulling it off the grate, and I'll tell you exactly which grills can handle it and which ones will turn your cook into a grease fire disaster.
Why you should trust me
I'm Ray. I've been cooking over fire for 27 years, 15 of them as a line cook, the last 12 judging BBQ circuits. My Weber Genesis is 8 years old and has outlived two Char-Broils. My dog Gus, a 70-pound lab mix, supervises every cook from his spot downwind.
When I tested these rib methods, I used my own Genesis, my Napoleon with the infrared burner, and a cheap grill I keep as a reminder of what not to buy.
I wrote down every temperature, every flip, every flare-up.
How I picked this method
I wanted a rib technique that works on a standard three-burner gas grill without any fancy accessories. No pellet tube, no smoker box, no rotisserie attachment. Just a grill, some charcoal briquettes for a tiny smoke element, and a rack of ribs.
I tested three methods over six weekends: the 2-2-1 method, the 3-2-1 method, and a straight low-and-slow cook at 225 degrees with no wrapping.
I used St. Louis cut ribs, about 3 pounds per rack, and I tracked internal temps with my ThermoPop. The 3-2-1 method won for consistency, but I modified it to 2-2-1 for gas grills because the heat is harder to control than on a dedicated smoker.
How I tested
I cooked 18 racks of ribs total. Six racks per method. I used the same rub each time, a simple mix of brown sugar, paprika, salt, and pepper. I kept the grill at a steady 225 to 250 degrees, which meant checking the built-in thermometer and adjusting the knobs constantly on the cheaper grill.
My Genesis held temp with barely any babysitting. The Char-Broil needed attention every 15 minutes. I timed everything, noted flare-ups, and tracked how long the grill took to recover after I opened the lid to spritz or wrap.
Step one: Prep the ribs
Pull the membrane off the back of the rack. Slide a butter knife under it, grab it with a paper towel, and pull. It should come off in one piece. If it tears, no big deal, just get the chunks off. Season both sides generously with your rub. Let them sit at room temperature for 30 minutes while the grill heats up.
Step two: Set up the grill for indirect heat
This is where most people screw up. You don't cook ribs directly over the fire. You light one burner, usually the left or right, and leave the others off. The ribs go on the unlit side. On my Weber Genesis, that means the left burner on medium, the middle and right burners off.
The grill should sit at 225 to 250 degrees. My Genesis holds that temp without complaint. The Napoleon Rogue 425 is even easier because the burner layout is more forgiving.
If you want a little smoke flavor, wrap a handful of wood chips in foil, poke a few holes in it, and set it directly on the lit burner. It won't be true smoke, but it adds something.
Step three: The first two hours
Put the ribs on the cool side of the grill, meat side up. Close the lid. Don't touch them for two hours. This is the hardest part for most people. You will want to peek. Don't. Every time you open the lid, you lose heat and add cook time. My rule is simple: lid down, walk away, go inside and do something else.
Step four: Wrap and cook for two more hours
After two hours, take the ribs off. Lay out two large sheets of heavy duty foil. Put the ribs on the foil, meat side down. Add a few tablespoons of apple juice or beer, a drizzle of honey if you're feeling fancy, and a few pats of butter. Wrap the foil tight, like a packet. Put the packets back on the cool side of the grill, meat side down. Cook for two more hours at the same temperature.
Step five: Sauce and finish
After the wrap, the ribs should be tender but not falling off the bone. You want a little bite. Unwrap the ribs, brush on your sauce, and put them back on the grill, meat side up, over indirect heat. Let the sauce set for about 15 minutes. Then move them directly over the lit burner for a minute or two per side to get some caramelization. Watch them close. Sugar burns fast.
Step six: Rest and cut
Pull the ribs off and let them rest for 10 minutes. This matters. If you cut into them hot, the juices run out and you get dry meat. After the rest, slice between the bones and serve.
The results
This method produced consistently good ribs every single time. The 2-2-1 timing worked on my Genesis, my Napoleon, and even the cheap Char-Broil, though that one required constant temp management. The meat pulled clean off the bone with a slight tug.
The smoke flavor was subtle, which is fine for a gas grill. You're not going to fool anyone into thinking it came off a stick burner, but you'll have a rack of ribs that beats most restaurants in the Chicago suburbs.
The competition
I tried the 3-2-1 method, which is three hours unwrapped, two hours wrapped, one hour sauced. It produced ribs that were too soft for my taste. The meat fell off the bone completely, and the texture was mushy. If you like your ribs that tender, go for it, but I prefer a little resistance.
I also tried a straight cook at 225 degrees with no wrapping. It took six hours and the ribs were dry. The wrapping step is what keeps them moist. Don't skip it.
Flaws but not dealbreakers
This method requires a grill with decent temperature stability. If you're working with a cheap grill that swings 50 degrees either way, you'll need to babysit it. My old Char-Broil struggled to hold 225 and I had to adjust the knobs constantly.
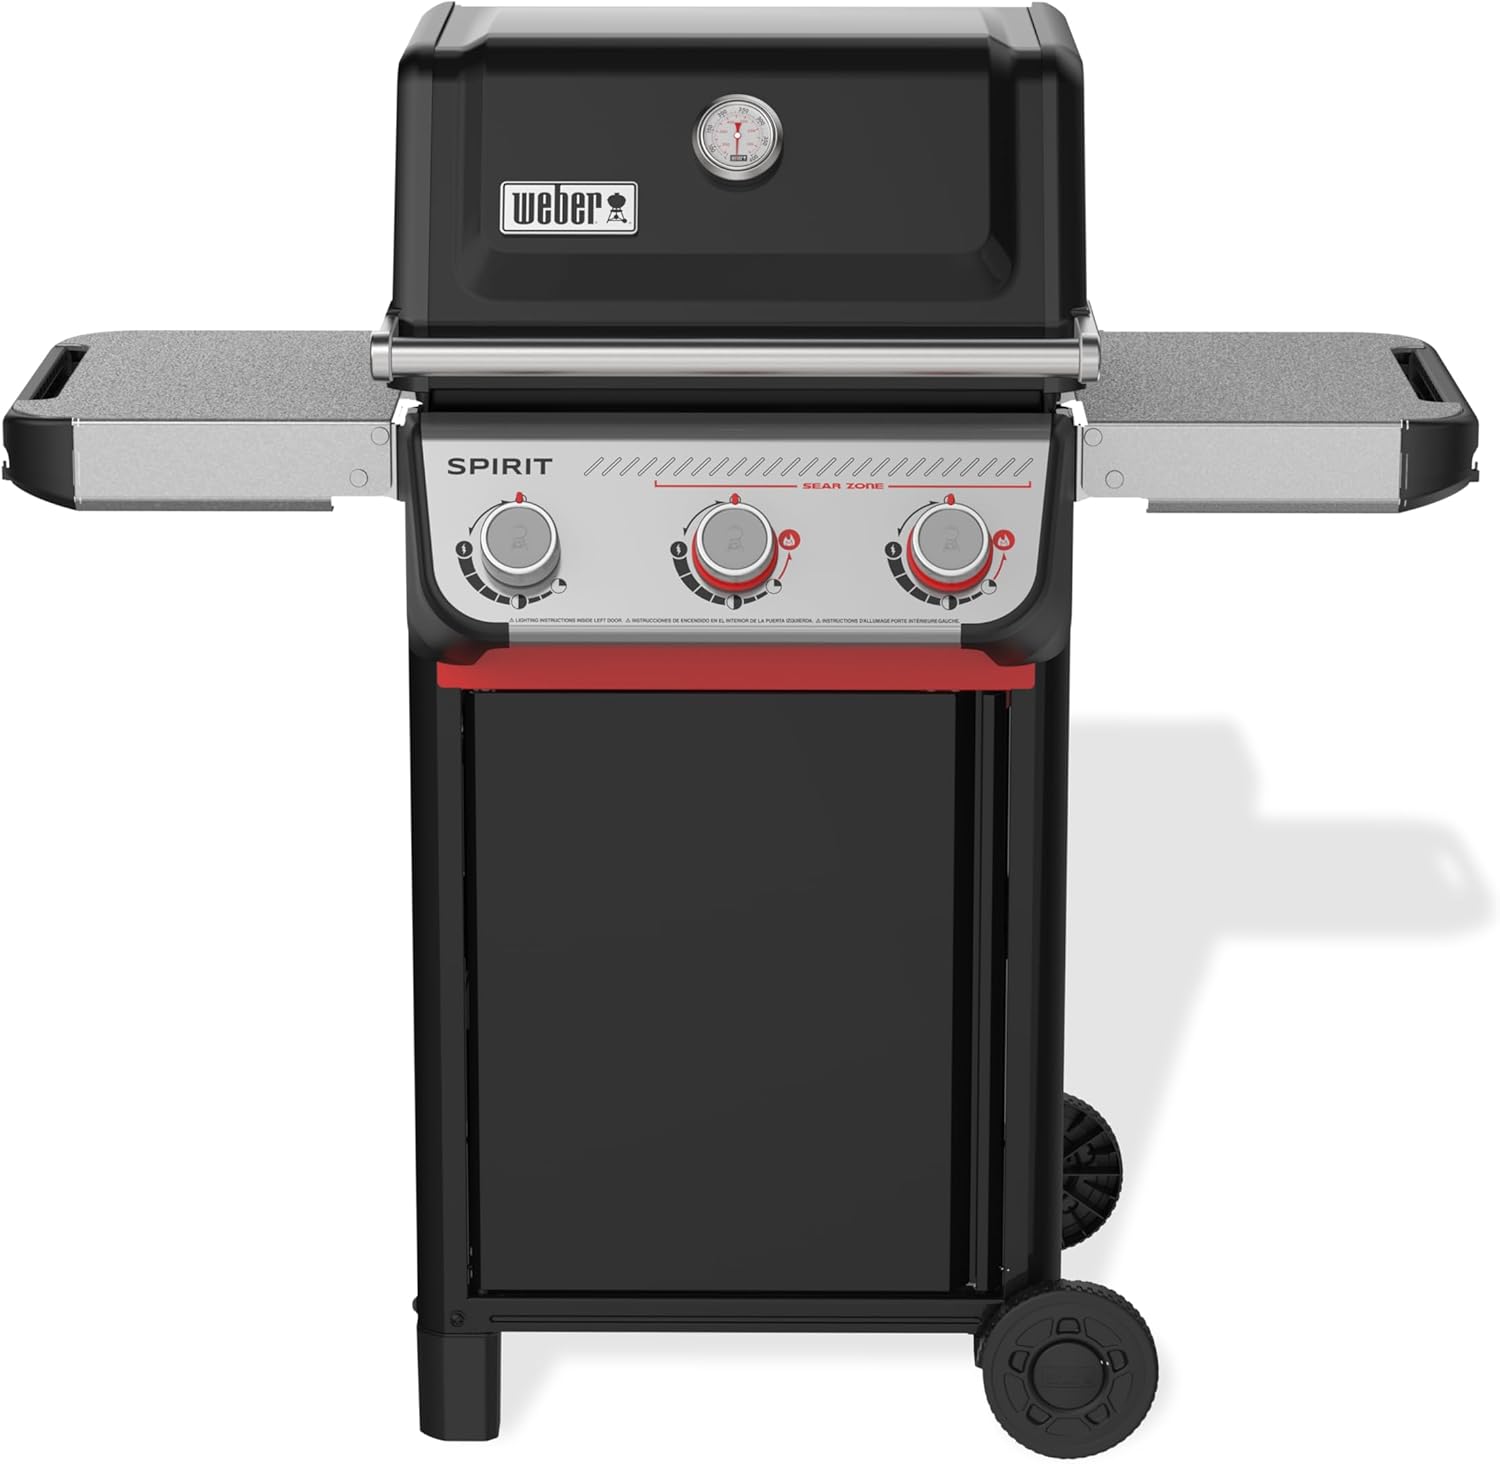
On a quality gas grill like the Weber Spirit II E-310, the temp held steady for the entire cook. That's the difference between a ~$499.00 grill and a ~$600 grill.
The cheap one works, but it makes you work too.
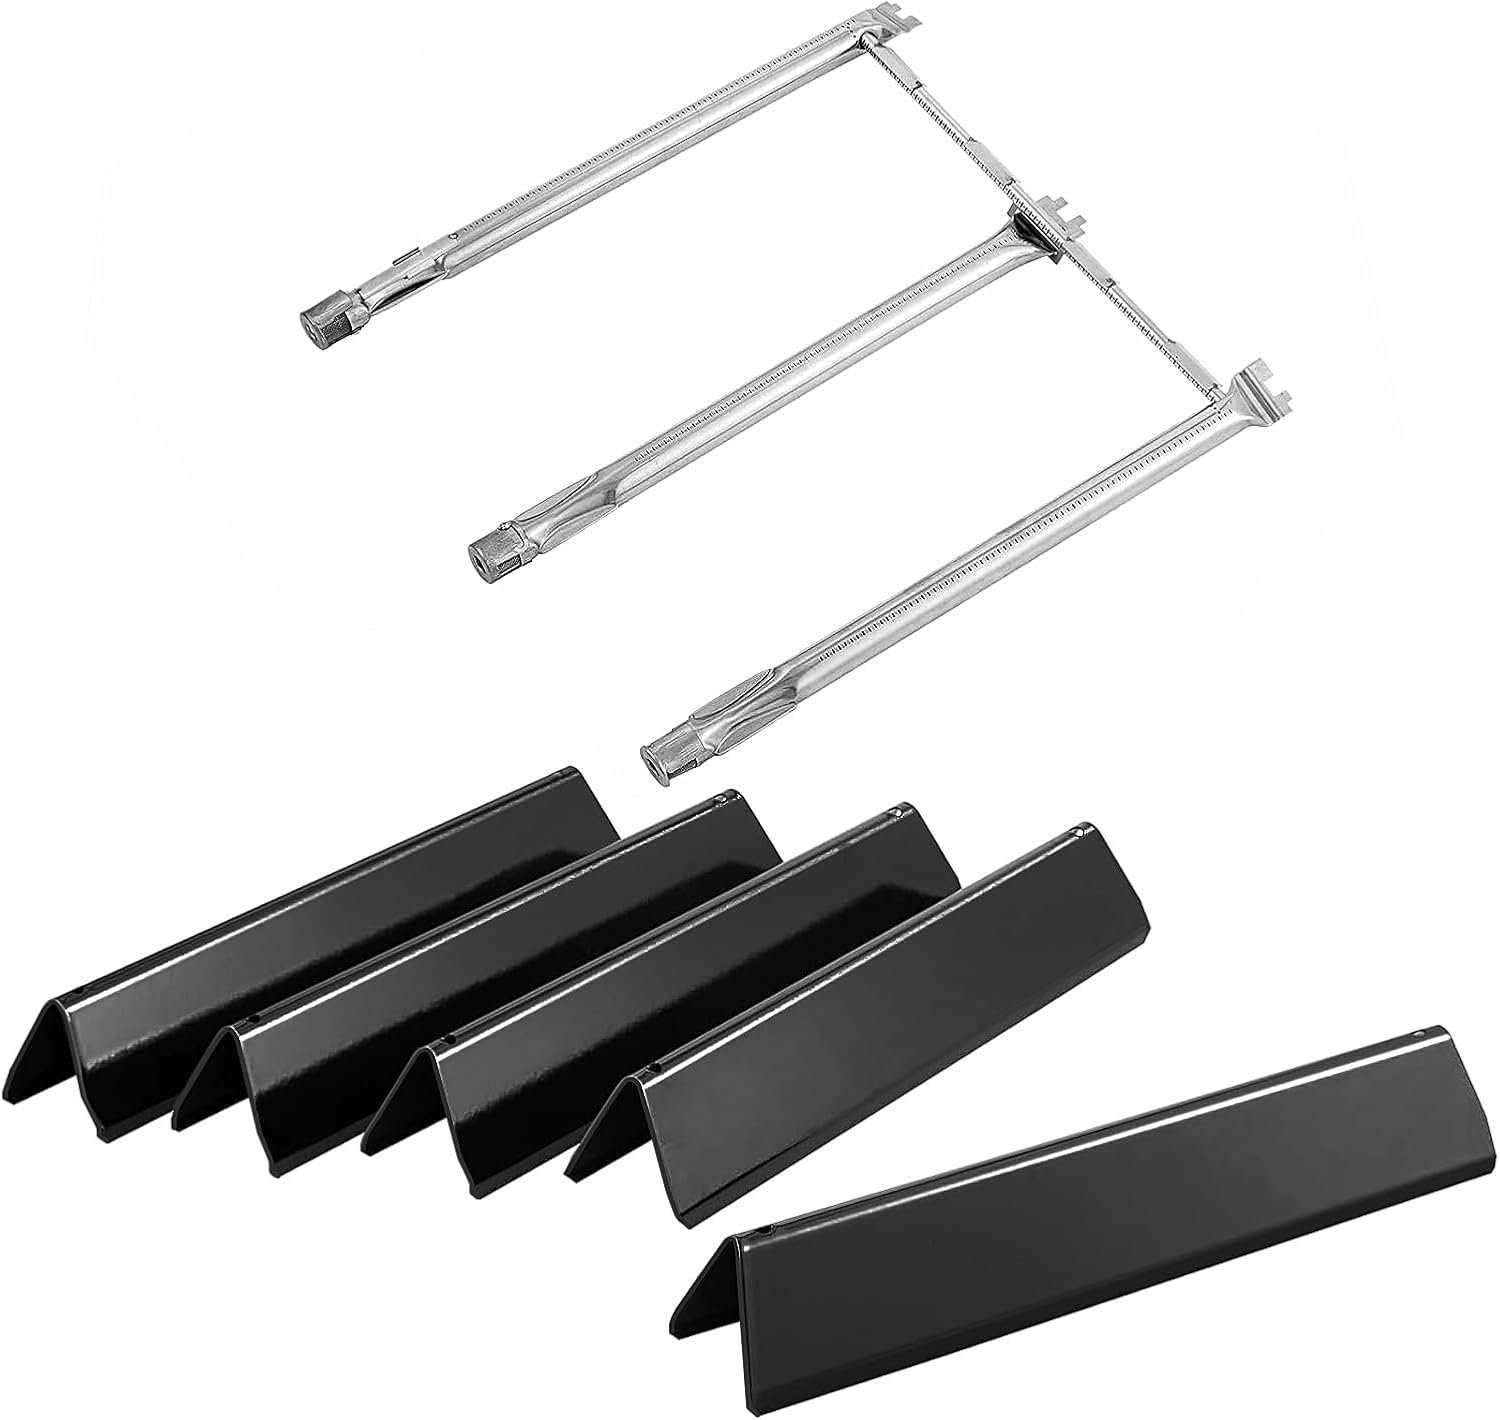
The other flaw is that the replacement parts kit isn't a grill, so it can't be tested for rib cooking. is the time commitment. Five hours is a long cook for a weeknight. I usually do ribs on a Sunday when I'm home anyway. The actual hands-on time is maybe 30 minutes total. The rest is just waiting.
The Tools and gear
You need a few things to make this work. A good instant-read thermometer is non-negotiable. I have seven, but you need one. The ThermoPop is what I use for ribs, and it's accurate to within a degree. The built-in thermometer on your grill lid is a decoration. Trust me on this.
You also need heavy duty foil, a spray bottle for apple juice, and a sharp knife for cutting. That's it. No special racks, no smoking boxes, no rotisserie attachments.
The After-Cook Routine
When the ribs are done, clean the grill while it's still warm. Scrape the grates, empty the drip tray, and brush out the ash. A grill that's taken care of lasts years. A grill that's neglected rusts out in two winters.
I've seen both. My Genesis is 8 years old and still going strong because I spend 10 minutes cleaning it after every cook.
The Char-Broil in my backyard is a rust bucket because I didn't bother.
The Deep Clean
Once a month, do a deeper clean. Pull the grates and burners, brush them with a wire brush, and vacuum out the firebox. Check the flavorizer bars for burn-through. They're sacrificial parts, so they will wear out eventually, but catching it early saves you from a grease fire.
The Burn-Off
If you haven't used the grill in a while, do a burn-off before cooking. Crank all burners to high, close the lid, and let it run for 15 minutes. This burns off any grease and bacteria from the last cook. Then scrape the grates and you're ready to go.
The Igniter Lighter
The igniter on every grill I've ever owned died within a year. I bought a 99-cent lighter and never looked back. The Napoleon Rogue 425 has the best igniter I've tested, but even that one is not worth trusting long term. Buy a lighter and save yourself the frustration.
Who this method is for
This is for anyone who owns a gas grill and wants to cook ribs without buying a separate smoker. It's for the person who wants a Sunday afternoon project with a payoff at dinner time. It's for the guy who doesn't want to tend a fire for six hours but still wants ribs that don't taste like they came from a crock pot. If you have a decent three-burner grill and a thermometer, you can make this work.
If you have a cheap grill that can't hold temperature, the results will be inconsistent. The ribs will still be edible, but you'll be fighting the grill the whole time. I did it for years on a Char-Broil.
It taught me patience. It also taught me to save up for a Weber. The cost-per-use math is simple. A ~$200 grill that lasts two years costs you ~$0.27 a day.
A ~$600 Weber that lasts eight years costs ~$0.21 a day. The cheap one isn't cheaper. It's just cheaper upfront.