Most gas grills are sold as one big hot surface with a lid. They are not. A gas grill is two, three, or four heat zones sitting side by side under that lid, and the cook who understands gas grill heat zones eats better than the cook who spent twice as much on hardware. Walk the grill aisle and every box screams BTU numbers and "flare-free" grates. None of that tells you whether the left side of the grate runs 60 degrees hotter than the right, which is the only thing that matters when you are trying to cook a steak and a chicken breast on the same grate.
I have been cooking on gas for a long time, and I will tell you the same thing I tell everyone who asks me which grill to buy: the grill is maybe 30 percent of the result. The setup is the other 70.
Why you should trust me
I spent 15 years as a line cook before I started running a BBQ judging circuit, and I have been judging for 12 years now. I own four grills and a thermometer collection my wife has opinions about. Every grill that comes through my yard gets the same three-cook routine: a dozen burgers for evenness, a full brisket for heat stability, and a whole chicken for flare-up behavior. I keep a spiral notebook of every cook with ambient temp, wind direction, and where the hot spots landed.
I do not review a grill until it has three full cooks on it. I do not take paid placement, and when a brand sends a unit, I say so in the writeup. And I do not review pellet smokers here, because that is a different bench and a different set of skills. What I do is teach you how to run the grill you already own.
What two-zone cooking actually means
Direct heat is food sitting over a live burner. Indirect heat is food sitting on the grate with no burner underneath it, lid down, so the grill behaves like an oven with a smoky ceiling. Two-zone cooking is just both of those at once: burners running on one side, burners off on the other, food moving between them as the cook progresses.
The reason it works is simple. A steak needs a hard sear to build crust, and it needs gentle heat to bring the center up to temperature. If you leave it over direct heat the whole time, the outside is charcoal before the middle is past rare. If you cook it indirect the whole time, the center is perfect and the outside looks boiled. Two zones solve both problems in one cook.
The rule of thumb I use:
- Steaks, burgers, chops, sausage: sear direct, finish indirect.
- Ribs, whole chicken, pork shoulder, roasts, anything over about an inch and a half thick: indirect first, with a short direct sear at the end if you want color.
- Fish, shrimp, thin vegetables, anything that cooks in under five minutes: direct heat, lid up, and do not walk away.
That covers 90 percent of what most people actually cook.
The grill and the book I point people to
Two pieces of gear do the heavy lifting here. One is the grill itself, because burner layout decides where your zones live. The other is a reference for what to do with the indirect side once you have it, because indirect cooking is where people guess and where guesses get expensive.
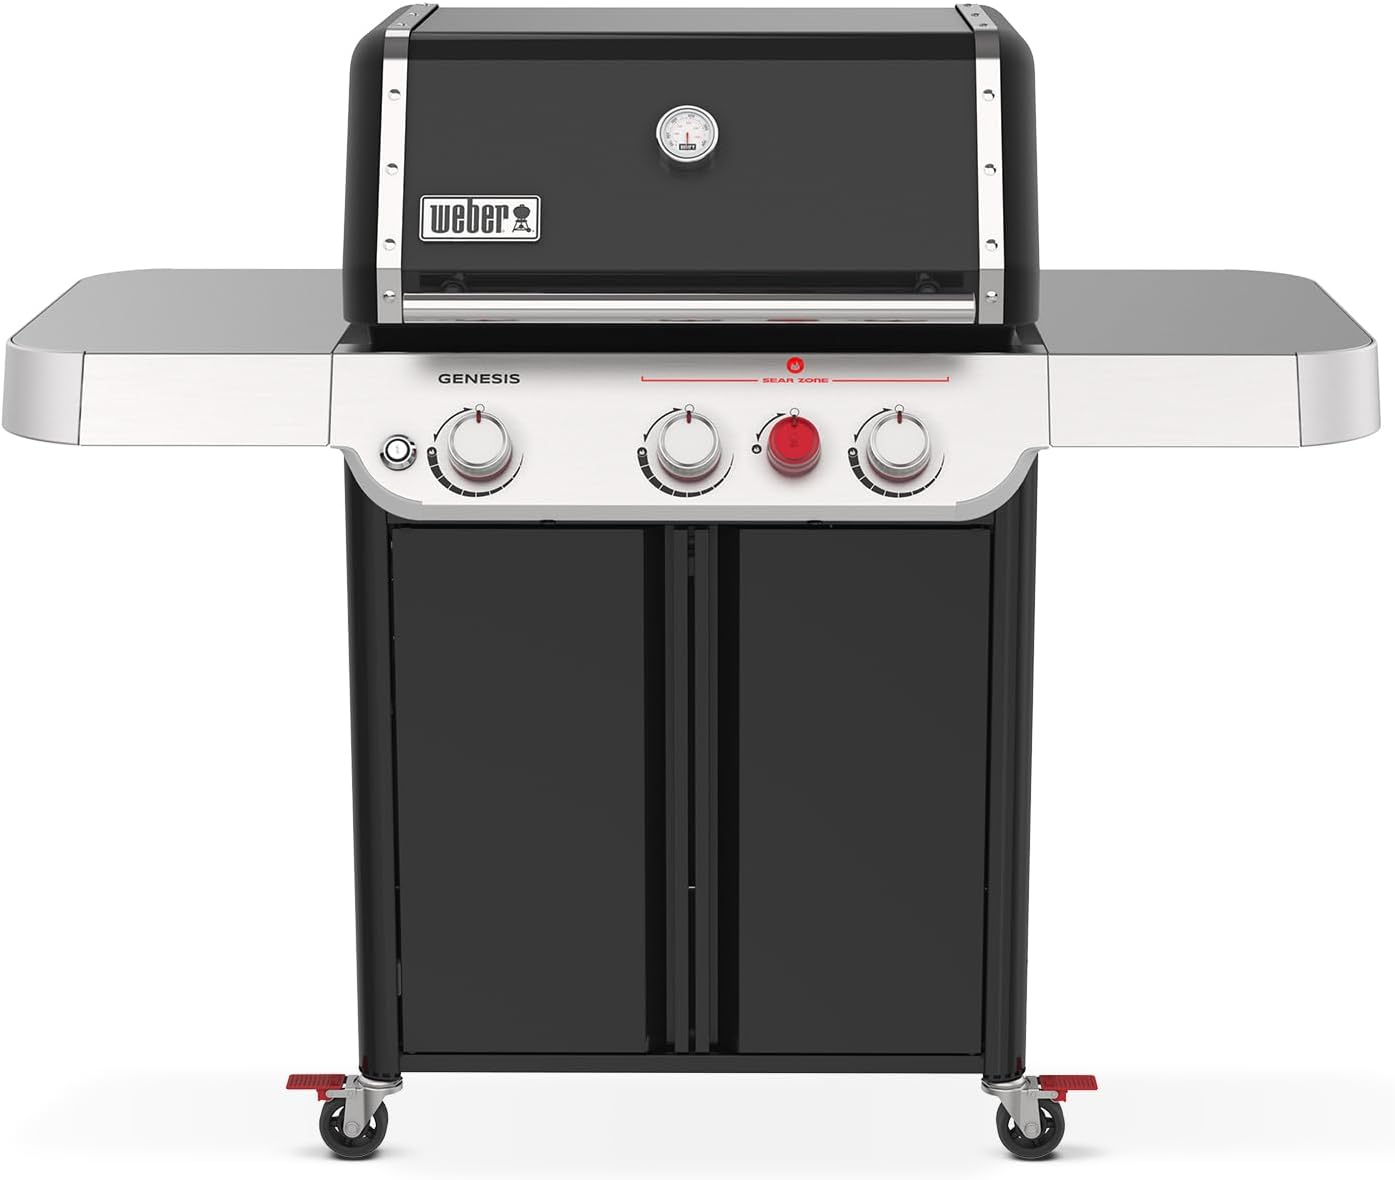
Our pick: Weber® Genesis E-325 Gas Grill, Outdoor Cooking, Propane Grill, Black
 Visit on Amazon →
The Genesis is the Corolla of grills: boring, reliable, and the burner warranty outlasts most of the marriages in my neighborhood. That is a compliment. What I care about for two-zone cooking is that the burner layout gives you a clean left-to-right split, so "burners on the left, burners off on the right" actually means something on the grate. On grills with a single wide burner or a weird tube shape, the zones blur together and you end up with one big warm surface and no control.
The other thing the Genesis gets right is the boring stuff. Igniters that still spark in season three. Parts you can actually order. A cart that does not wobble when you lean on it. I have watched too many cheaper grills go to the curb because a $12 igniter died and the replacement did not exist.
Check current Amazon price before you commit, because gas grill pricing moves with the season, and the same unit can swing a couple hundred dollars between spring and fall.
Flaws but not dealbreakers: It is not a light grill, and it is not a cheap one. If you are shopping on price alone, this is not the box you pick up on a whim. But a grill you keep for a decade costs less per cook than three grills you replace every three years.
Anyone who cooks four or more times a week and wants zones that stay where they put them will be happy here.
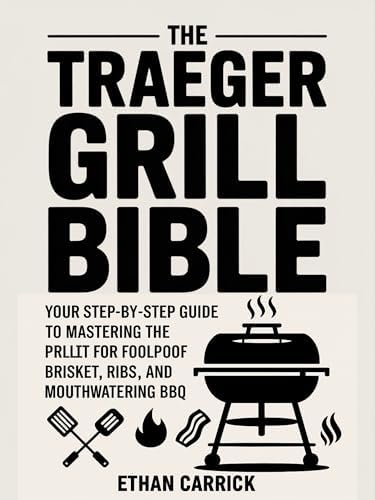
The technique reference: The Traeger Grill Bible: Your Step-by-Step Guide to Mastering the Pellet Grill for Foolproof Brisket, Ribs, and Mouthwatering BBQ.
 Visit on Amazon →
Yes, this is a pellet grill book, and no, I am not sneaking pellet reviews into a gas grill article. The reason it earns a spot here is that the hardest part of two-zone cooking has nothing to do with fuel. It is temperature discipline, wrap timing, probe placement, and knowing when to pull the meat, and those lessons carry straight over to the indirect side of a gas grill.
Skip the chapters about pellet selection and controller settings if you are cooking on propane. Read the brisket and rib sections for the timing logic and the doneness cues. The single most useful habit in that book is treating temperature as a number you verify, not a number you assume, and that habit costs nothing to transfer.
Check current Amazon price. It is the least expensive thing in this article by a wide margin, which is a strange thing to say about a book that will outlast most of the grills it gets used on.
Flaws but not dealbreakers: It is written around a pellet cooker, so the fuel management advice does not apply. Read it as a cookbook for the indirect zone, not as a manual for your propane tank.
Anyone learning low-and-slow on any cooker will get something out of it.
How to set up heat zones, step by step
This is the workflow. It works on any gas grill with at least two burners, and it works better on a three or four burner unit because you get more room to separate the zones.
Step one: Preheat everything, lid down. All burners on high for 10 to 15 minutes. This is not optional and it is not a suggestion. A cold grate sticks to everything, and a cold grill box means your first five minutes of cooking happen at the wrong temperature. Fifteen minutes in Austin summer, closer to 20 in a cold snap.
Step two: Clean and oil the grates. Brush them while they are hot, then fold a paper towel, soak it in oil with tongs, and wipe the bars. This is the difference between a chicken breast that releases and one you have to pry off in shreds.
Step three: Map your hot spots before you cook anything expensive. Two burgers, one on the far left, one on the far right, both over the same burner setting. Watch which one browns first. That corner is your hot spot, and every grill has one. Write it in a notebook if you are the type, and I am the type. Do this once and you stop guessing for the life of the grill.
Step four: Set the zones. For a two-burner grill, left burner on, right burner off. For a three or four burner, light the left two, leave the right side dark. Lid down, wait five minutes, and check the indirect side with a probe. You want 325 to 350F over there. If it is running hot, crack the lid or turn the lit burners down a notch.
Step five: Dial the direct side for the job. Sear zone wants 450 to 500F. If your grill cannot hit that with the lid down, it is a griddle with a lid and you should know that going in.
Step six: Sear first, then move. Steak on the direct side, two to three minutes a side with a quarter turn for crosshatch marks. Then slide it to the dark side, close the lid, and let it finish. A one-inch ribeye typically needs four to six more minutes indirect to reach 125 to 130F for medium rare.
Step seven: Stop opening the lid. Every time you lift it, you dump heat and the grill has to recover. Recovery time is the most honest spec on any grill and the one nobody prints. Look through the lid if it has a window, and use a probe instead of poking the meat with your finger.
Step eight: Pull early and rest. Carryover cooking will take the center up another 5 to 10 degrees after the meat leaves the grate. Pull steaks at 125F, chicken breast at 160F, and let them sit on a board for five to ten minutes. Whole chickens want 165F in the thigh and a ten minute rest. Brisket wants probe tenderness, not a number, which is exactly the lesson the book above drills into you.
Step nine: Keep the indirect side clean. Drippings land on the flavorizer bars and the drip tray, not in the fire, and that is why indirect cooking produces fewer flare-ups than direct. Scrape the tray every few cooks. A dirty tray is a grease fire waiting for a windy day.
Flare-ups and the "flare-free" lie
I have been testing 2026 models for flare-up control, four brands all claiming their grates solve it. So far, one out of four is telling the truth, and it has nothing to do with the grate. It has to do with where the burners sit relative to the drip path and how deep the box is.
What actually controls flare-ups:
- Trim fat to about a quarter inch. Fat is flavor and fat is fuel, and too much of it is just fuel.
- Keep a spray bottle of water within arm's reach. A quick mist kills a flare before it licks the lid.
- Move the food off the flame when it flares, do not crank the burners down and hope. Moving is instant, dialing is slow.
- Cook fatty cuts indirect and only sear them at the end. Ribs and chicken thighs do not need to sit over fire for 30 minutes.
If you have a grill where the igniter is an afterthought and you are lighting it with a torch by week three, the flare-up conversation is academic. Send it back.
The mistakes I see at every cook
Cold meat straight from the fridge goes on the grate and the outside overcooks while the inside catches up. Let steaks and chicken sit out 20 to 30 minutes.
Sauce goes on too early. Sugar burns at searing temperatures, so glaze in the last five minutes, indirect, lid down.
Wind. A 15 mph gust across the lid drops the indirect side 50 degrees and nobody adjusts. If it is windy, add a lit burner or move the grill against a wall, and note it in your log so next time makes sense.
Guessing doneness by feel. Buy a probe thermometer, use it every cook, and stop cutting into meat to check.
What I would skip at the store
Anything with "restaurant-grade" stamped on a $300 lid. Side tables smaller than a dinner plate. BTU numbers that are bigger than the honesty behind them. And any grill where the burner layout is one long tube, because you cannot build two zones on one tube no matter what the manual says.
Napoleon and Broil King both build grills with genuinely good burner layouts, and I will say that here even though neither one is in this article. If your budget sits in the mid-range, look at them before you look at a badge.
What this all costs
The grill is the big line item, and I am not going to pretend otherwise. Check current Amazon price on the Genesis before you decide, because that number moves. The book is a rounding error next to a tank of propane.
The math that matters is per cook, not per purchase. A grill you keep for ten years and cook on three times a week is somewhere around 15 to 25 cents per cook, and that is before you count the money you stop spending on takeout. A cheap grill you replace every three years costs more per cook and costs you every bad dinner in between.
Do the setup once. Map the hot spots, mark the indirect side, write the numbers in a notebook, and then cook the same three things until they come out the same way twice. That is the whole job, and it has nothing to do with the badge on the lid.