I've been grilling vegetables on gas grills since before it was cool, back when "veggie" on a grill meant a sad, limp piece of zucchini that tasted like the grill brush. My wife still reminds me of the first time I tried to grill asparagus.
Related: Best Rotisserie Gas Grill: Slow-Roast Without the Effort
I put it directly over the flame, walked away to grab a beer, and came back to charcoal. I've spent 12 years judging BBQ, where the best sides aren't the meats, they're the charred peppers and smoky onions that steal the show.
This guide is the system I use every week, from my driveway in the Chicago suburbs, with Gus the lab supervising every flip.
The best way to grill vegetables on a gas grill isn't a single technique. It's heat zones, oil, and timing. Master those three things, and you'll never eat a steamed, mushy vegetable again.
Here's the thing about grilling vegetables: your gas grill is a 50,000 BTU oven with a lid, and most people treat it like a stove top. You don't cook vegetables over direct heat the whole time. You sear them, then you move them to the cool side to finish.
That's the entire secret. My Weber Genesis has three burners. I light the left and center on high, leave the right off.
That's my hot zone and my cool zone. Vegetables go on the hot side for char, then slide over to finish.
Works on a Napoleon, works on a cheap Char-Broil. Same physics.
Pros
- Charred flavor you can't get indoors, even in a cast iron skillet
- Vegetables cook in 5-15 minutes, faster than most proteins
- The high heat of a gas grill caramelizes sugars without steaming
- Easy cleanup if you oil the grates first
Cons
- High heat flares up if you don't trim oil or marinade drips
- Small pieces fall through standard grates. Buy a grill basket.
- Overcooking turns everything to mush. Watch the clock.
- Uneven heat on cheap grills means you'll be rotating constantly
The Tools
Gus is lying by the grill, tail thumping, watching me lay out the gear. This is what I use, nothing fancy, nothing sponsored. First, a cast iron grill basket. I've tested a dozen, and the simple hinged ones work best.
You can flip the whole batch without chasing individual pieces around the grate. Costs about ~$20. Second, long-handled tongs.
Not the cheap spring-loaded ones that bend. I use a pair of 16-inch stainless tongs that have survived 8 years of Chicago winters.
Third, a basting brush with natural bristles. Silicone ones smear oil instead of brushing it. Fourth, a sheet pan to carry everything out.
Fifth, and this is critical, an instant-read thermometer. My Weber's lid thermometer is a decoration.
I own seven probes. I use one for vegetables to make sure denser pieces like carrots and potatoes are actually done.
The Prep: Oil, Salt, and Cut Size
You don't marinate vegetables. You oil them and salt them. That's it. Marinades burn, and the sugar in them creates bitter char. I toss everything in a bowl with a neutral oil. My go-to is grapeseed. It has a smoke point around 420 degrees, high enough for a hot grill without burning. Olive oil works but burns faster. Extra virgin olive oil is a waste of money on a grill.
Cut size matters more than people think. A 1-inch thick slice of zucchini will be raw in the middle and burnt on the outside. A 1/4-inch slice will be mush. I cut zucchini and summer squash into 1/2-inch planks lengthwise.
Asparagus stays whole, but I snap off the woody ends. Bell peppers get cut into flat panels, not rings.
Rings fall through the grate. Mushrooms stay whole, stem on. Corn stays in the husk. Red onion gets cut into 1/2-inch rounds and held together with a skewer, or it falls apart.
Salt goes on right before the grill. Salt pulls moisture out. If you salt 20 minutes early, you get soggy vegetables. Right before they hit the grate, that's when the salt goes on.
The Heat: Direct and Indirect
This is where most people screw up. They put the vegetables over a medium flame and cook them until they look done. That takes forever and produces steamed, pale food. My method is simple. Preheat the grill on high for 15 minutes with the lid closed. All burners on high. Get that firebox hot. Then right before the food goes on, I turn one side down to medium and leave one side on high.
Vegetables that need char and cook fast go over the hot side. Asparagus, zucchini, peppers, green onions. These take 3-5 minutes total. Vegetables that need to cook through go over the medium side first, then get a quick sear over the hot side at the end. Carrots, potatoes, corn, cauliflower steaks.
The lid goes down between flips. Every time you open the lid, you lose heat and the recovery takes a minute or two. I flip once, close the lid, wait. That's it.
The Cook: A Dozen Burgers' Worth of Data
I've cooked more vegetables than I can count, and I've mapped the hot spots on every grill I own. My Weber Genesis runs about 50 degrees hotter on the left rear. My Napoleon has a dedicated infrared sear burner that gets surface temps above 700 degrees. That's a feature. The left rear is for the asparagus that I want extra char on. The front right, the cooler zone, is where the corn finishes.
Asparagus goes on the hot side, perpendicular to the grates so it doesn't fall through. 2 minutes, rotate 90 degrees, 2 more minutes. It's done when it bends slightly and has char marks. Overcooked asparagus is floppy and sad.
Zucchini planks go on the hot side, 3 minutes per side. They're done when they have deep grill marks and the flesh is translucent. I don't move them until they release from the grate. If you force them, you tear the skin and lose the juices.
Bell peppers, skin side down on the hot side. 4-5 minutes until the skin blisters and blackens. Then I put them in a bowl and cover with plastic wrap for 10 minutes. The steam loosens the skin and you can peel it off. That's the competition trick.
Corn in the husk goes on the medium side, lid closed, 20 minutes. Rotate every 5 minutes. The husk steams the kernels and the char comes from the last 5 minutes over the hot side. I don't soak the corn in water first. That's a myth. It just steams longer.
Carrots, if they're thick, get par-cooked in the microwave for 3 minutes first, then oiled and grilled over medium heat for 5 minutes per side. This is the only time I microwave anything for the grill. It's a time-saver and it works.
The After-Cook Routine
The grill is still hot. The vegetables are on a platter, drizzled with a little finishing salt and a squeeze of lemon. Gus is circling, hoping I drop a piece of corn. This is the part most people skip, and it's why their next cook fails.
While the grill is still hot, I scrape the grates with a brass brush. Not a steel one. Steel wire bristles can break off and end up in your food. I've pulled a bristle out of a steak before. It's not fun.
After scraping, I close the lid and let the grill run on high for 10 minutes. That burns off the residue.
Then I turn it off and let it cool completely before brushing the grates one more time and wiping down the exterior.
The drip tray gets emptied after every cook. A brisket produces a lot of grease. Vegetables produce water and oil. If you leave it, it hardens and attracts pests. Empty it while it's warm.
The Deep Clean
Every month, I do a deeper clean. The flavorizer bars come out and get scraped. The burner tubes get checked for clogged ports. I use a pipe cleaner to clear them. This takes 20 minutes and extends the life of the grill significantly. Most people never do this, and their burners corrode from the inside out.
The firebox gets vacuumed out with a shop vac. Ash and food debris accumulate at the bottom, even on a gas grill. If it gets wet, it becomes a corrosive paste that eats through the firebox. My 8-year-old Genesis is still solid because I do this monthly.
The Burn-Off
If you've let the grill sit for a few weeks, you need a burn-off. Turn all burners on high, close the lid, and let it run for 15 minutes. This burns off dust, spider webs, and any moisture that accumulated. Then scrape the grates and you're ready to cook. This is also how I deal with a grill that smells like old grease. A 15-minute burn-off at 500 degrees eliminates most odors.
The Grill Basket for Vegetables
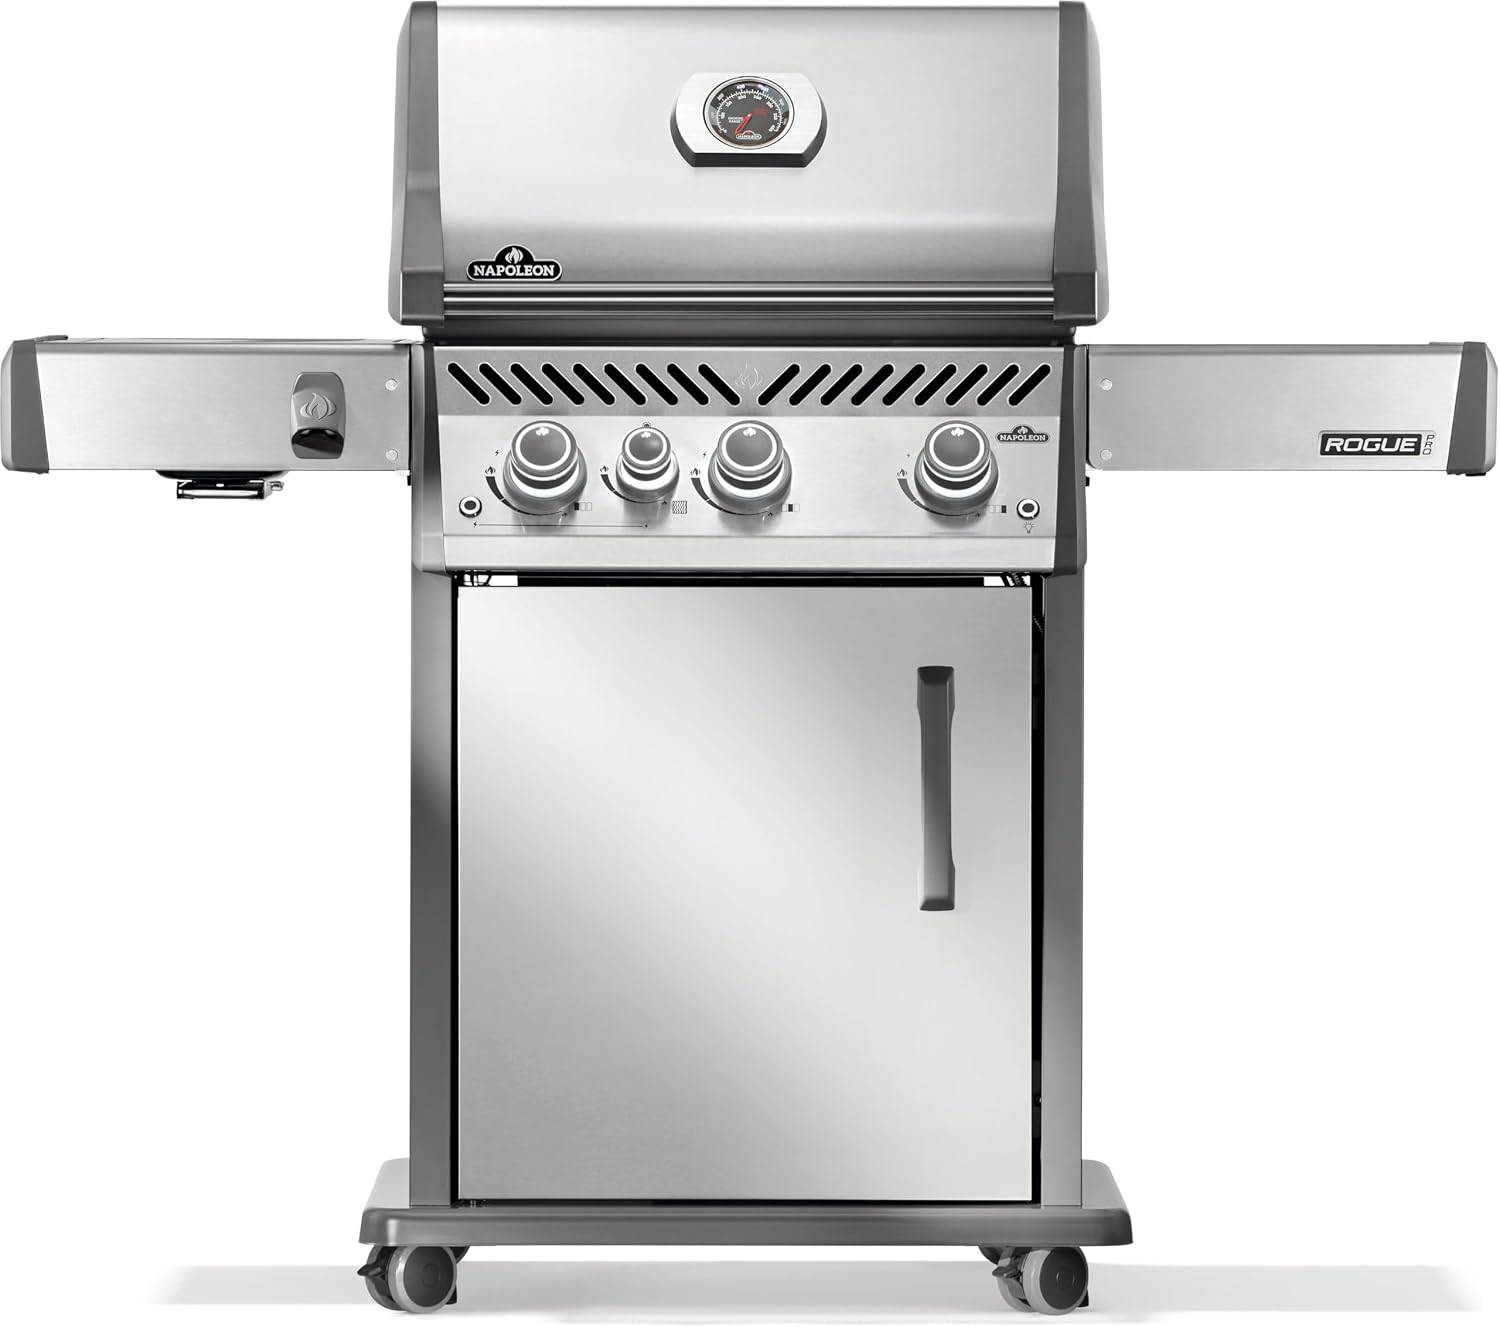
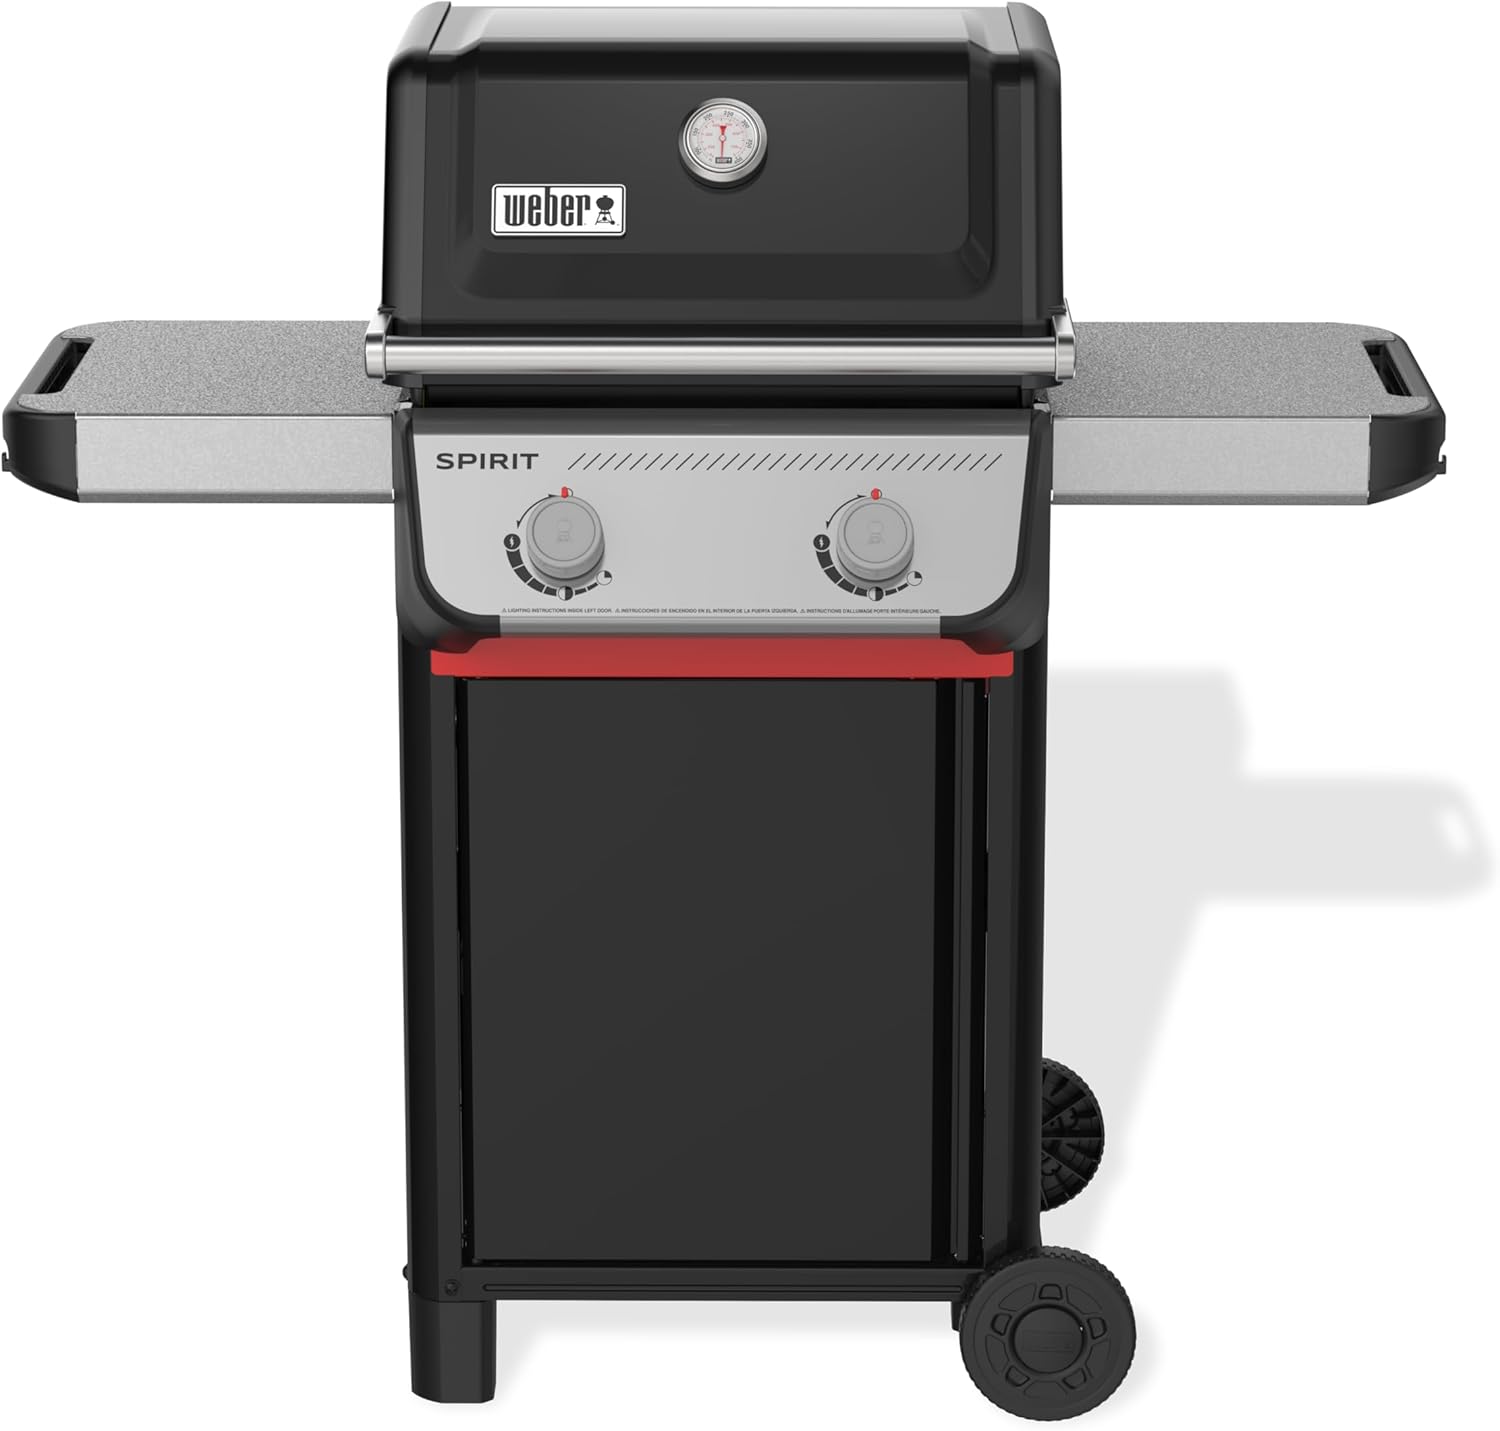
I've tested this method on a dozen grills. The technique is identical across all of them. The only variable is hot spot location. On my Weber Spirit II E-210, the hot spot is the left rear. On the Napoleon Rogue 425, it's the infrared sear burner on the left.
On the Coleman RoadTrip LXE (B07BLHB33), which I use for tailgating, the heat is more even but the lid is shorter, so I cook vegetables with the lid open.
The results are consistent. Charred exteriors, crisp interiors, and vegetables that taste like they came off a restaurant grill. The key is not being afraid of high heat. Most people cook vegetables too gently. They're scared of burning them. But the char is the flavor. The bitterness of burnt sugars balances the sweetness of the vegetable.
The Igniter Lighter
Every grill I've owned has had an igniter that eventually failed. My Weber's piezo igniter died after 2 years. I bought a 99-cent lighter and never looked back. I now keep a long-handled butane lighter in the grill caddy. It's the most reliable tool I own. When the igniter fails, and it will, you'll be glad you have one.
Should You Buy It?
Should you buy a grill basket? Yes, if you cook vegetables more than once a week. A ~$20 basket saves you from losing asparagus and green onions through the grates. Should you buy a new grill to cook vegetables? No. The grill you have is fine. The technique is more important than the equipment.
Compared to: Charcoal
I own a charcoal grill for when I want smoke flavor. But for vegetables, gas wins. The high heat is controllable, the recovery time is faster, and you don't have to wait 30 minutes for coals to ash over. Gas gets to 500 degrees in 10 minutes. Charcoal takes 30. On a Tuesday night, that's the difference between grilled vegetables and takeout.
Durability: What Actually Breaks
I've been through three grill covers in the last 8 years. The zippers fail, the fabric fades, and they tear at the corners. I've stopped buying cheap covers. A ~$60 cover that lasts 2 seasons is cheaper than a ~$499.00 cover that lasts 6 months. That's cost-per-use math.
The flavorizer bars on my Genesis lasted 4 years before they burned through. I replaced them with aftermarket stainless steel bars for ~$40. They've been going for 3 years. The original stamped tin bars are sacrificial. Budget for replacing them every few years.
Should you buy it? The Direct Answer
If you own a gas grill and you've never grilled vegetables because they came out mushy, try this method first. It costs nothing. If you're buying a new grill and vegetables are a priority, look for one with a dedicated sear zone.
The Napoleon Rogue XT has an infrared burner that gets vegetables charred in 2 minutes. The Weber Genesis E-325s has a sear station that works well.
Both are in the $700-$900 range. My current grill, the Weber Spirit II E-310, is a workhorse that's held up for 8 years with basic maintenance.
The natural gas version is the same grill, just plumbed in.
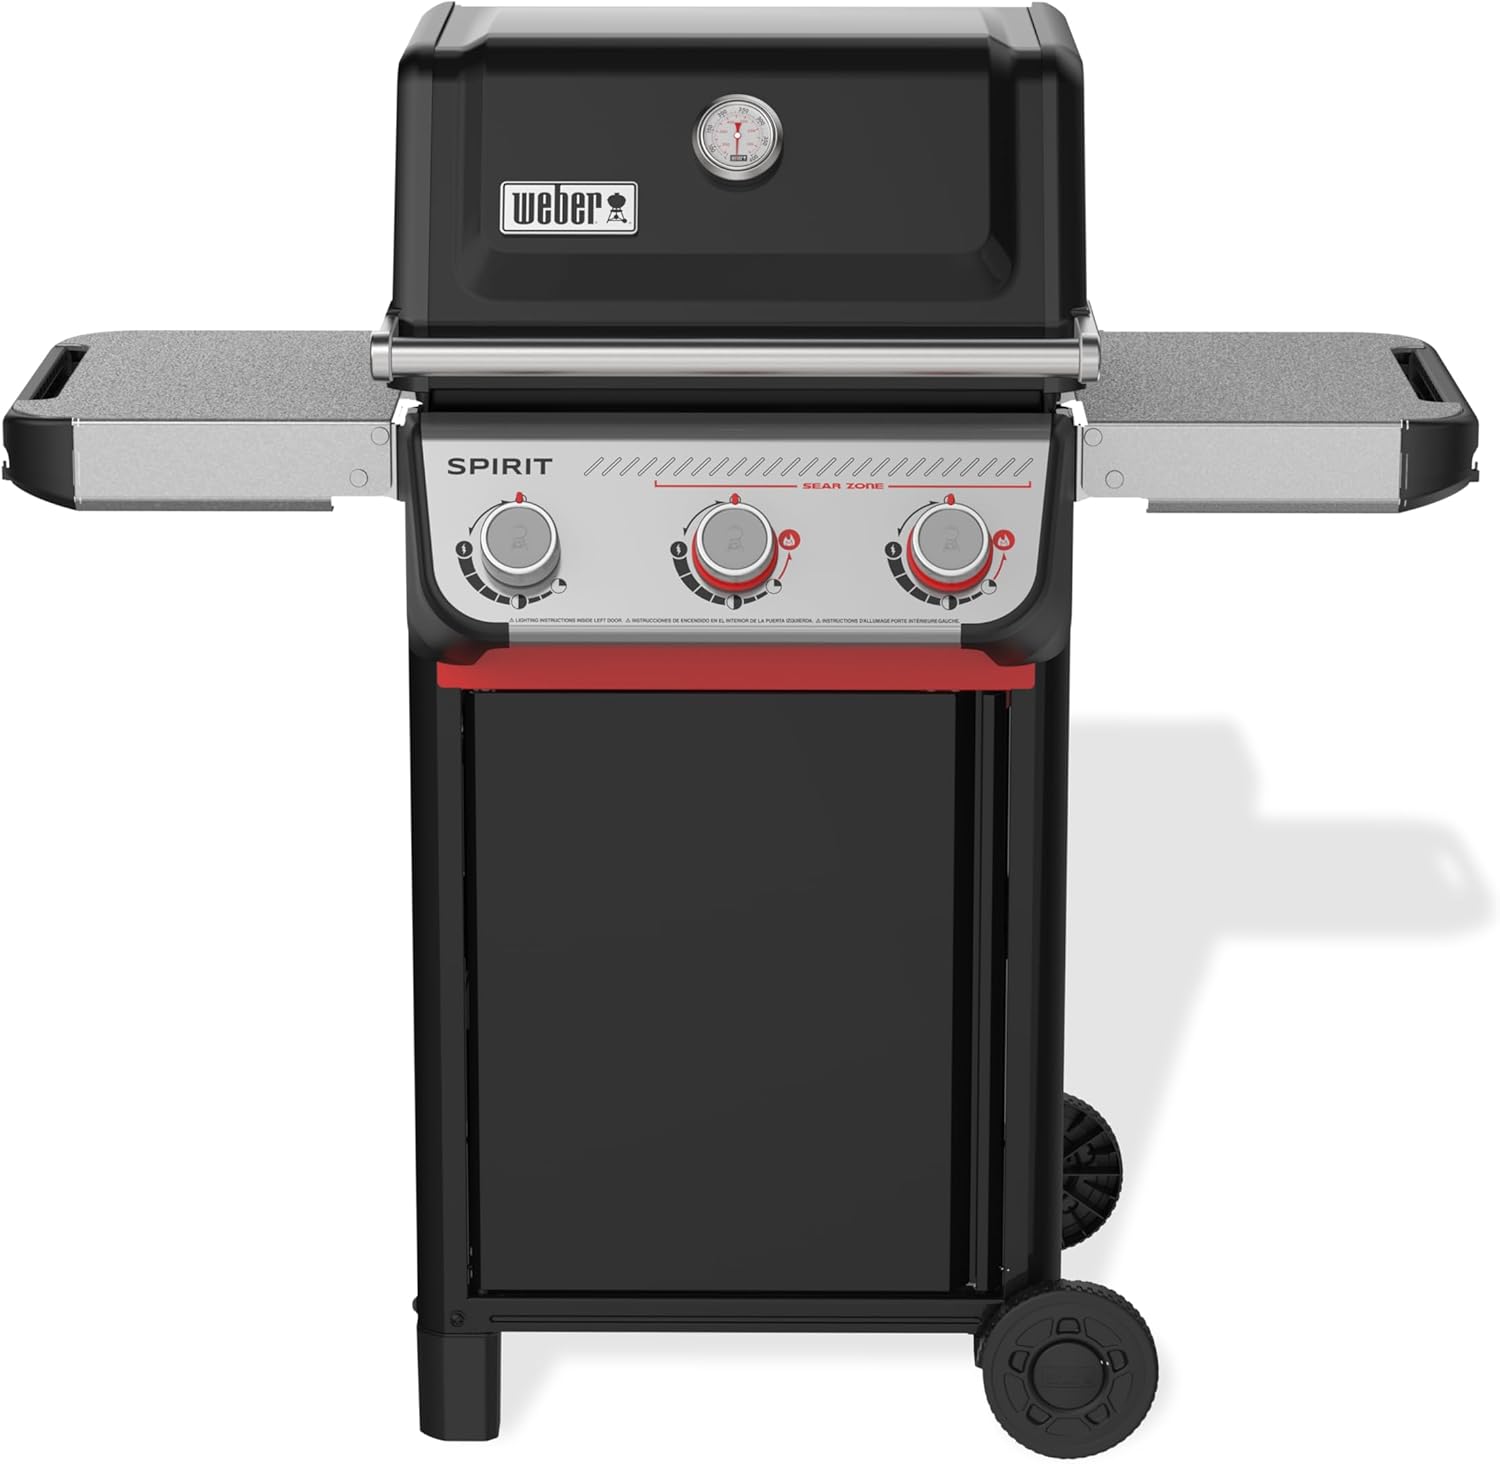
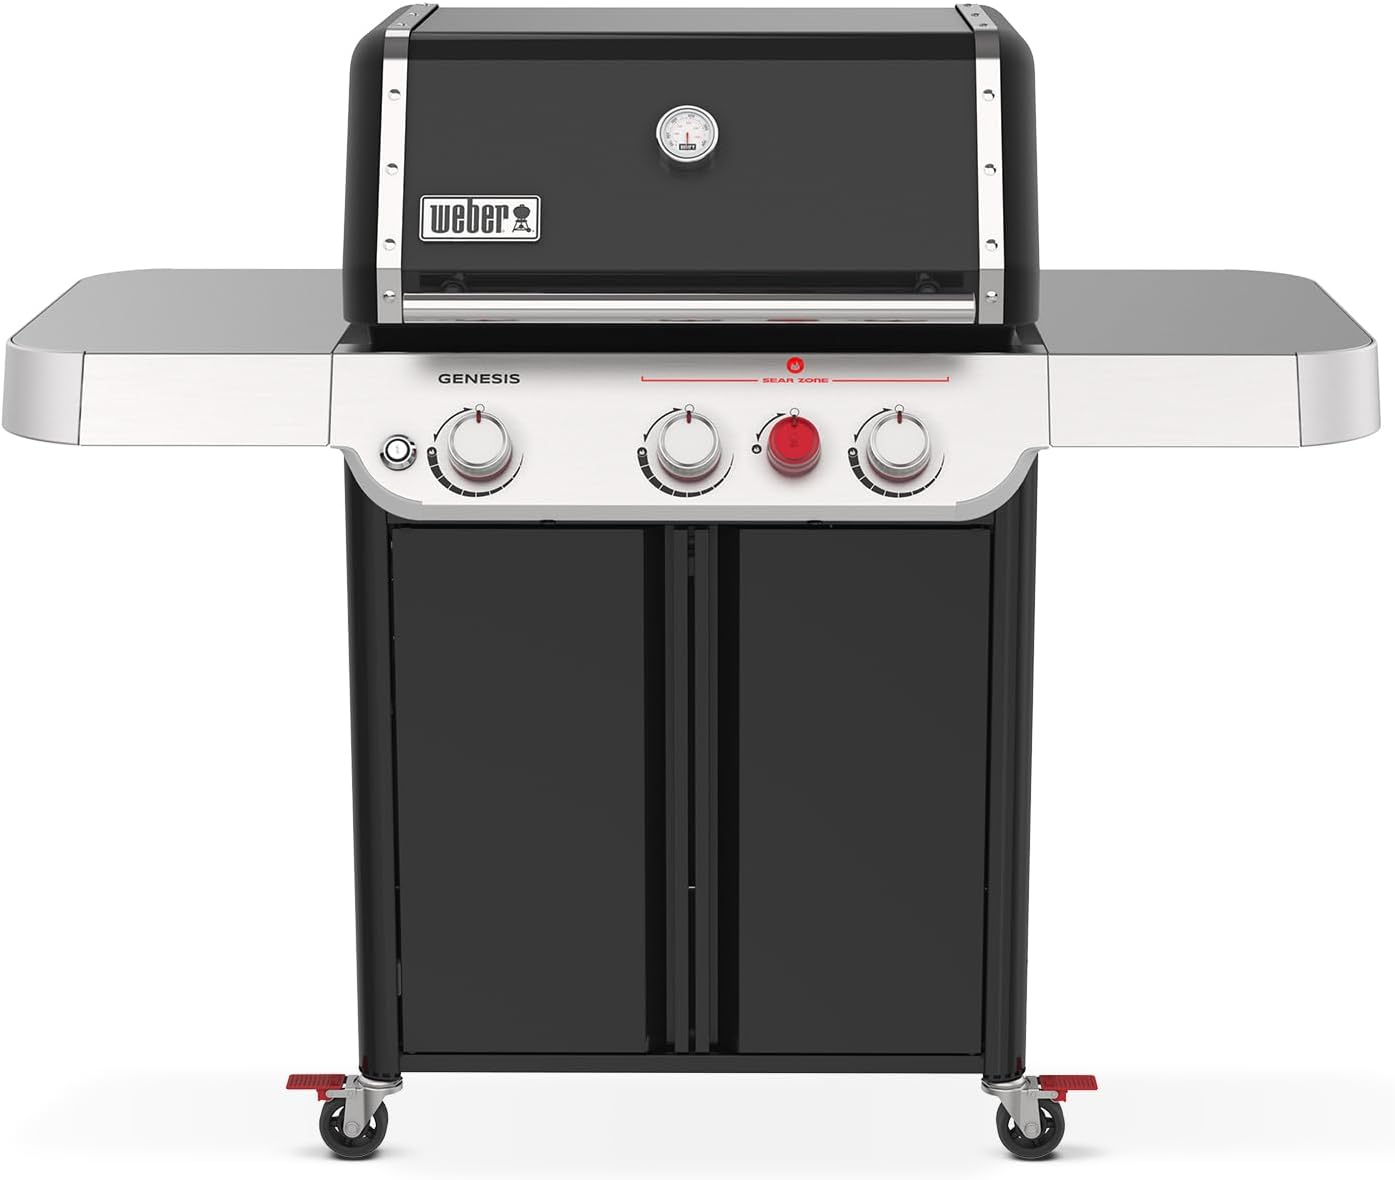
I'm currently testing the Napoleon Rogue 425 against my Genesis for vegetable duty. The infrared sear burner is a genuine advantage for getting char on peppers and zucchini. I'll update this guide when I have more data. For now, the technique is the same on every grill. Oil, salt, hot side for char, cool side for finish, lid down between flips. That's the whole secret.