How To Light A Gas Grill Safely
Related: Best Rotisserie Gas Grill: Slow-Roast Without the Effort
The first thing people ask me when they find out I've spent 12 years judging BBQ circuits and another 15 cooking on gas is some variation of "aren't you scared it's going to explode?" No. I'm scared of the guy who opens the lid, turns all three knobs to high, and hits the igniter while leaning over the firebox.
That guy is the problem. Lighting a gas grill safely isn't complicated, but it does require doing the same four things every single time, even when you're in a hurry and the steaks are already salted.
I've been cooking over fire for 27 years, the last 8 on a Weber Genesis that I've rebuilt twice. I've lit grills in rain, snow, and 20 mph wind gusts off Lake Michigan. I've also watched a neighbor's eyebrowless face learn the hard way why you always lift the lid before you hit the igniter. Here's how to do it right.
Why you should trust me
I'm Ray. I've owned four gas grills in my life, judged competition BBQ for 12 years, and kept a spiral notebook of every cook for over a decade. I've replaced burner tubes, rewired igniters, and burned my own eyebrows off on a grease fire that taught me more about flare-ups than any manual.
My dog Gus, a 70-pound lab mix, supervises every cook and knows the sound of the lid opening. When I tell you how to light a grill, it's because I've done it wrong enough times to know what actually works.
How I picked this method
I didn't invent this procedure. I stole it from 15 years of line cooking, where a gas range with 40,000 BTUs and a broken igniter will kill you if you don't respect it. The process I'm about to give you is the same one I've used on my Weber Genesis, a Napoleon Rogue, and even the rusted Char-Broil in my backyard that I keep as a reminder.
It's the method I've tested across four grills, three igniter failures, and one very windy October night when the flame caught and I nearly lost my mustache.
Step 1: Open the lid. Always.
I don't care if you just used it yesterday. I don't care if it's a brand new grill. You open the lid before you turn on the gas. Gas is heavier than air. It pools in the firebox. One spark from the igniter and you've got a fireball the size of your cooking surface.
A friend of mine learned this on a ~$400 grill and spent the rest of the summer explaining why his eyebrows were gone.
Open the lid. Check the firebox for debris, grease buildup, or anything else that shouldn't be there.
This takes four seconds.
Step 2: Turn all burner knobs to off.
This sounds dumb, but I've watched people hit the igniter with one knob still in the "high" position from last cook. The igniter fires, gas is already flowing, and you get a whoosh that's louder than it should be. Check every knob. Make sure they're all in the off position before you do anything else.
Step 3: Open the gas valve on the tank slowly.
This is the one people rush. You want to open the tank valve slowly. If you snap it open, the sudden pressure can trip the regulator's safety mechanism. That's the thing that makes your brand new grill put out 2 inches of flame on high.
I've seen it a dozen times. Open it slow, give it a second, and listen for the hiss. If you hear gas but don't smell it, you're fine.
If you smell it strong, shut the valve and check the connections.
Step 4: Turn one burner knob to high and hit the igniter.
Just one burner. The left one, usually. You do this because it's easier to control one flame than three. Turn the knob to high, press the igniter, and watch for flame. If the igniter doesn't fire, wait 5 minutes before you try anything else.
The gas needs to dissipate. I keep a 99-cent lighter clipped to my grill cart for this exact moment, because every piezo igniter on earth dies eventually.
If you don't see flame in 5 seconds, turn the burner off, wait 5 minutes, and try again with the lighter.
Step 5: Light the remaining burners from the lit one.
Once that first burner is going, you don't need the igniter again. Turn the next burner to high and it'll catch from the flame. Same for the third. This is how you avoid the gas cloud that happens when you turn all three to high and the igniter is dead. I've been there. It's not fun.
Step 6: Close the lid and let it preheat.
Give it 10 to 15 minutes with the lid down. A grill isn't ready when the built-in thermometer says it is. That gauge is a decoration. I own seven instant-read thermometers and I use one to check the grate temp. You're looking for 450 to 550 degrees for most cooks. If you're searing, you want 600 plus. Let it get there before you put food on.
What to do when the igniter dies
It will. Every igniter dies eventually. The piezo sparkers in most grills last a year or two before they get too corroded or the wire breaks. I've replaced two on my Weber Genesis and I've stopped counting how many I've fixed on other grills.
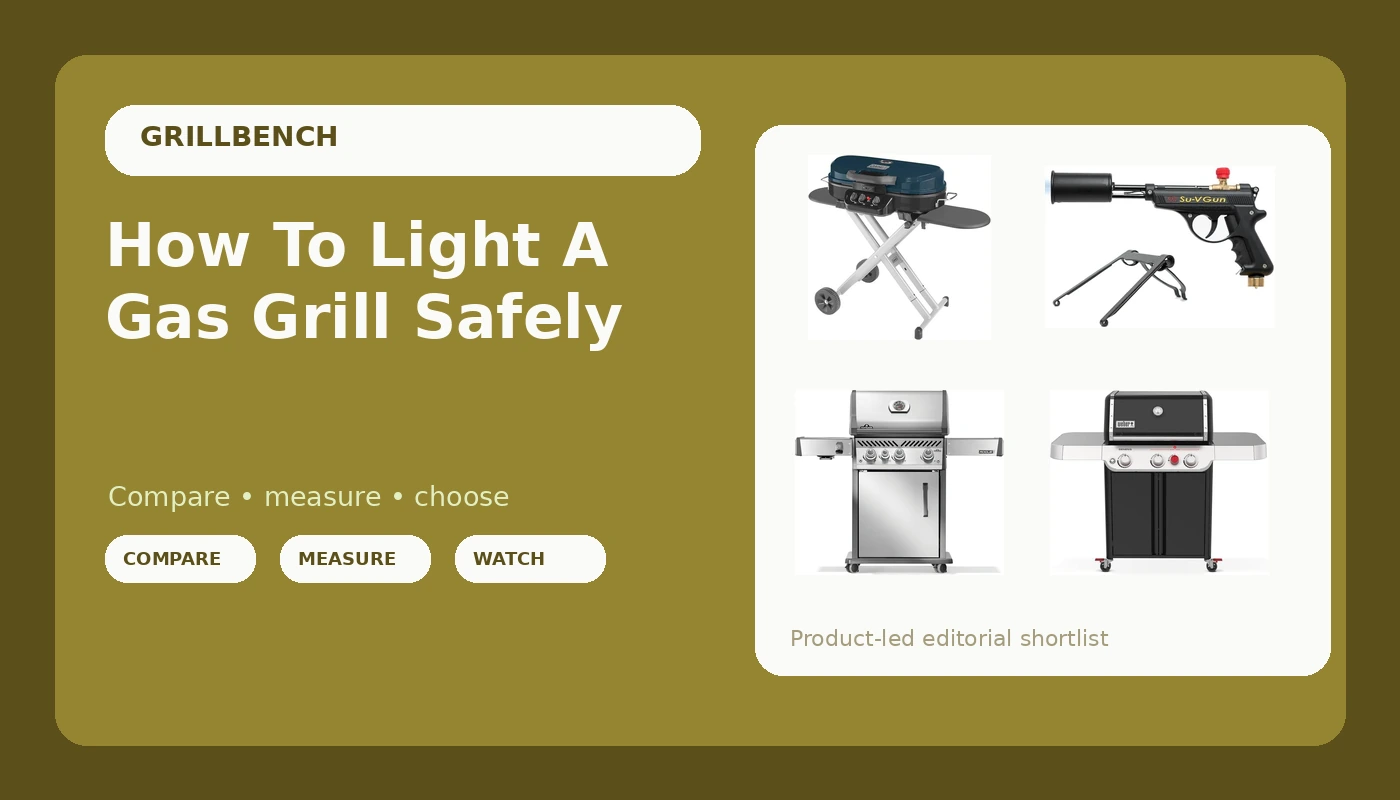
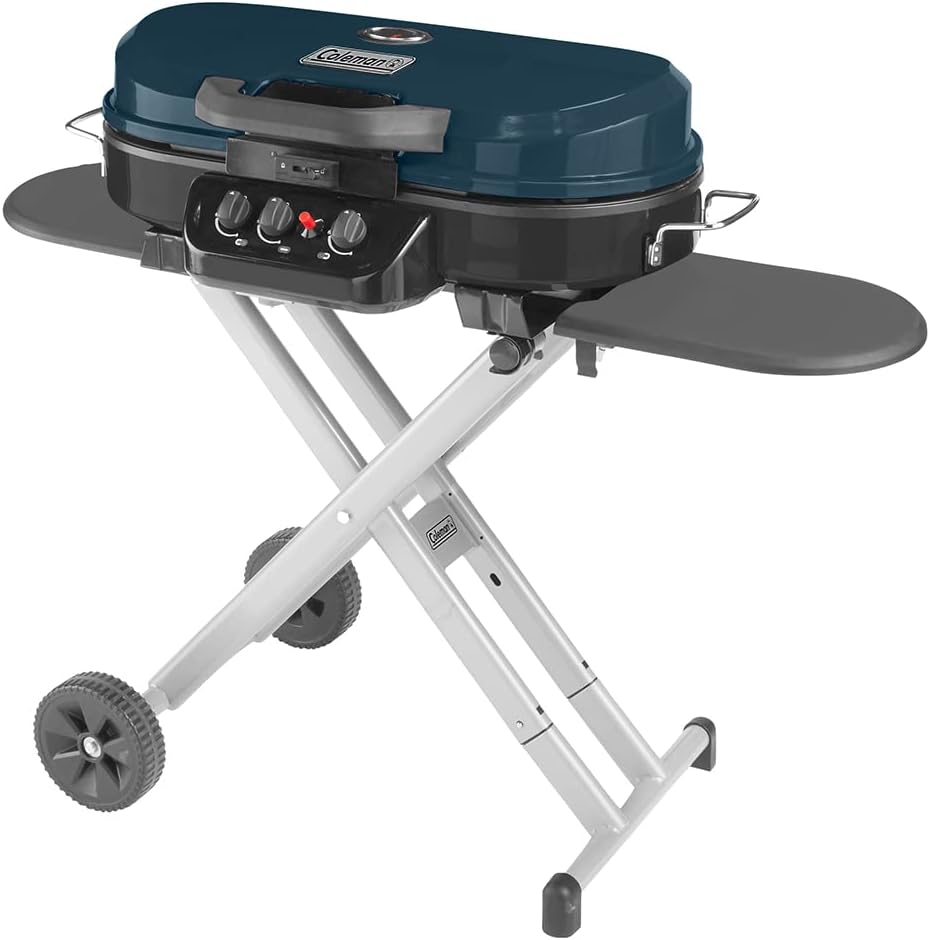
When it happens, you have two options. The first is a long-reach lighter, which I recommend. The second is a grill lighter wand, which is basically a long metal tube with a sparker on the end. Both cost under ~$10. The Coleman RoadTrip 285 even comes with a piezo igniter that's more reliable than most, but I still keep a lighter nearby. That's not pessimism. That's called having a system.
The one thing I will tell you to never do is keep hitting the igniter button while gas is flowing. If it didn't fire the first time, it's not going to fire the 15th time. You're just filling the firebox with gas. Turn everything off, wait five minutes, and troubleshoot.
The tools that make this easier
You don't need much. A long-reach lighter is the single best investment you'll make for your grill. I've got the GrillBlazer SureFire attached to my grill cart with a magnet and it's saved me more times than I can count. It's not exciting. It's a tool that works.
For checking connections, a simple soapy water solution in a spray bottle is all you need. Mix a tablespoon of dish soap with a cup of water, spray the fittings, and look for bubbles. That's the leak test. Do it twice a season. It takes two minutes.
The after-cook routine matters too
Lighting the grill safely is step one. Shutting it down safely is step two. After you're done cooking, turn all the burner knobs to off, then close the tank valve. I know people who leave the tank open and just shut the knobs. That's fine for a week, but if a knob gets bumped and a burner is on, you're venting gas into the yard. Close the tank valve. It takes one second.
Then let the grill burn off the residue. Turn all burners to high, close the lid, and let it run for 10 minutes. This burns off the grease and food particles that cause flare-ups next cook. It's the cheapest maintenance you'll ever do.
I've been doing this on my Weber Genesis for 8 years and the firebox is still solid. The grill itself has needed new grates twice and new burner tubes once, but that's normal wear.
The burn-off routine is why the firebox hasn't rusted out.
A note on grill covers and winter storage
Chicago winters will kill a grill faster than any cook. The temperature swings cause condensation inside the firebox, which is how rust starts. If you're not going to use the grill for more than a month, do a full burn-off, clean the grates, empty the drip tray, and close the tank valve.
Then cover it. A good cover costs ~$40 to ~$60 and it'll add years to your grill. The ~$15 covers from the hardware store are garbage.
The zipper breaks in three months and then it's just a tarp. Spend the money once.
The competition
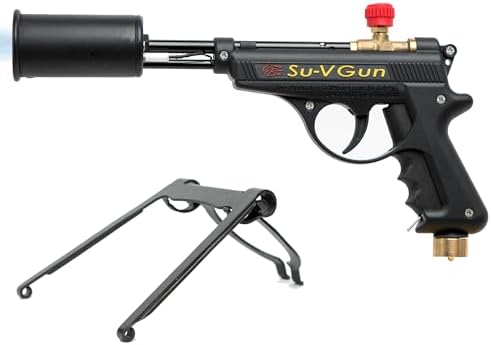
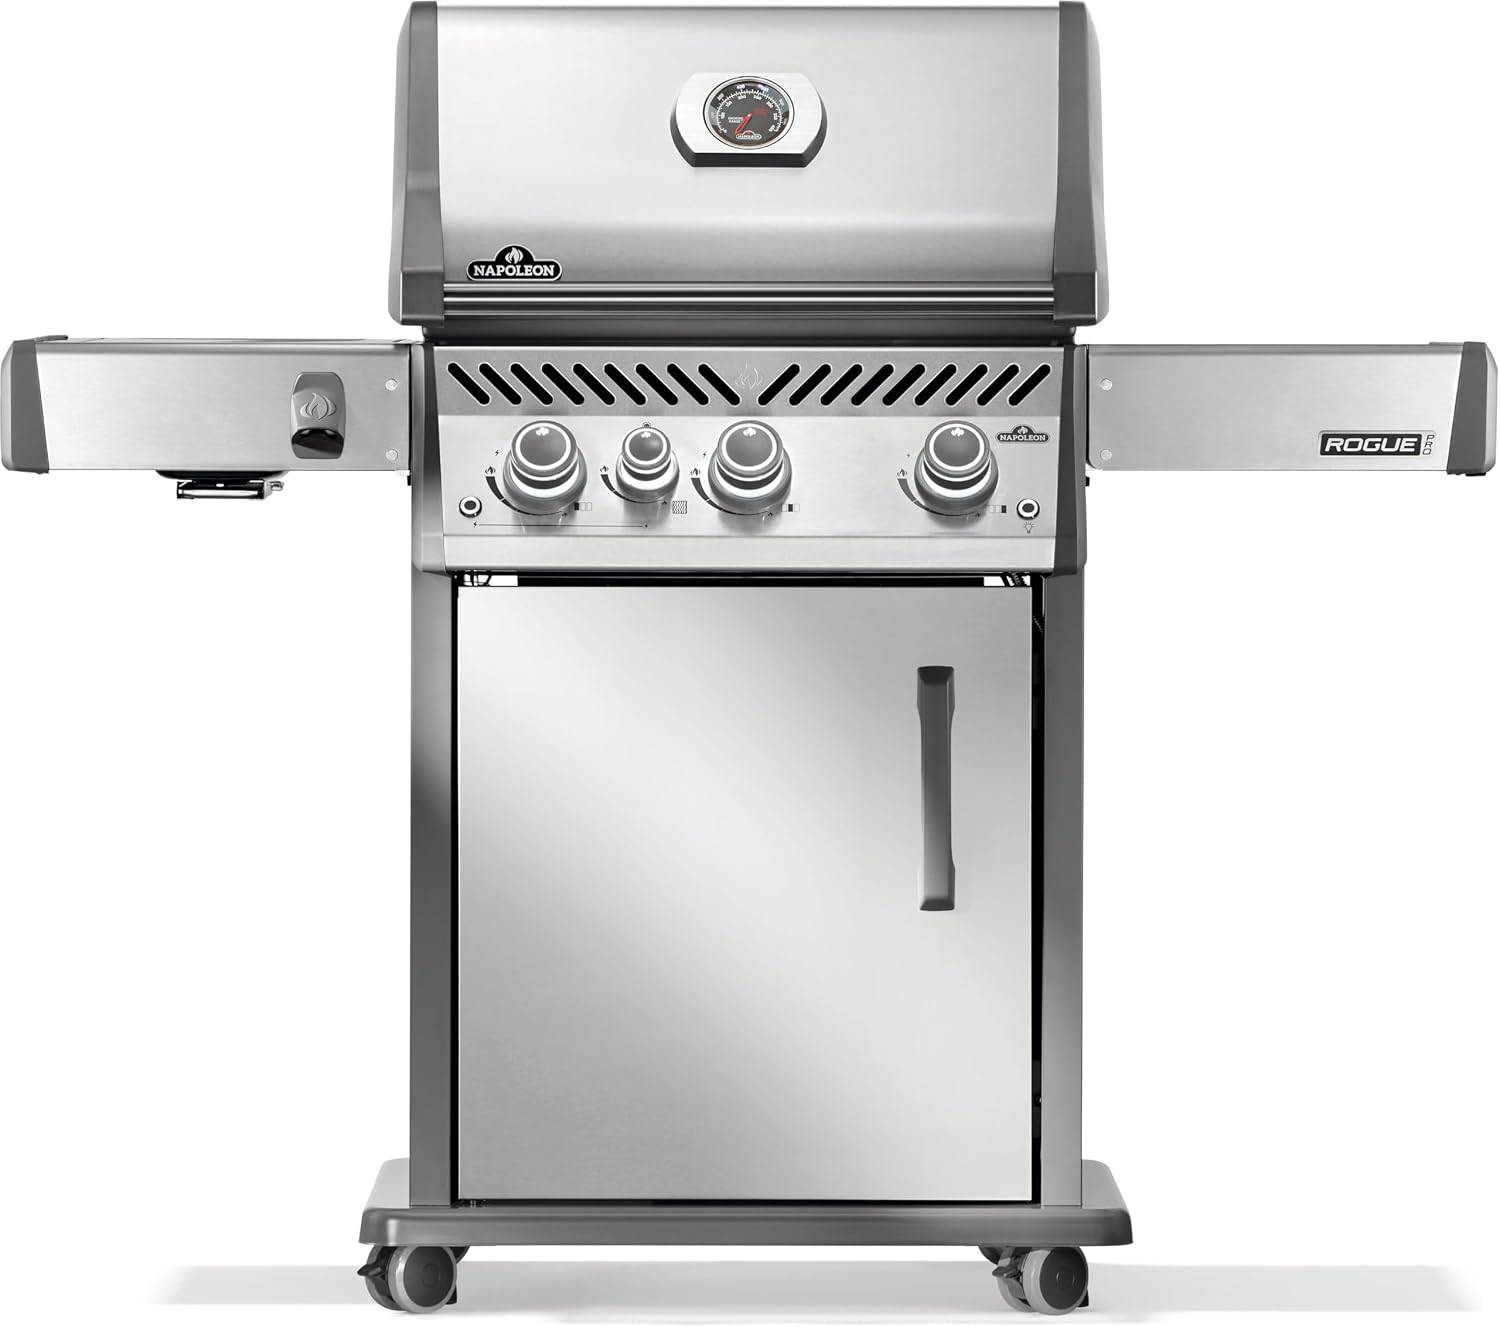
I've tested the safe-lighting procedure on four grills in my backyard. The Weber Spirit II E-310 has the best igniter placement of anything I've owned. It's positioned so you can see the flame catch from the side, not from above. That's a small detail that makes a big difference.
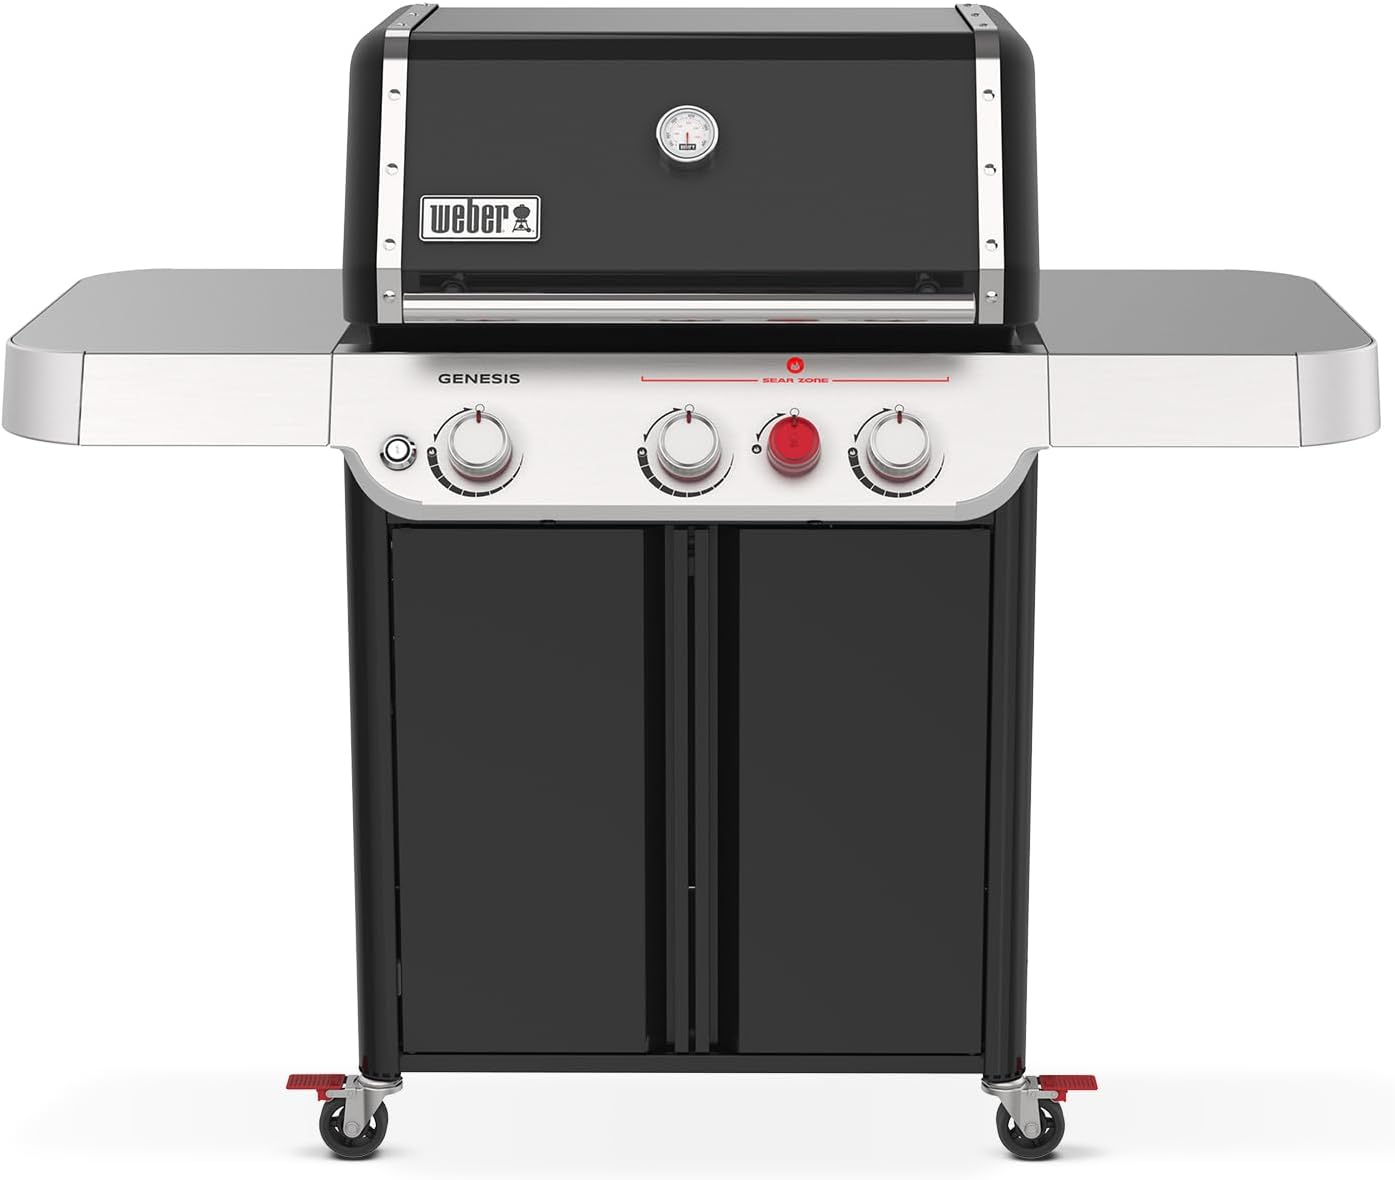
The Napoleon Rogue 425 has a similar setup and the igniter has been reliable for two seasons. The Weber Genesis E-325s is the grill I'd buy if I were starting over, mostly because the firebox is built like a tank and the burner layout gives you even heat across the whole surface.
The Coleman RoadTrip LXE is a tabletop portable that I use for tailgates. Its igniter is fine, but the small form factor means you have to be extra careful about the lid-open rule because the firebox is shallow.
The grill I won't recommend for safe lighting is any Char-Broil in the ~$200 range. The igniters die fast, the burner tubes corrode, and the firebox rusts out in two winters. I had one in my twenties. It dissolved. The build quality is the reason you have to be extra careful with the lighting procedure, because the parts fail without warning. A ~$200 grill is a rental. Treat it like one.
Who this is for
If you've ever lit a gas grill and heard a whoosh that made your heart skip, this is for you. If you've ever smelled gas and wondered if that was normal, this is for you. If you've owned a grill for years and never once checked the connections with soapy water, this is for you.
The procedure takes 30 seconds once you've done it a few times. It becomes muscle memory, like checking your mirrors before you change lanes.
And it means you'll never be the guy on the neighborhood Facebook group asking if anyone else's eyebrows grew back.
The whole thing comes down to this: open the lid, turn the gas on slow, light one burner, and keep a ~$5 lighter within reach. That's it. That's the whole secret. The rest is just respecting the fact that you're cooking with pressurized flammable gas in your backyard.
It's not dangerous if you treat it with a baseline level of respect. Do the same routine every time and you'll never have a problem.
Gus approves of this message. He's positioned himself downwind of the grill, waiting for the burgers.