Related: Best Rotisserie Gas Grill: Slow-Roast Without the Effort
You just dropped ~$600 on a new grill. You unbox it, assemble it, and you're ready to cook. Stop. There's one step between you and that first steak, and skipping it means your food tastes like machine oil and burnt metal for the next month.
I've seasoned every grill I've owned for 15 years, and the process takes 30 minutes. Here's exactly what I do, including what to skip and what's a waste of money.
Best Overall: The Burn-Off
This is the step everyone knows about but half of you skip. New grills come coated in manufacturing oils, metal shavings, and dust from the warehouse. You need to burn that off before food touches the grates.
I fired up my Weber Genesis for the first time on a Tuesday evening in April. The thermometer read 40 degrees outside. I ran all three burners on high with the lid closed for 25 minutes. The smoke that came off that thing was thick enough to make my neighbor Jeff wave from his deck. That's the manufacturing oils burning away. It's supposed to happen.
After the burn, I let it cool, wiped down the grates, and cooked my first batch of burgers. No off-flavors. No black residue on the meat. That's the whole job.
The mistake I see people make is doing this and then calling it done. You're not done.
Best Value: The Tools
Before you start this process, get your gear together. You need three things: a wire brush, a high-heat cooking oil with a smoke point above 400 degrees (canola or vegetable works fine), and a roll of paper towels you don't mind ruining.
I keep a dedicated grill brush that hangs on the side of my Genesis. It's got brass bristles, not stainless. Brass is softer and doesn't scratch porcelain grates. A stainless brush will slowly eat through the coating on cheaper grates and leave you with rust spots by fall.
For the oil, don't use olive oil. It smokes at 350 and you'll spend the whole seasoning process setting off your smoke detector. Canola oil is cheap and does the job. My wife bought me a fancy grapeseed oil once. It worked fine, but I couldn't taste the difference on a ribeye.
Paper towels. You'll go through half a roll. Buy the cheap ones. The good ones just make you feel bad about using so many.
How I Tested
I season every grill that comes through my driveway. I've done this to my 8-year-old Weber Genesis, my Napoleon with the infrared sear burner, and yes, that rusted Char-Broil in the back corner. The process is the same, but the results are not.
I ran the burn-off on each grill, then seasoned the grates, then cooked a dozen burgers to test for sticking and flavor transfer. I wrote down how long the smoke lasted, whether the oil polymerized into a smooth layer or turned into a sticky mess, and how much residue came off on the first burger.
Here's what I learned: cheap grills need more time. My Char-Broil took 40 minutes to burn off because the metal was thinner and the heat escaped faster. The Weber took 25. The Napoleon took 20. That's the difference between a sealed firebox and one that leaks heat like a screen door.
The Burn-Off
The burn-off is non-negotiable. I don't care what brand you bought. Every grill ships with oils and residues from the manufacturing process. Even the good ones. My Weber smelled like a machine shop for the first 10 minutes.
Run all burners on high with the lid closed for 20 to 30 minutes. You're looking for the smoke to thin out and stop. That's your signal that the oils are gone. If you skip this, your first few cooks will have a chemical aftertaste that ruins a ~$40 brisket.
One thing nobody tells you: do this before you install the flavorizer bars if you can. Those bars are sacrificial parts that burn through over time. Starting them off coated in manufacturing oil just accelerates the process. I learned this the hard way when my first set of flavorizer bars rusted through in 18 months instead of the usual 2 years.
The Deep Clean
After the burn-off, you need to clean the grates. Not with soap. Never with soap. That leaves a residue that transfers to food.
Take a wire brush and scrape the grates while they're still warm. You'll see black flakes coming off. That's the carbonized oil and metal dust. Get it all off before you season.
This is also the time to check the drip tray. New grills often have packing materials or plastic film stuck in weird places. I found a plastic zip tie in the grease tray of a grill I tested last year. It melted into a puddle. If I hadn't checked, that would have been a fun surprise during the first cook.
The After-Cook Routine
Here's the part most guides get wrong. They tell you to season once and you're done. That's a lie. Seasoning is not a one-time event. It's a maintenance routine.
After every cook, I brush the grates while they're still hot. Then I wipe a thin layer of oil on them with a paper towel held in tongs. This builds up a polymerized layer over time that makes food release easily and keeps rust at bay.
The key word is thin. Too much oil and you get a sticky mess that attracts dirt and turns into a gummy coating. I use maybe a tablespoon of oil for a full grill. Rub it on, wipe it off, leave a sheen.
This is also when I check the flavorizer bars. If they're getting thin or flaking, I order replacements. A set costs ~$40 to ~$60 depending on the grill. Replacing them every couple of years is cheaper than buying a new firebox.
The Igniter Lighter
Here's a truth I've learned from 15 years of grill ownership: the piezo igniter will die. Every single one. I carry a 99-cent lighter in my grill drawer. I've replaced two igniters on my Genesis. It's a 15-minute job and the part costs ~$20.
Don't buy a grill based on the igniter. Buy it based on the firebox. You'll use the lighter eventually anyway.
The Results
After the burn-off and the initial seasoning, here's what you should see: grates with a dark, slightly glossy sheen. When you run your finger across them, they should feel smooth, not sticky. The first burger you cook should release cleanly without sticking.
If your first cook still sticks, you didn't season enough. Oil the grates again, run the burners on high for 10 minutes, and try again. It's not a failure. It's a process.
The Weber Spirit II E-210
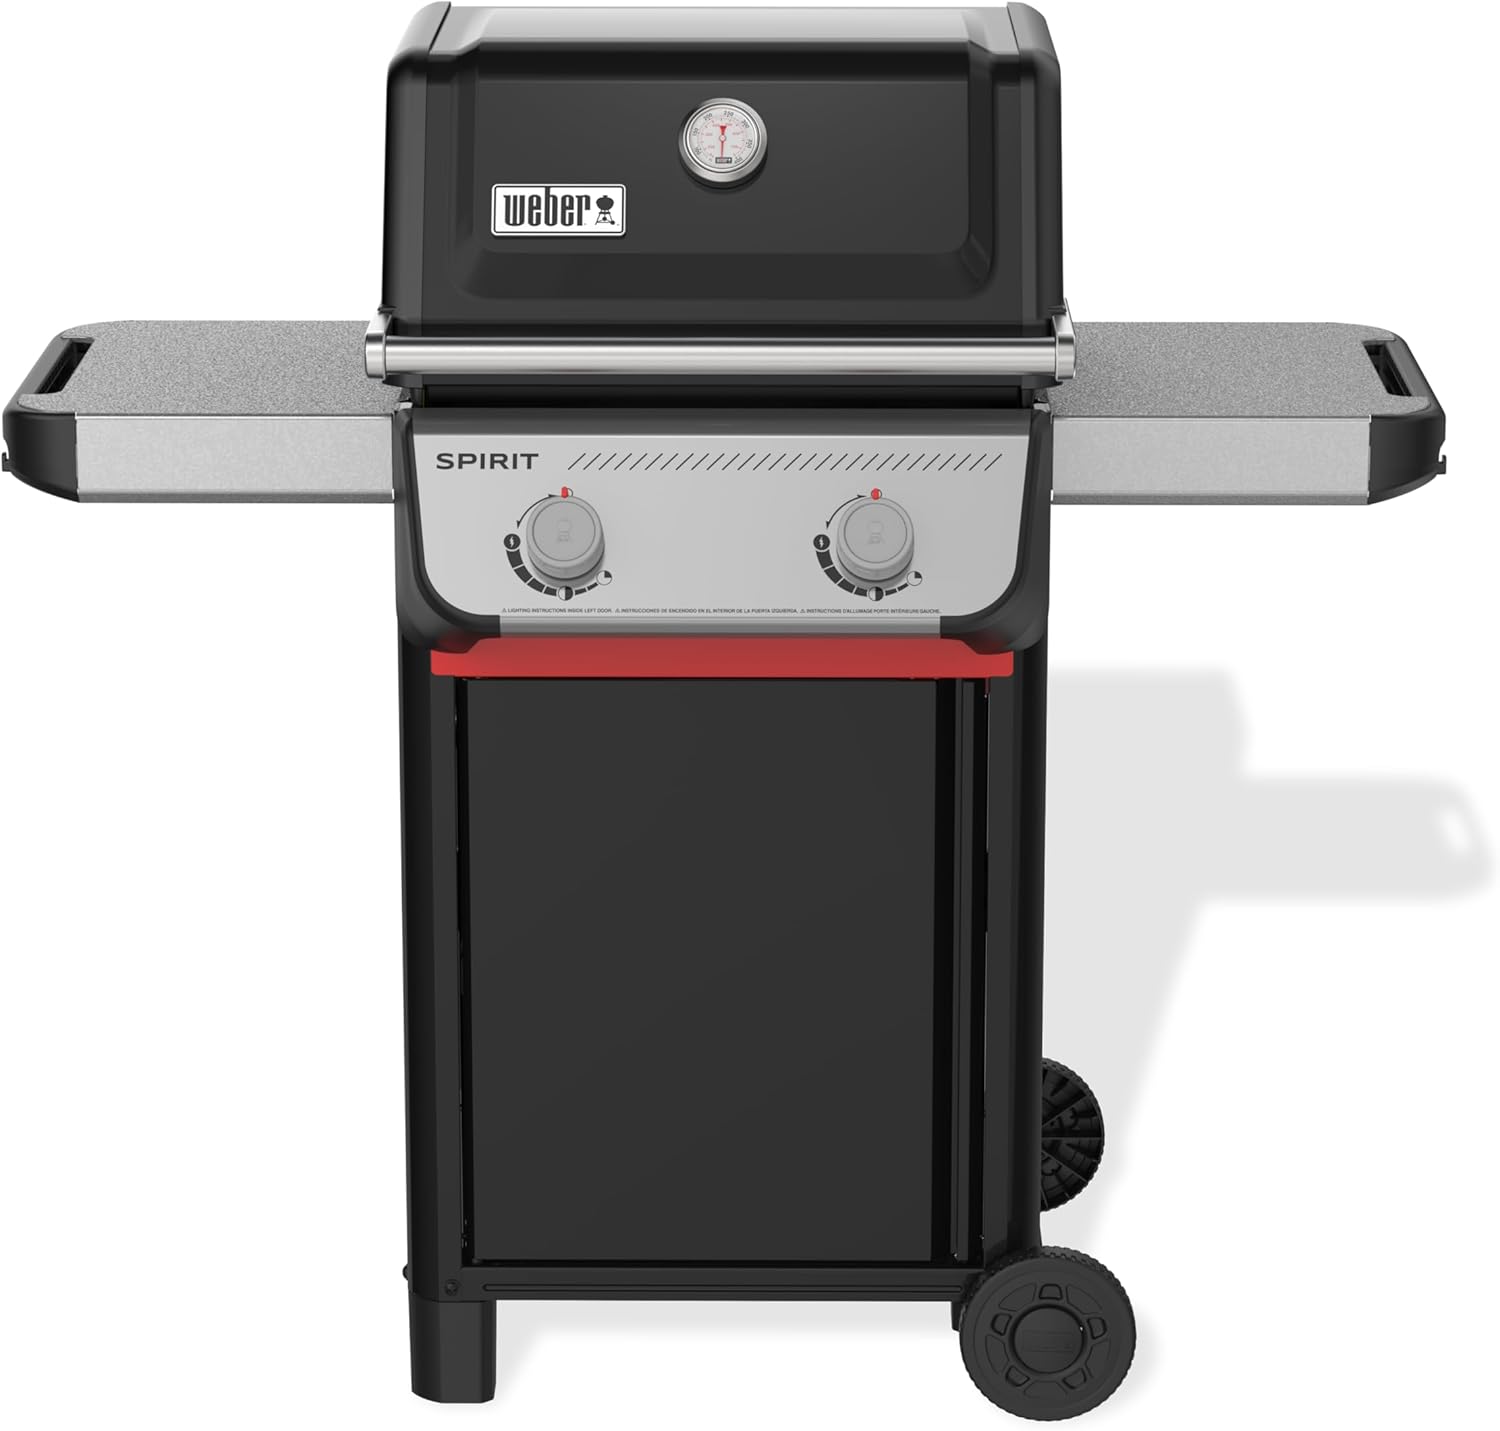
The two-burner Spirit is the budget entry point into Weber ownership. It's a smaller cooking surface, but the firebox is solid and the burners are reliable. Good starter grill if you're cooking for two or three people. I've seen these last 10 years with basic care.
The Weber Spirit II E-310
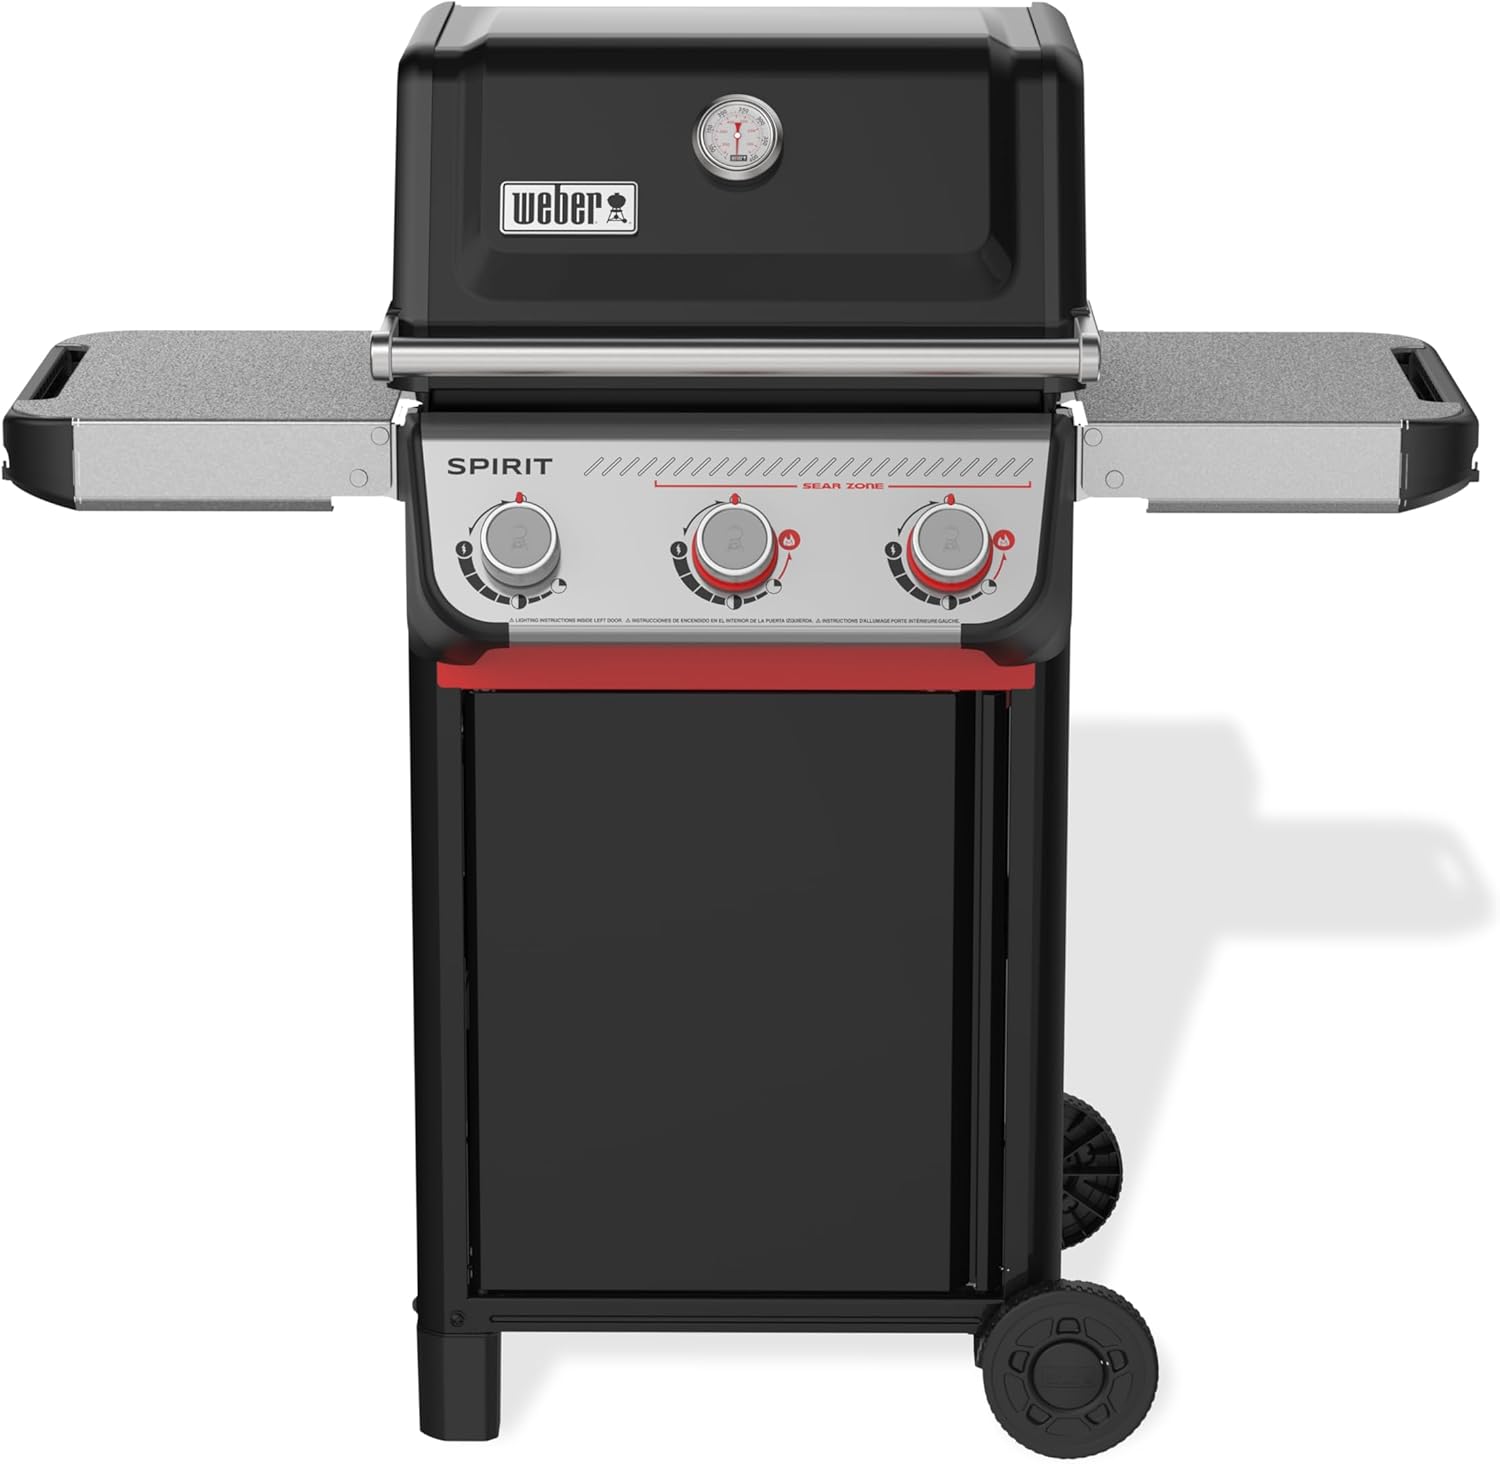
The three-burner version of the Spirit is the sweet spot for most families. More even heat distribution than the two-burner, and the extra burner means you can do indirect cooking without cramping your food. I've cooked full briskets on one of these.
The Weber Spirit II E-310 Natural Gas
The natural gas version saves you from swapping tanks, but you're locked into your patio layout. If you're planning to move or rearrange your outdoor space, stick with propane. I've seen too many people pay for a natural gas conversion and then regret it when they buy a new house.
The Napoleon Rogue 425
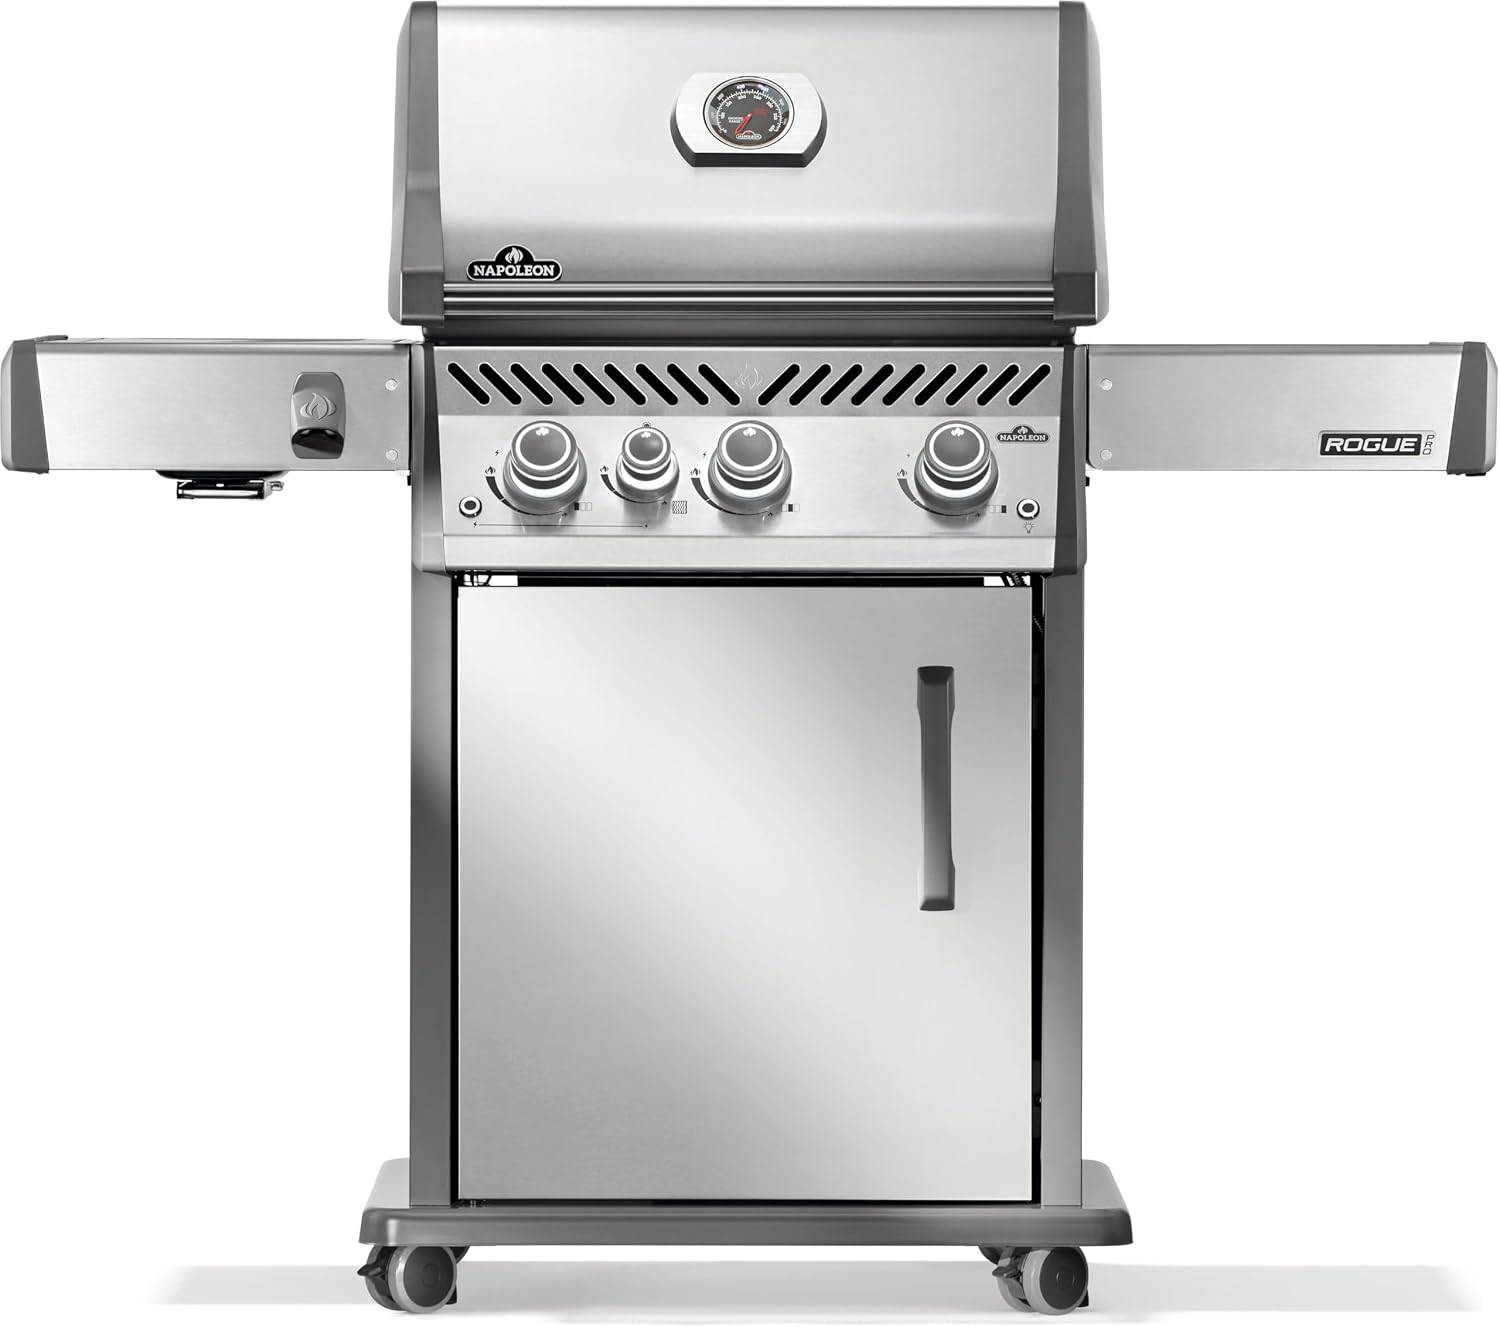
Napoleon's mid-range option comes with that infrared sear burner I keep talking about. The build quality is genuinely better than Weber's current lineup. The grates are heavier, the firebox feels more solid, and the lid hinges don't sag after a season. Worth the premium if you want a steakhouse crust.
The Napoleon Rogue XT
The XT is the upgraded version with more BTU output and a bigger cooking surface. It's a lot of grill for most people, but if you host regularly, the extra space is worth it. The sear burner on this thing will blow your mind the first time you use it.
The Weber Genesis E-325
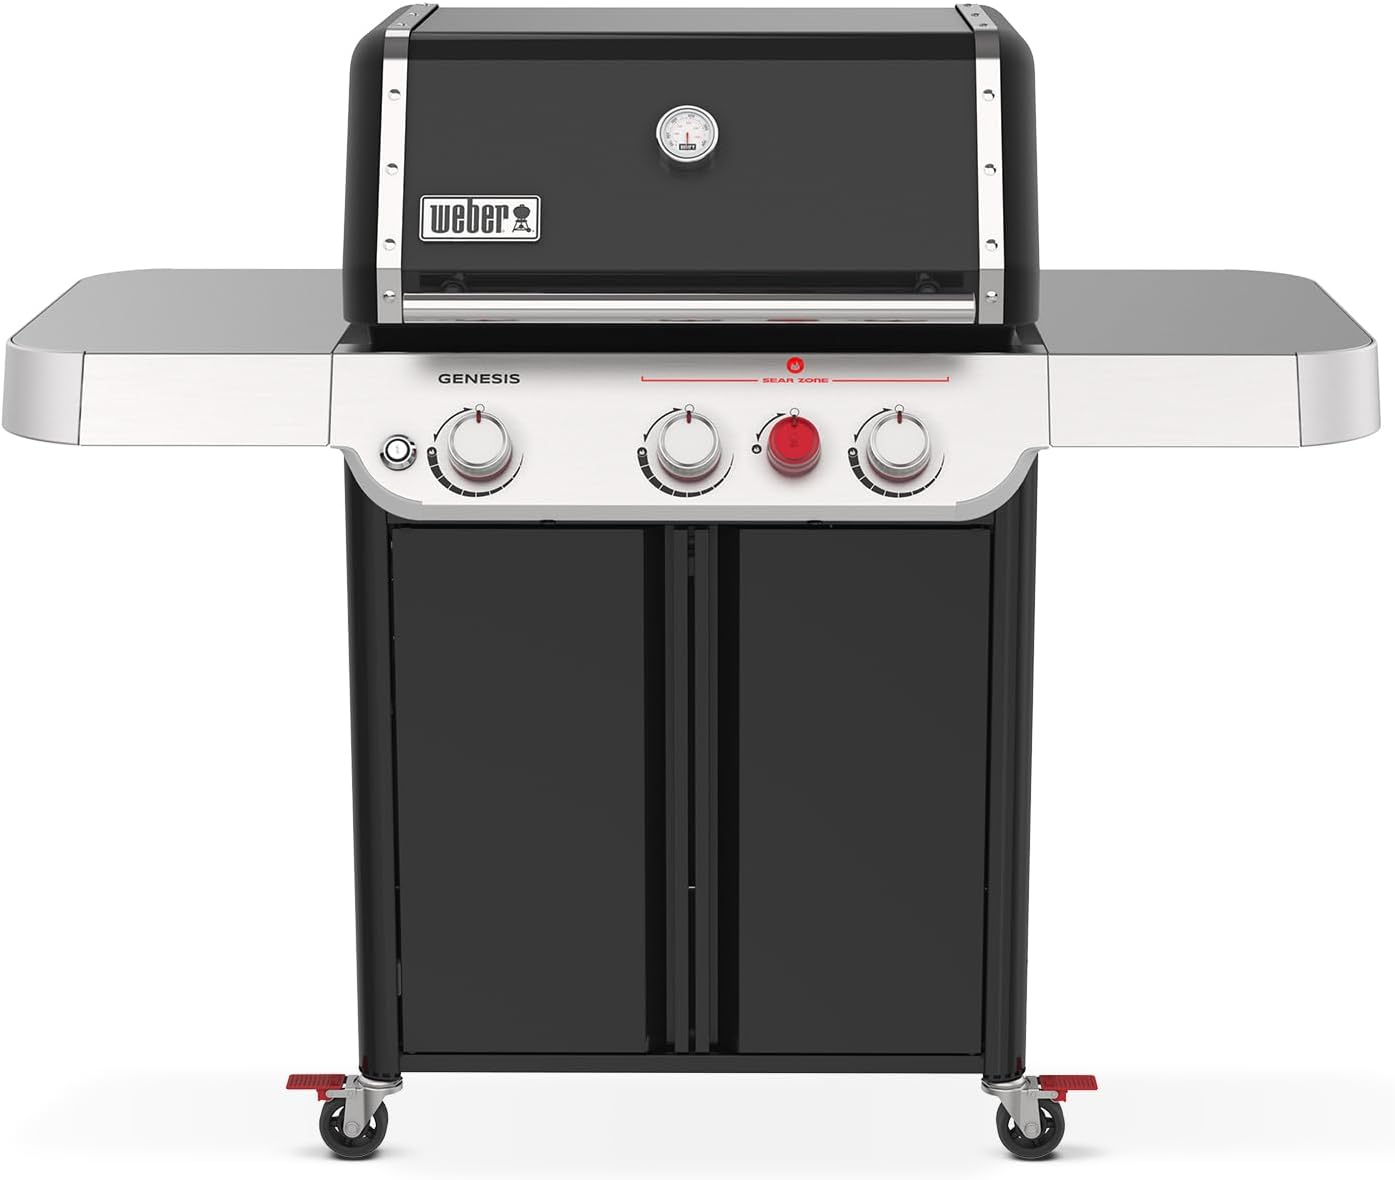
This is the current Genesis, and I'll be honest: it's not my 8-year-old Genesis. The quality has slipped. The flavorizer bars are thinner, the paint flakes easier, and the igniter is still junk. But it's still a Weber. It still outlasts everything else in the price range. If you want the gold standard and you know what you're getting, this is it.
The Coleman RoadTrip 285 Portable
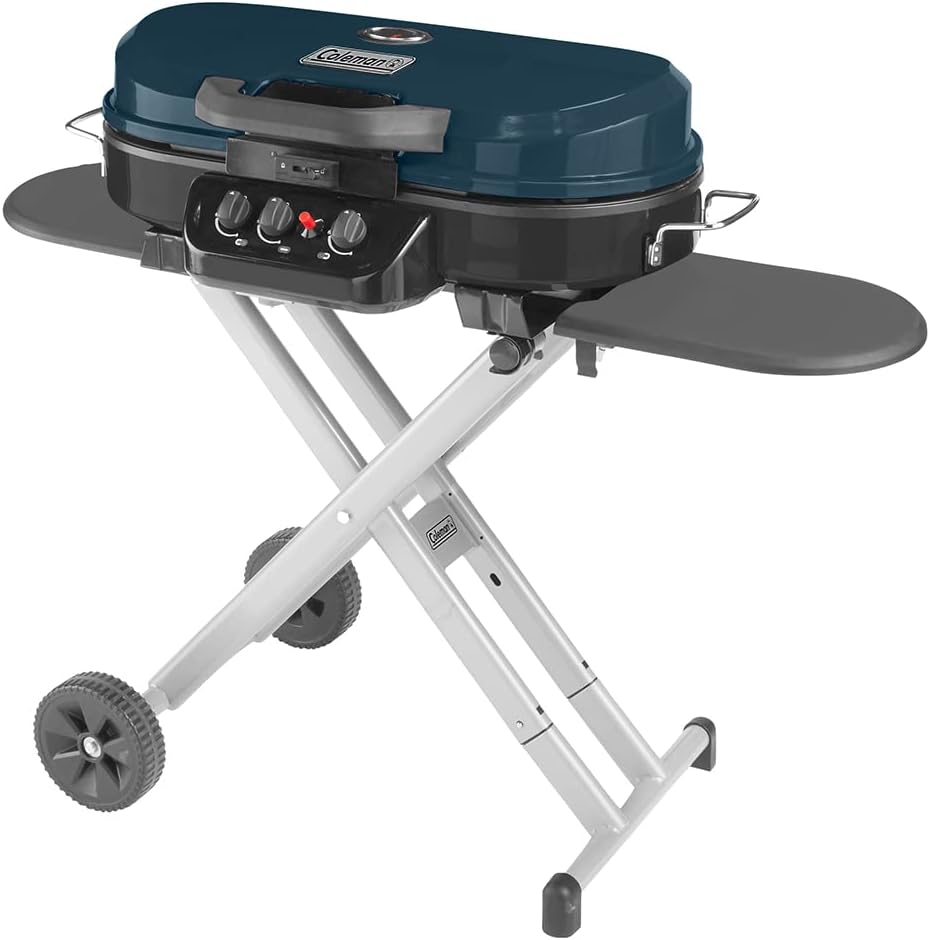
This is a portable grill, not a backyard grill. It's fine for tailgating or camping. But don't expect it to replace your main grill. The cooking surface is small, the heat distribution is uneven, and it takes forever to heat up.o heat up.o recover temperature. Fun for a tailgate, frustrating for a brisket.
Should You Buy the Weber Genesis E-325s?
If you're shopping for your first real grill and you want something that lasts, the Genesis is the safe bet. It's not what it used to be, but "not what it used to be" is still better than everything else in the price range.
If you already own a Weber that's under 5 years old, keep it. The upgrade isn't worth the money.
If you want the best build quality and you're willing to pay for it, look at the Napoleon Rogue XT. The infrared sear burner alone is worth the premium.
Should You Buy the Napoleon Rogue 425?
If you're a Weber loyalist who's heard the quality complaints and wants to try something different, the Rogue 425 is the closest thing to a real competitor. The build quality is better than the current Genesis, and the sear burner gives you a genuine advantage for steaks.
The downside is price. It's more expensive than a comparable Weber. But if you're the kind of person who keeps a grill for 10 years, the cost-per-use math works out.
The Bottom Line
Seasoning a new grill takes 30 minutes of your time and costs about ~$5 in oil and paper towels. Skipping it means your first month of cooking tastes like machine oil and your grates rust out faster.
Run the burn-off. Clean the grates. Oil them thin. Repeat after every cook. That's the whole system.
I've got a 12-pound brisket going on my Genesis right now. The grates have that dark, polymerized sheen from years of use. The burgers I cooked last night released clean. The chicken didn't stick. That's what seasoning gets you.
Gus is lying downwind, waiting for the trimmings. He knows the system works.