Most two-burner gas grills leave the factory set up to look good under showroom lights, not to cook evenly. The burner tubes sit a hair off the valve orifices, the grate sits too close to the burners on one side, and nobody leak tested anything past the end of the assembly line. None of that shows up in a BTU number.
Here is the routine I run before I trust any two-burner gas grill. It takes about 40 minutes of actual work, one tank of propane, and a dozen cheap burgers you were going to eat anyway. Do it once and you will know exactly where the hot spot is, how fast the grill recovers when you open the lid, and whether the thing is worth keeping past the return window.
Why you should trust me
I spent 15 years on the line in restaurant kitchens, which is where I learned that heat zones matter more than total heat. For the last 12 I have run a BBQ judging circuit, scoring brisket, chicken, and ribs on a card, one bite at a time. I own four grills, a spiral notebook full of cooks, and a thermometer drawer my wife has opinions about.
I do not review a grill until it has cooked three full meals. A dozen burgers for evenness, a brisket for heat stability, a chicken for flare-ups. The notebook gets ambient temp, wind direction, and where the hot spots landed. That is the whole method. No spec sheet survives contact with a burger.
How I picked and how I tested
Two units are on the bench for this guide, and they represent the two ends of gas grill ownership. One is a small two-burner propane grill, the kind most people actually buy first. The other is a wear part for a Weber Genesis II, because the grill you already own usually needs a cheap fix, not a replacement.
The criteria are boring on purpose:
- Burner layout. Where the tubes run and how far apart they sit predicts every hot spot you will find later.
- Lid fit and weight. A lid that does not seal is a lid that loses heat and takes forever to recover.
- Igniter design. If the igniter looks like an afterthought, it is one.
- Parts availability and warranty coverage. Steel covers the grill. Paper covers parts. Read which one you are getting.
- Whether the grill has a job you will actually use. Two burners is plenty for two people on a weeknight. It is not a brisket machine.
What you want on the bench before the first cook
You cannot dial in a grill that is wobbling on a slope or dripping fat onto a burner tube. Get the hardware right, then run the steps.
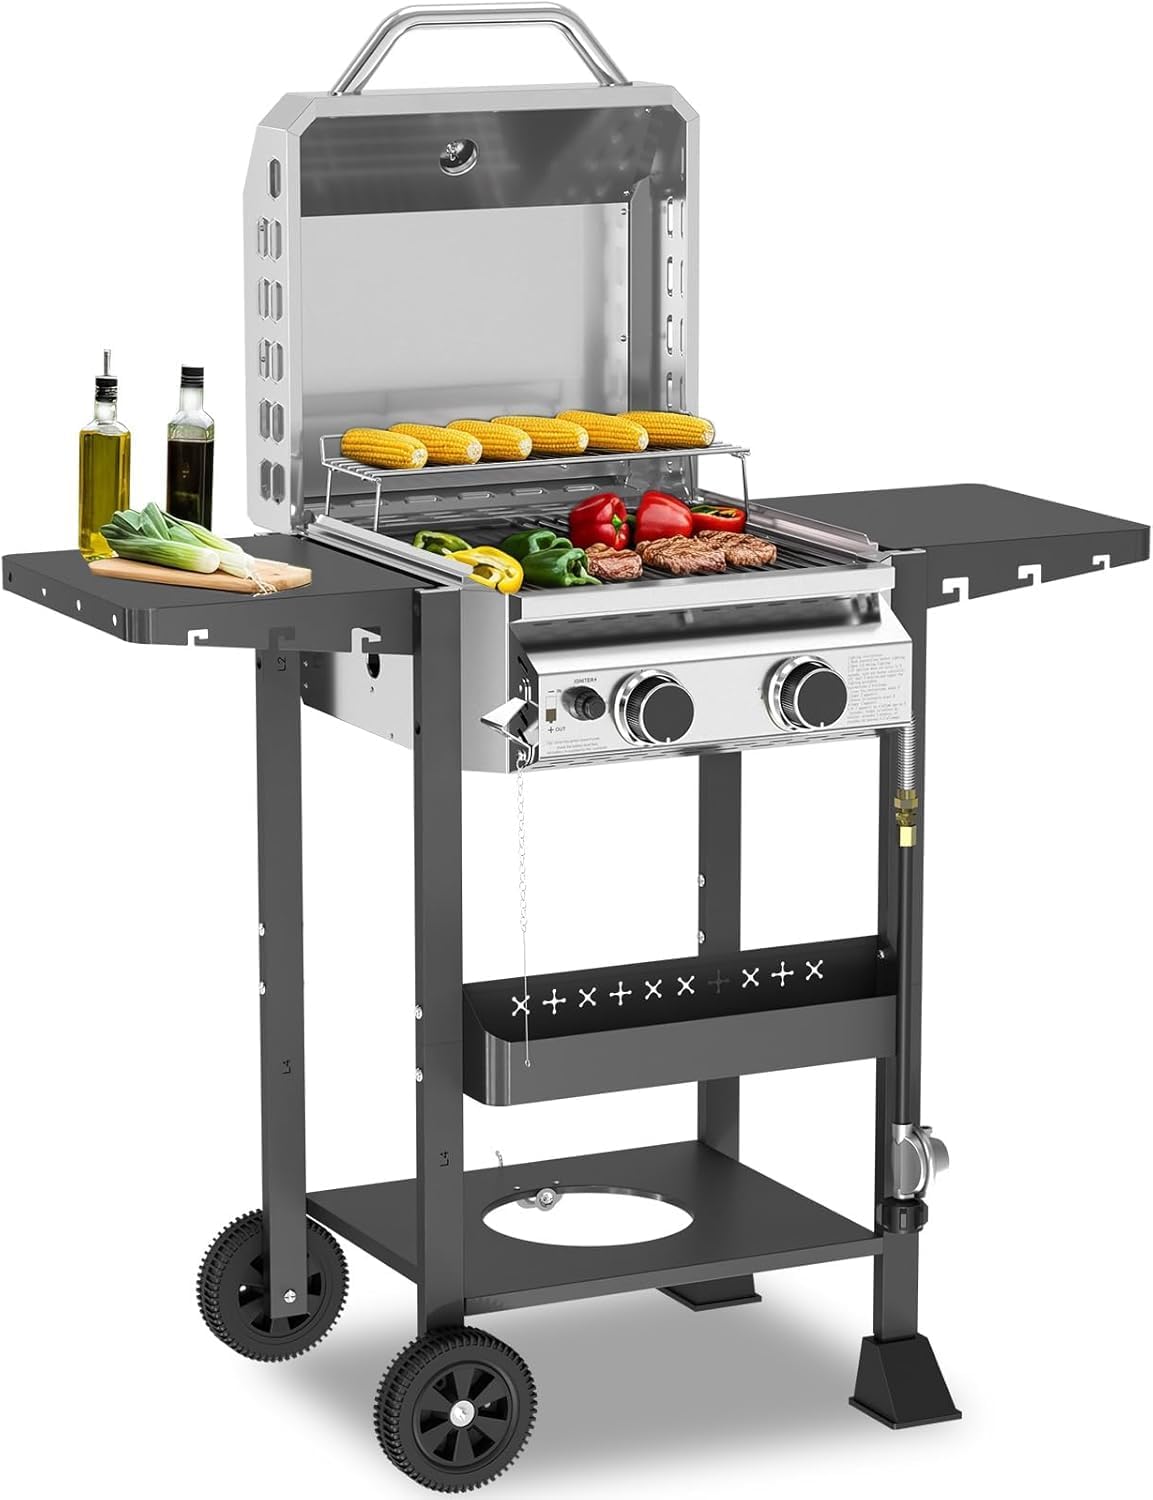
The grill: COWSAR 2-Burner Propane BBQ Grill 16000 BTU Stainless Steel Gas Grill
 Visit on Amazon →
Two burners, propane, a stainless steel body, and a 16,000 BTU claim on the box. Treat that BTU figure the way I do: as a marketing number until the grill proves it can hold temperature. What matters with two burners is that each one is its own zone. Left burner on and right burner off gives you an indirect side, which is how you cook chicken through without torching the skin. That layout is the reason a small two-burner is a legitimate weeknight tool and not a toy.
Set it up level, run the leak test below, and map the hot spots before you cook anything expensive. A two-burner has a narrower margin for error than a big cart, because the burners sit closer together and there is less room to hide a flare-up.
Flaws but not dealbreakers: Two burners will not give you a long indirect run for a packer brisket. Plan on ribs, chicken, burgers, sausages, and vegetables, and use the smoker for the long cooks. Small side tables are also common on this class of grill, so keep your sheet pan inside and use the table for tools only.
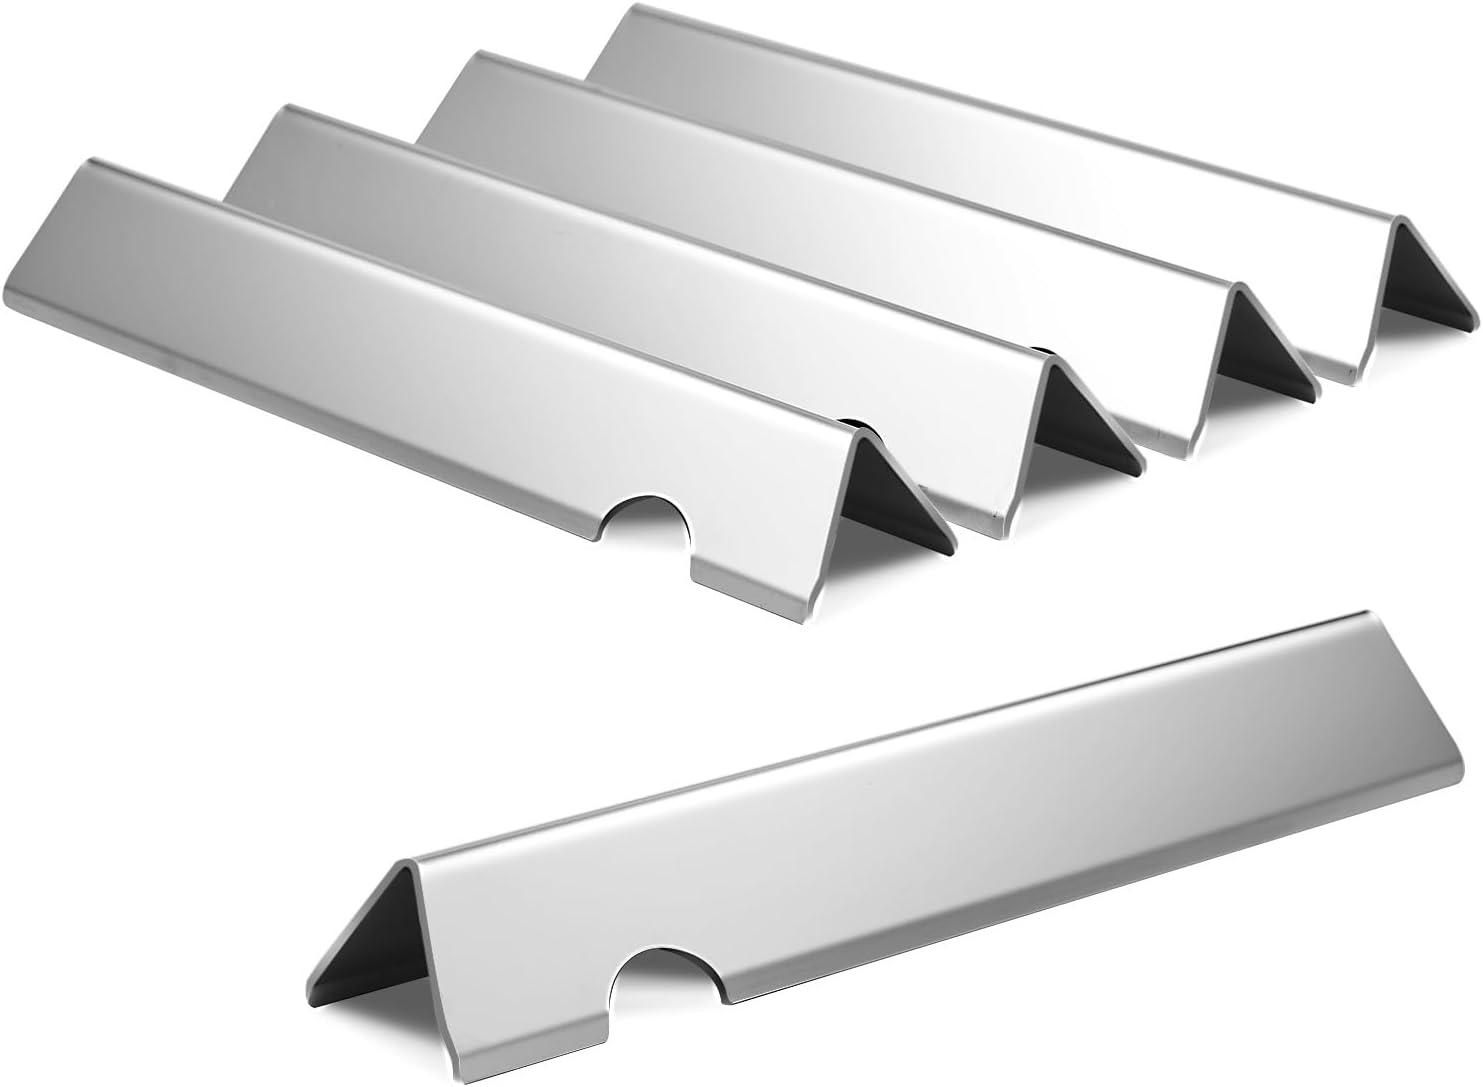
The replacement part: Genesis II Replacement Flavorizer Bars 66795 Parts for Weber Genesis II E-310 E-335 E-330 II GS4 Grill Parts 66032 Flavor Bars Weber Genesis II Grill Part Genesis 2 LX 300 Series LX S-340 E-340 E-325S
 Visit on Amazon →
Flavorizer bars are the angled metal plates that sit between the burners and the cooking grate on a Weber Genesis. They do three jobs. They shield the burner tubes from dripping fat. They vaporize the drippings that land on them, which is where a lot of the flavor comes from. And they spread heat across the underside of the grate so you are not cooking on two thin stripes.
When they rot through, all three jobs stop at once. You get flare-ups on the left, cold spots on the right, and a burner tube that dies two seasons early. If you are chasing uneven heat on a Genesis II, check the bars before you blame the burners or the regulator. This set is a replacement for the Genesis II 300 series and the LX models named in the listing.
Flaws but not dealbreakers: Fit depends on your exact model and bar count, so match the listing to the sticker under your lid before you order. Replacement bars also arrive bare, so expect a seasoning cook or two before they stop smoking.
The actual setup workflow
Now the part you came for. Run these in order. Do not skip the leak test because you are hungry.
Step one: Leak test the whole gas path. Mix dish soap and water and brush it on the tank connection, the regulator, and the manifold. Open the tank valve with the burners off. If you see bubbles, you have a leak and you stop right there. Never test with a flame. This takes five minutes, and it is the only step where getting it wrong can actually hurt you.
Step two: Check burner tube alignment. Pull the cooking grates and look down at the burner tubes. Each tube should sit over its valve orifice, with the holes or slots facing up or sideways depending on the design, and never blocked by a bracket or a scrap of packing foam. Misaligned burners are the number one reason a new grill lights on one side and not the other.
Step three: Level the cart and check the lid. A grill on a slope cooks on a slope, and fat runs to the low corner, which is exactly where your flare-ups will live. Level the cart, then close the lid and look for gaps along the seam. A lid that does not sit flat will cost you recovery time on every single cook.
Step four: Season the grates. Heat the grill on high for 10 to 15 minutes with the lid down, then brush the grates and wipe them with a folded paper towel held in tongs and dipped in a high smoke point oil. Do that twice. New grates often ship with a machining oil that tastes like a hardware store.
Step five: Map the hot spots with a dozen burgers. This is the step nobody does and everybody should. Set both burners to medium, close the lid, and let the grill settle for 10 minutes. Lay out a dozen thin patties in a grid, three across and four deep. Do not move them. At the four minute mark, flip them all and note which ones are browning faster. At eight minutes, pull them and draw the pattern in a notebook. You now own the most useful document about your grill that exists.
Step six: Establish your two zones. Two burners means two zones, and that is enough. For a sear, both burners on high with the lid up. For chicken or a roast, left burner on medium and right burner off, meat over the dead side, lid down. For sausages, both burners on low and rotate every few minutes. Write your zone settings on the same page as your hot spot map.
Step seven: Time your recovery. With the grill sitting at 350 degrees, open the lid for a full 60 seconds, close it, and time how long the thermometer takes to climb back to 350. Under three minutes is good. Over six means the lid leaks or the burners are undersized for the box, and you should plan on lid-down cooking and a little patience. Recovery time is the most honest spec on any grill, and it is the one nobody prints.
Step eight: Build a flare-up routine before you need it. Keep the drip tray and the flavorizer bars clean, trim fat to about a quarter inch, and keep a spray bottle of water on the shelf for grease fires, not for the meat. If a flare-up starts, move the meat to the indirect side and close the lid. Starving the fire of air beats chasing it with a squirt bottle.
Step nine: Shut down and cover. Close the tank valve first, then let the burners run the gas out of the line, then turn the knobs off. Burn the grates off on high for five minutes, brush them, and cover the grill once it cools. A covered grill with clean grates is a grill that starts on the first click in March.
The competition and why it lost
Pellet grills are not in this guide. That is a smoker's job, and I send people to the smoker bench for it. A pellet unit is a different fuel, a different temperature curve, and a different set of failure points, and mixing it into a gas setup walkthrough helps nobody.
Big four and six burner carts are also out. They are the right answer if you cook for a crowd every weekend and the wrong answer if you cook for two on a Tuesday. More burners means more heat zones, but it also means more fuel burned to heat a bigger box and a longer recovery every time you open the lid.
Kamado cookers and charcoal kettles belong to a third article. Charcoal is a religion and I respect it, but it is not what this walkthrough is about.
As for other flavorizer bar sets: if your grill is not a Genesis II 300 series or an LX model, this set is not yours. Match the part to the model number on the sticker under the lid, every time. A bar that fits badly is worse than a bar that is worn out, because it channels fat straight onto the burner.
What this all costs
The two units here sit at opposite ends of the spend. One is a complete small propane grill, the other is a wear part that keeps a grill you already own out of the landfill. Check current Amazon price on both before you decide, and price a spare tank while you are at it.
The real cost is fuel and time. A two-burner burns less propane per cook than a big cart, which is the quiet argument for owning one. A fresh set of bars costs less than a single ruined brisket, and a brisket is exactly what a rotten bar set will hand you, one flare-up at a time.
Then there is the 40 minutes in this guide. That is the whole investment. Forty minutes, one tank, and a dozen burgers, and you will know your grill better than the person who sold it to you.
That is the job. Your grill was built to hold temperature. Set it up so it can.