Most gas grill owners use about a third of what their grill can do. They light every burner, close the lid, and then spend the summer fighting the same three problems: chicken that is burnt outside and raw at the bone, burgers that flare up the second the fat hits the bars, and a grill that takes forever to come back to temperature after every flip. None of that is a BTU problem. It is a zoning problem, and a two-zone gas grill setup fixes most of it in one afternoon without buying a single new part.
I have cooked on gas for a long time, and the honest version is this: the burners in a line are the feature. One end runs hot for the sear zone, the other end runs low or off for finishing, and the food travels between them while the lid stays shut. That is the whole technique. Everything else is layout and discipline.
This guide covers how to build that setup on a grill you already own, and the two shapes of grill that make it easy: a full cabinet model with three burners, and a tabletop with two.
Why you should trust me
I spent 15 years as a line cook before I moved to the other side of the table, and I have been judging barbecue competitions for 12 years now. Judges score what is in the box. We do not score what the pitmaster says about the pit, and that habit followed me home.
I own four grills and a thermometer collection my wife has opinions about. Every cook goes into a spiral notebook with ambient temperature, wind, and a line about where the hot spots showed up. After a few hundred entries you stop trusting spec sheets and start trusting patterns. BTU ratings are marketing. Even heat distribution is engineering.
The routine I run on any grill is the same. A dozen burgers across the grate to find the uneven side. A full brisket to see whether the lid holds temperature for hours without babysitting. A chicken to see how the grate handles dripping fat. A grill that cannot hold 350 for an hour without me standing over it is a fire pit with a lid, and it goes back.
How I judge a gas grill before it earns patio space
Four things, in order.
Burner layout and shape. Long, thin burners in a straight line give you a predictable left-to-right map. That is what you want for zoning. Burners arranged in a ring or a single oval give you a band of heat and a hole in the middle, and you will spend all summer chasing it.
Recovery time. This is the most honest spec on any grill and nobody prints it. It is how fast the temperature comes back after you open the lid. A grill with a heavy lid and a tight firebox recovers fast. A thin one does not.
The igniter. If I have to light a grill with a torch in week three, it is going back. An igniter is not a feature, it is the front door. A grill that is annoying to start is a grill you stop using.
The warranty, read line by line. A warranty that covers the burners for a decade is worth more than any badge on the lid. Paper covers parts. Steel covers the grill.
The two grills below are here because of how they are built, not because of a score in my notebook. I am recommending a layout, not a cook.
Two grills that make the setup easy
For two-zone cooking you need two burners at minimum and a grate long enough to move food off the heat. Both of these give you that, in very different footprints.
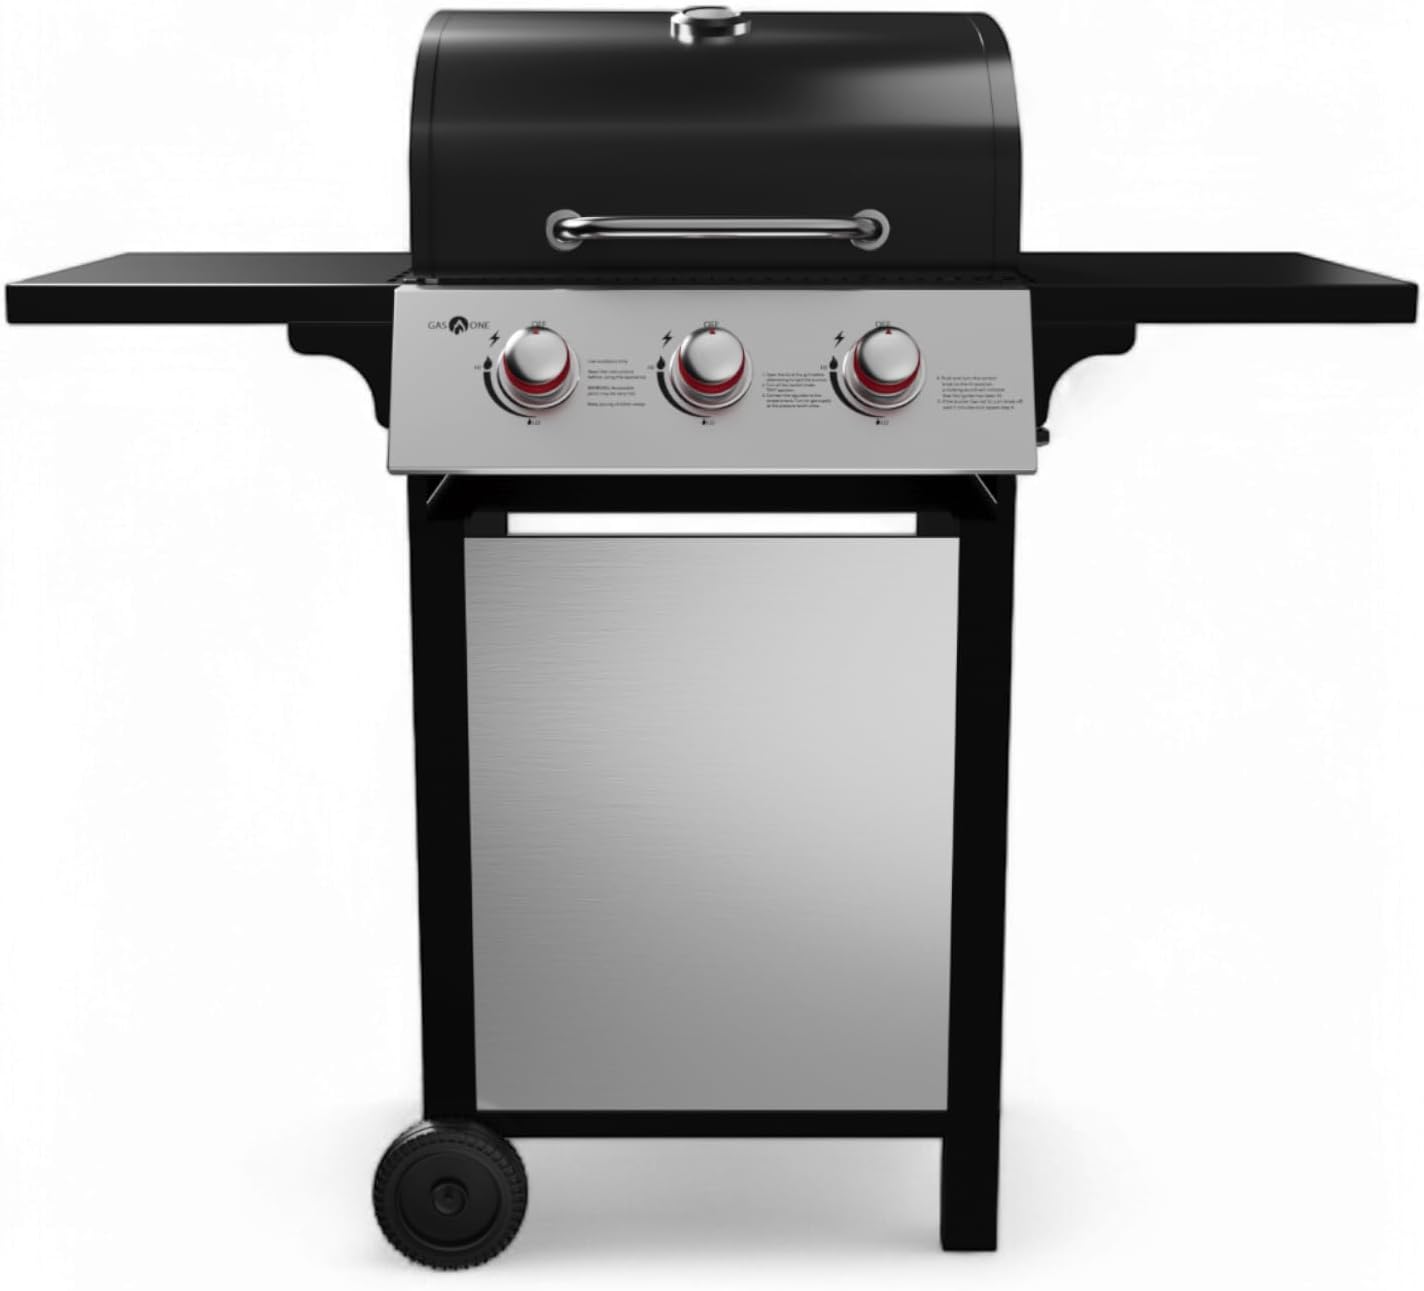
The full-size pick: GasOne GP-1030S One 3 Burner Stainless Steel, Outdoor Cabinet Style with Wheels-High-Temperature Paint Coating Gas BBQ Grill, Elegant and Luxurious Design, Black
 Visit on Amazon →
Three burners in a row is the classic zoning platform. Left burner on high is your sear zone. Middle at medium is where you move things that are browning too fast. Right burner off is your indirect side, and with the lid down that right third of the grate behaves like a low oven. You get a stainless steel body, a high-temperature paint coating on the firebox, and a cabinet base on wheels.
The cabinet is the reason to pick this over a bare cart. The tank lives inside it, out of sight, and the whole thing rolls out of the weather and back when you are done. It also means the grill is furniture. It needs level ground, because a cabinet that rocks on a patio slab will drive you insane, and it needs a cover, because a painted firebox sitting in sun and rain all summer is how a grill gets old before its time.
Two things to check before you commit. Wheel size, because small casters hang up on the lip between a patio and a lawn. And side tables, because a side table smaller than a plate is a shelf, not a workspace.
Flaws but not dealbreakers: A cabinet grill takes up real floor space, and it is heavier than it looks when you are the one dragging it out of the garage. Measure the spot first.
This is for someone with a patio and a family-sized cook: a pack of burgers, a couple of chickens, a pile of vegetables, all at once.
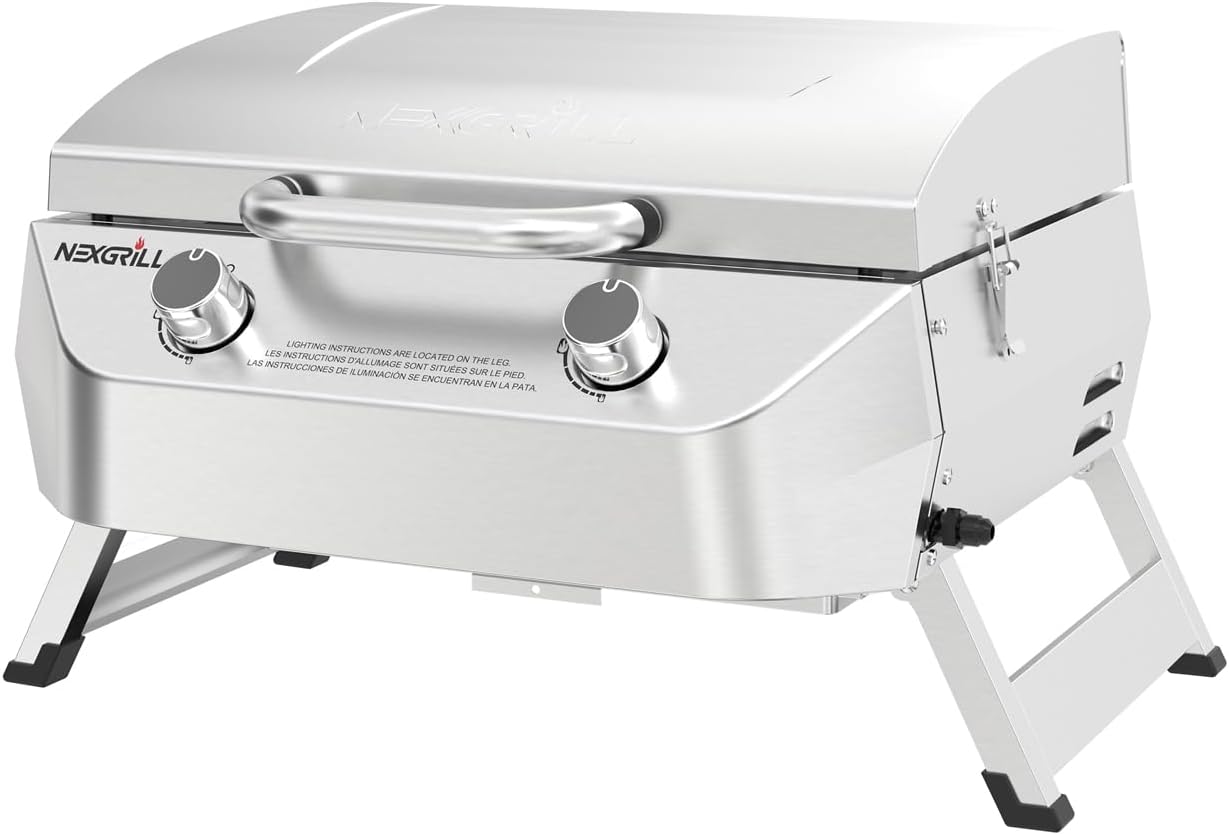
The small-space pick: Nexgrill Tabletop 2 Burner Gas Grill, Stainless Steel with Folding Legs
 Visit on Amazon →
Two burners is the minimum for two zones, and that is exactly what this is. One burner is your sear zone, the other is your holding zone, and the strip between them is your indirect lane. It is a smaller version of the same map, and it works the same way.
The folding legs are the point. It stores on a shelf, it goes in the truck for a tailgate, and it sets up on a balcony where a full cart would never fit. Stainless steel, tabletop footprint, and no cart to rust.
Caveats, and they matter. There is no cart, so the tank sits beside the grill or you run a hose from a bigger tank, which is one more thing to trip over. Wind hits a tabletop harder because nothing blocks it, and a gusty evening on a balcony will eat your temperature. And the grate is small, so you cook in batches. The zones help here too: sear in one batch, hold the finished food on the low side while the next batch goes on.
Set it on something solid. A wobbly folding table is the fastest way to dump a ribeye on the deck.
Flaws but not dealbreakers: Less grate area means longer total cook times for a crowd. It is a weeknight grill and a travel grill, not a party grill.
This is for the apartment balcony, the small patio, the tailgate, or anyone who wants a second grill for fast weeknight dinners.
The actual two-zone workflow
This works on any gas grill with at least two burners. Nothing here needs a new part.
Step one: Place it level. A cabinet grill on wheels needs firm, level ground. A tabletop needs a solid surface. If the grill rocks, fix that before you light anything, because a rocking grill means a moving grate, and a moving grate means uneven food.
Step two: Read the burner layout. Stand in front of the grill and name the zones out loud. Three burners left to right means hot, medium, off. Two burners means hot and low, with the middle strip as your indirect lane. Write it on a note if you have to. The map only works if you use the same one every time.
Step three: Light each burner by itself. Do this on day one, not in month three. Turn one burner on, watch it light, shut it off, then do the next one. You are checking two things: that the igniter fires every burner without a lighter, and that the flame runs the length of the tube at an even height. A burner with a weak half is a hot spot you did not plan for.
Step four: Preheat with the lid down. All burners on high, lid closed, ten to fifteen minutes. Then dial the zones down to where you actually want them and give the grates a minute to settle. Cold food on a cold grate sticks, and sticking is what makes people scrub grates and hate grilling.
Step five: Map the hot spots with bread. This is the cheapest diagnostic in grilling. Lay slices of plain white bread across the grate, close the lid, give it a couple of minutes, then flip and look at the toast. The darkest slices sit over your hot spots. Do it once a season, and again any time you change burners or grates. The map changes, and your cooking should change with it.
Step six: Build the zone map. Left burner high, middle medium, right off. That is your sear zone on the left, a working zone in the middle, and an oven on the right. On a two-burner tabletop, hot on the left, low on the right, and use the gap in the middle.
Step seven: Cook to the map. Sear on the hot zone to build the crust, then slide the food to the indirect side and close the lid to finish. This is also your flare-up fix. Fat drips on the hot side, where there is no food sitting in it. The food is on the other side, drying its surface and cooking through.
Step eight: Respect recovery time. Every time you open the lid, the temperature drops and the clock restarts. Batch your work: flip once, move once, close the lid. A grill that holds 350 for an hour with the lid shut is doing its job. You are the variable.
Step nine: Shut it down right. Burners on high for ten minutes with the lid down to cook off the residue, brush the grates while they are still warm, then lid down and propane off at the tank, not just at the knobs. A grill that goes away dirty is a grill that greets you with rust in spring.
What I left out and why
No pellet grills here. That is a smoker's job, and I send people to the smoker bench for it. No charcoal either, and no argument about charcoal versus gas, because the two-zone map works on both and the religion is a separate conversation.
I also left out flat-top griddles and infrared side burners. Both are useful, and neither is what this guide is about. And I did not quote BTU numbers anywhere in this piece, on purpose. BTU ratings are marketing. A burner that puts heat where the grate is, under a lid that holds it, beats a bigger number every time.
The ongoing costs nobody mentions
The grill is the cheap part. What you actually spend money on over a season is propane, a cover, a decent brush, and a thermometer you trust. Add grates every few years if you cook a lot of fatty food on high heat.
Prices move constantly, and any number printed in an article is stale by the time you read it, so use the link and check the current Amazon price on the model you are considering. Compare that number to what a year of takeout costs and the math usually decides itself.
The other cost is time, and this is where two-zone cooking pays you back. Indirect cooking with the lid down needs less attention than open-flame cooking. You set the map, put the food on the right side of it, and walk away for a while. That is the actual upgrade. Not a new grill. A better hour.
Start with one cook
Tonight, light the left burner and the middle burner and leave the right one off. Put two burgers on the left, close the lid, and move them to the right when they have the crust you want. Log what happened: how long, which side ran hot, how fast the temperature came back. Next cook you already know the map, and you will spend the whole time cooking instead of fighting the grill.